I’ve been exploring Ultrawallet, and what caught my attention isn’t just that it’s another wallet inside Telegram.
It’s the direction behind it.
Telegram is already where people discover communities, opportunities, products and conversations. Ultra Wallet adds another layer by giving users a place to manage and interact with digital assets without constantly leaving the environment they already use.
From wallet and exchange functions to price tracking, tasks, rewards, referrals and Safe Deal, what interests me is how these pieces bring different parts of the Web3 experience closer together.
And there’s more than one way to participate and earn within the ecosystem.
→ Referral contests, with the top 10 sharing $5,000
→ Mine & Earn LT, with P2P availability expected in 7 days
→ Refer 2 Earn, with LT and USDT bonuses
→ Watch Ads & Complete Tasks, with LT and USDT rewards
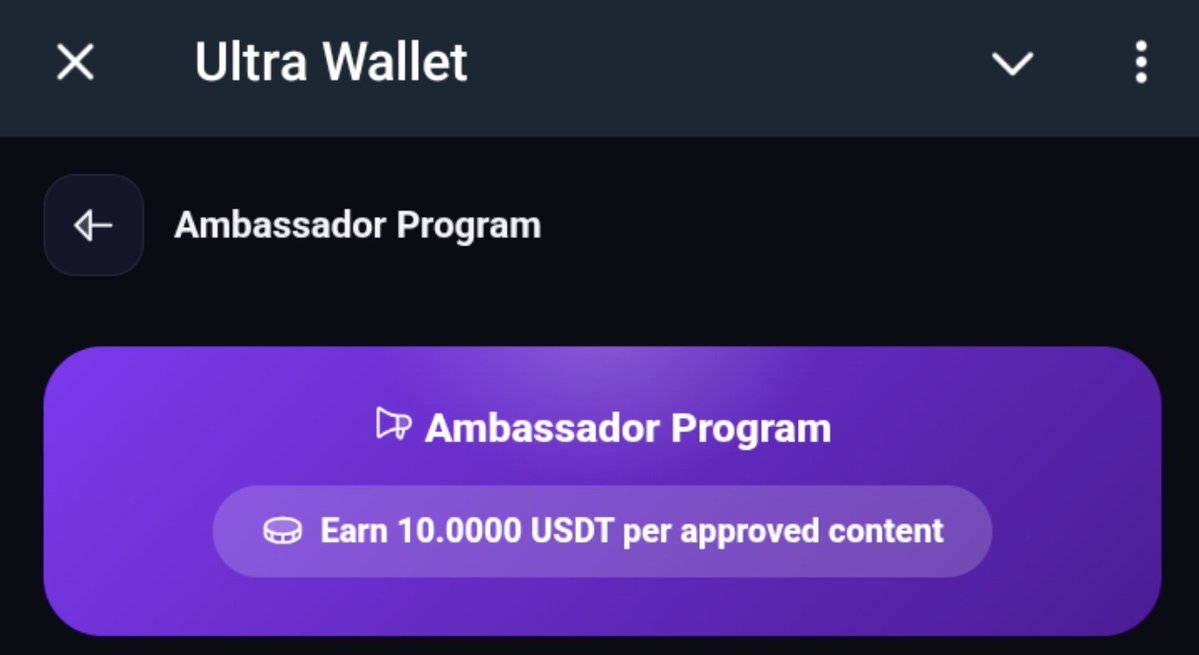
There’s also an Ambassador Program for creators who want to contribute through content.
The process is straightforward:
1. Open Ultra Wallet
2. Go to Profile → Contests
3. Select Ambassador
4. Find the Ambassador Program
5. Tap Open and start creating
The current requirements include a minimum of 5K impressions and submitting within 24 hours. After approval, weekly payments are available, with the stated reward being $10 per approved submission.
So the flow is basically:
Create → Publish → Submit → Get approved → Earn
I like this because it gives different types of users a reason to participate, whether you’re using the wallet, completing tasks, referring others, or creating content.
I’m exploring Ultra Wallet myself, so if you want to join me and check it out:
https://t.co/bavtw3TvxV
The interesting part for me is seeing how far a wallet built directly around Telegram can take the everyday Web3 experience.
1/9
1️⃣ GET A WALLET
Use any wallet that supports Polygon. MetaMask and Trust Wallet are common choices.
Write your recovery phrase on paper and keep it offline.
Never enter it on a website or send it to anyone, including us.
Your V-Boost account will be permanently linked to this wallet.
2/9
2️⃣ SWITCH TO POLYGON
Most wallets already have the Polygon network built in.
If yours doesn’t, add Polygon from your wallet’s network list.
Then make sure your wallet is connected to the Polygon network before continuing.
3/9
3️⃣ FUND YOUR WALLET
You’ll need:
→ A small amount of POL for network fees
→ Enough funds to open the Tiers you want
The interface accepts specific payment currencies and shows the exact total before you confirm anything.
5/9
5️⃣ CREATE YOUR ACCOUNT
Enter your username, email and password.
Accept the terms and enter the six-digit code sent to your email.
This account is your V-Gate identity across the @VistoryX and will be used to access Vistory platforms as they become available.
6/9
6️⃣ CONNECT YOUR WALLET
Choose the wallet from Step 1 and approve the connection.
One account, one wallet - this cannot be changed later.
Nothing is charged at this step.
9/9
NEED HELP?
If you get stuck at any step, ask the community:
→ https://t.co/7FlbrOqFRY
Someone will walk you through it.
Ready to start?
→ https://t.co/gpFmf6lMsT
Welcome to V-Boost.
8/9
8️⃣ OPEN YOUR TIERS
Go to NFT Tiers and choose how many Tiers to open.
You can open Tier 1 alone or several in order.
Check the prices, subscriptions and total, choose your payment currency and sign.
Then:
9️⃣ ACTIVATE
Press Activate inside your Passport and sign once more.
Your NFT Tier is burned, your Tiers become active, and you take your place in the matrices.
You’re in. 🫀
7/9
7️⃣ CREATE YOUR PASSPORT NFT
Choose your name and picture.
Then select your Upline:
→ Enter the Passport ID of the person who invited you
→ Or choose @VistoryX if nobody invited you
Check it carefully - the Upline is fixed forever.
Sign the transaction and pay only the network fee.
You now have your Passport ID.