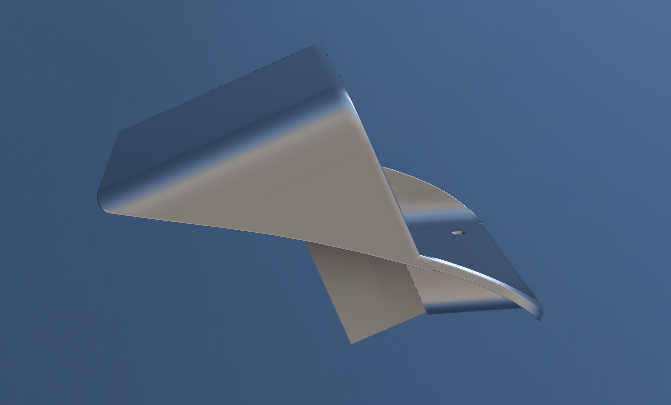
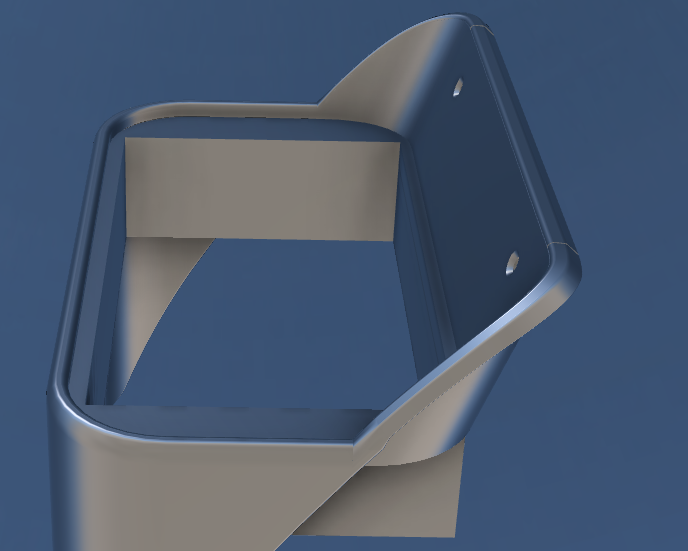
This started as an original 1967 Mustang single DIN bezel. I scanned the factory part, rebuilt the geometry parametrically, and converted it to fit a modern double DIN head unit while preserving the OEM shape and proportions as closely as possible.
The hardest part was the surfacing. The original bezel has a lot of subtle transitions that cannot be recreated cleanly with simple extrudes and fillets. Most of the geometry had to be built manually using sweeps, guide curves, extrude cuts, trims, and lofts until the surfaces flowed together correctly.
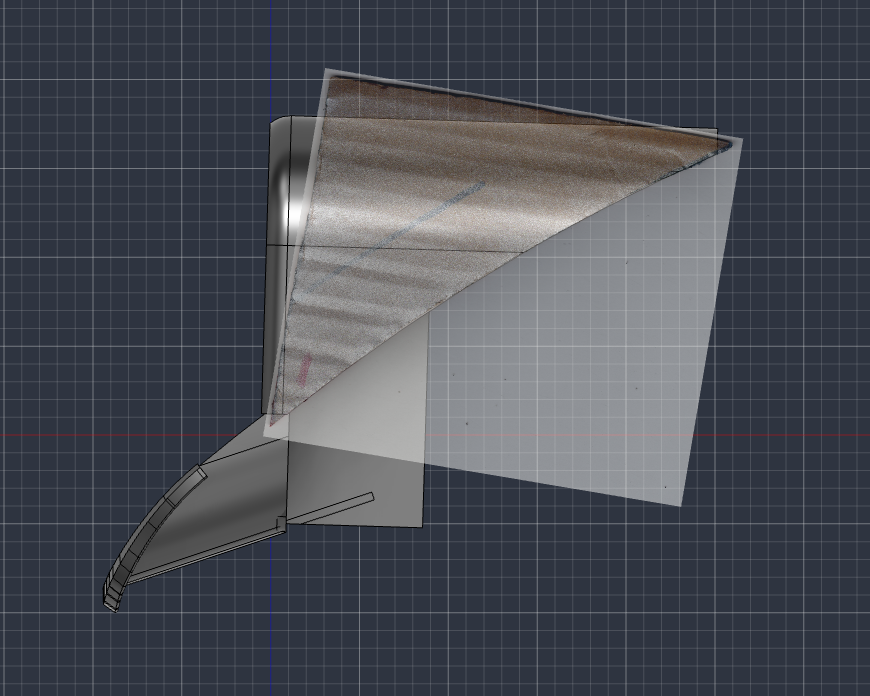
The lower rear extension was also reconstructed from a physical cardboard template provided by the customer so the finished bezel follows the actual dash profile rather than stopping at the front face.
The feature tree on this one became pretty substantial. Several earlier sweep and loft approaches are still preserved as suppressed features because they document the different methods tested before the final transitions came together cleanly.
The main design work is now complete. Next step is a full PETG prototype and real world test fit before any final adjustments.
This project has been a reminder of how labor intensive proper reverse engineering can be. A scan gives you the reference, but turning that reference into clean, editable, manufacturable CAD is an entirely different process.
Projects like this are exactly why I built https://t.co/YSVAneTHTn. The main design work is now complete. Next step is a full PETG prototype and real world fitment test. If everything checks out, the verified design will be available
Open source only survives when people defend it, and with 1,200+ forks that have already appeared after threats over Bambu Lab-related AGPL code, what's stopping you from creating your own fork?
The future of digital ownership depends on people refusing to back down. So get involved and fight for digital ownership.
Link to the GitHub: https://t.co/kfmxqpQbwV
This is why we’re building https://t.co/iXJVhjzXHo.
Classic car parts shouldn’t disappear just because the original supply dried up.
Scan. Rebuild. Test. Share.
A client sent me a 1965 Chevy Nova reverse light lens to reverse engineer
I scanned the original, manually rebuilt the geometry from the scan, and 3D printed a prototype
Most surfaces match within ~0.3mm
Some deviation comes from the original 60 year-old lens no longer being perfectly straight
Fitment test coming next
This is how classic car parts get a second life.
@HustleBitch_ I wish we could do more to help, but as others have said it’s not Star Trek replicator tech. Hopefully we can assist in the transition to independent manufacturing as much as possible.
I’m 3D printing a car part every day.
Today’s print: window switch clips / tabs
Vehicle: 1999 Mazda MX-5 Miata
Printer: Ender 3
Material: polymaker ASA
Tomorrow: a new part.
Day 2.
3D printing another car part.
This one’s a Nissan 300ZX cruise control cap, test fit was perfect.
Printed on an Ender 3.
Free download at https://t.co/iXJVhjzXHo.
Tomorrow: a new part.
#3Dprinting#300ZX#Nissan
Day 1 – 3D printing a car part every day.
Today’s print: a windshield trim clip for a Hyundai Genesis.
Printed on my old Ender 3.
Tomorrow: a new part.
3DCarParts is a free, open-source library of 3D printable car parts. No ads. Verified fit. Measure before you download. Download or order it printed. We exist so one missing clip doesn’t kill your build.
I'm looking forward to working with the talented 3d modelers, mechanics, and engineers who contributed their works to the public domain. I intend to help get their works monetized properly. will be adding copy about that on rollout of the new POD system. Marketplace insurance tba