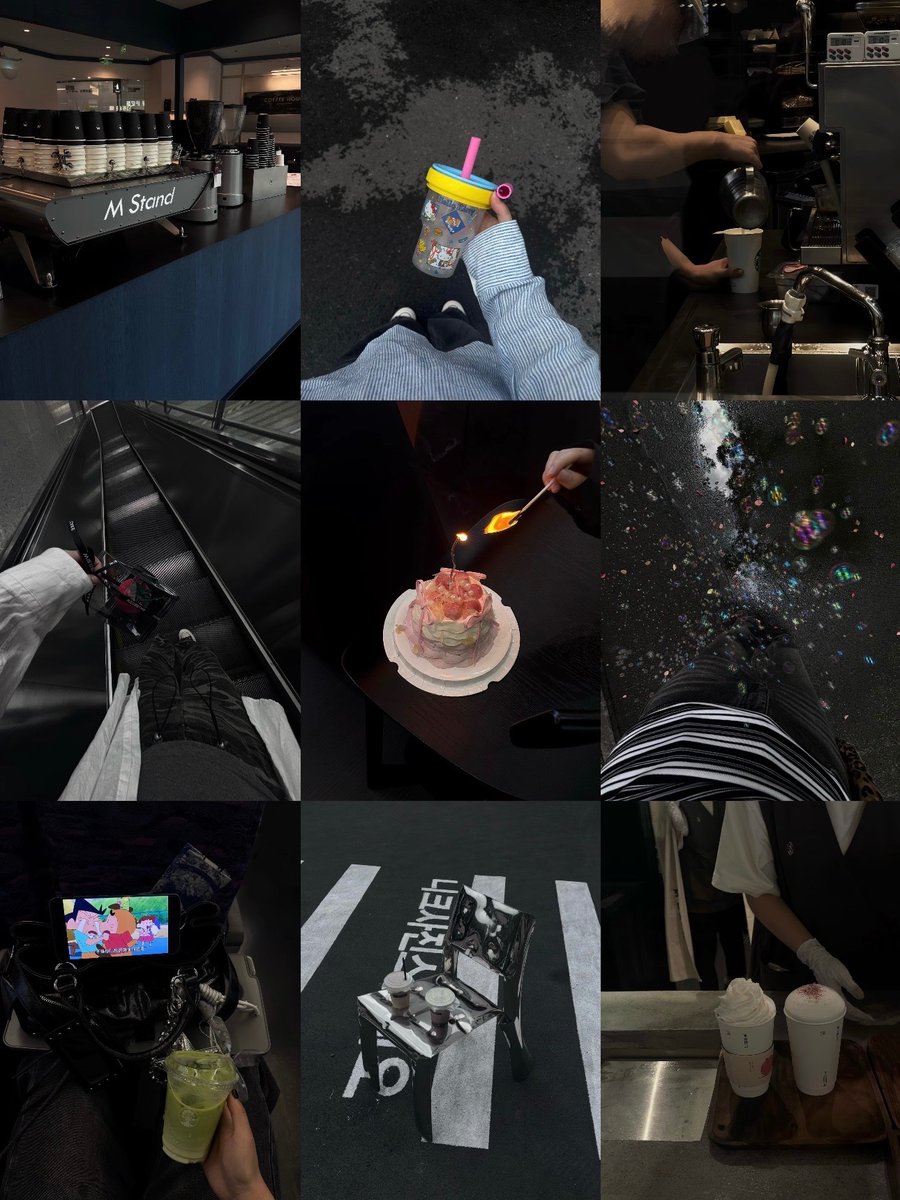
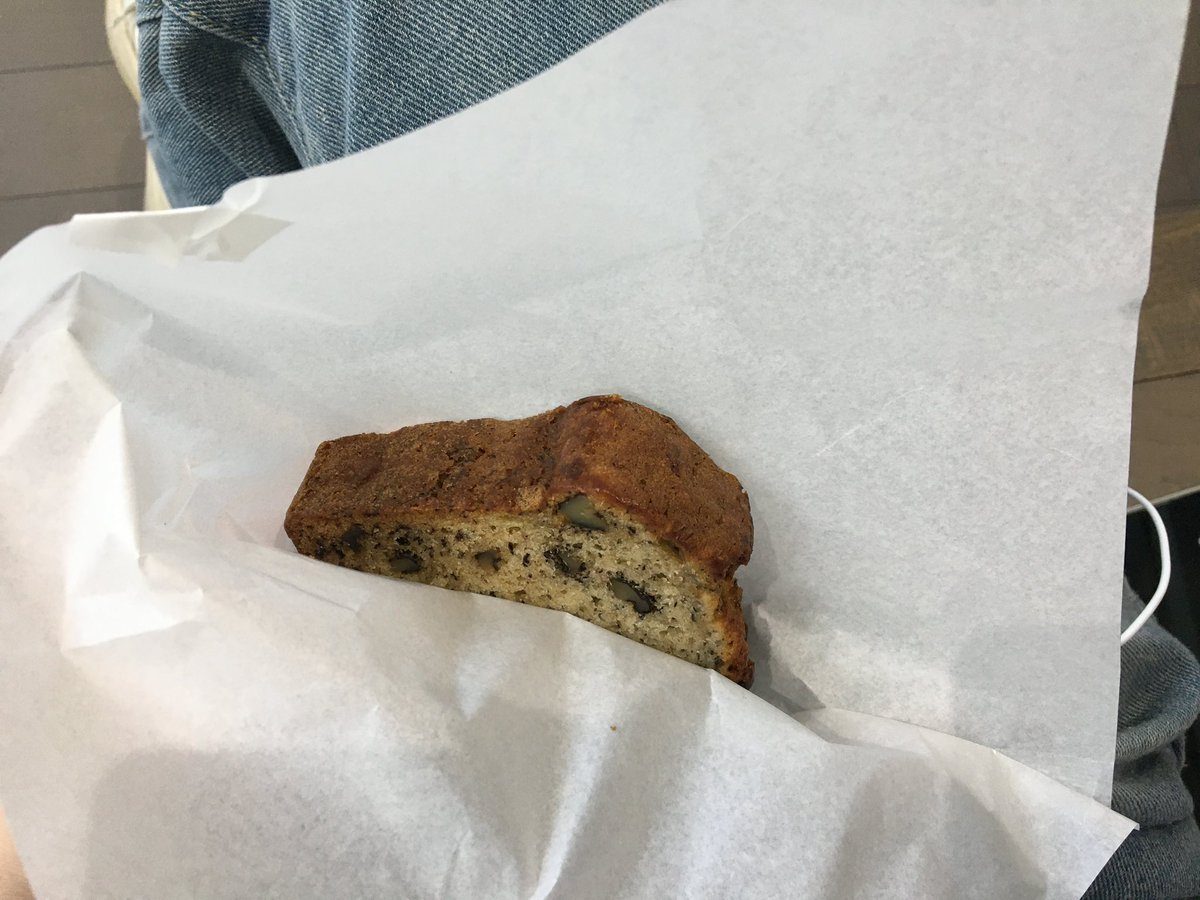
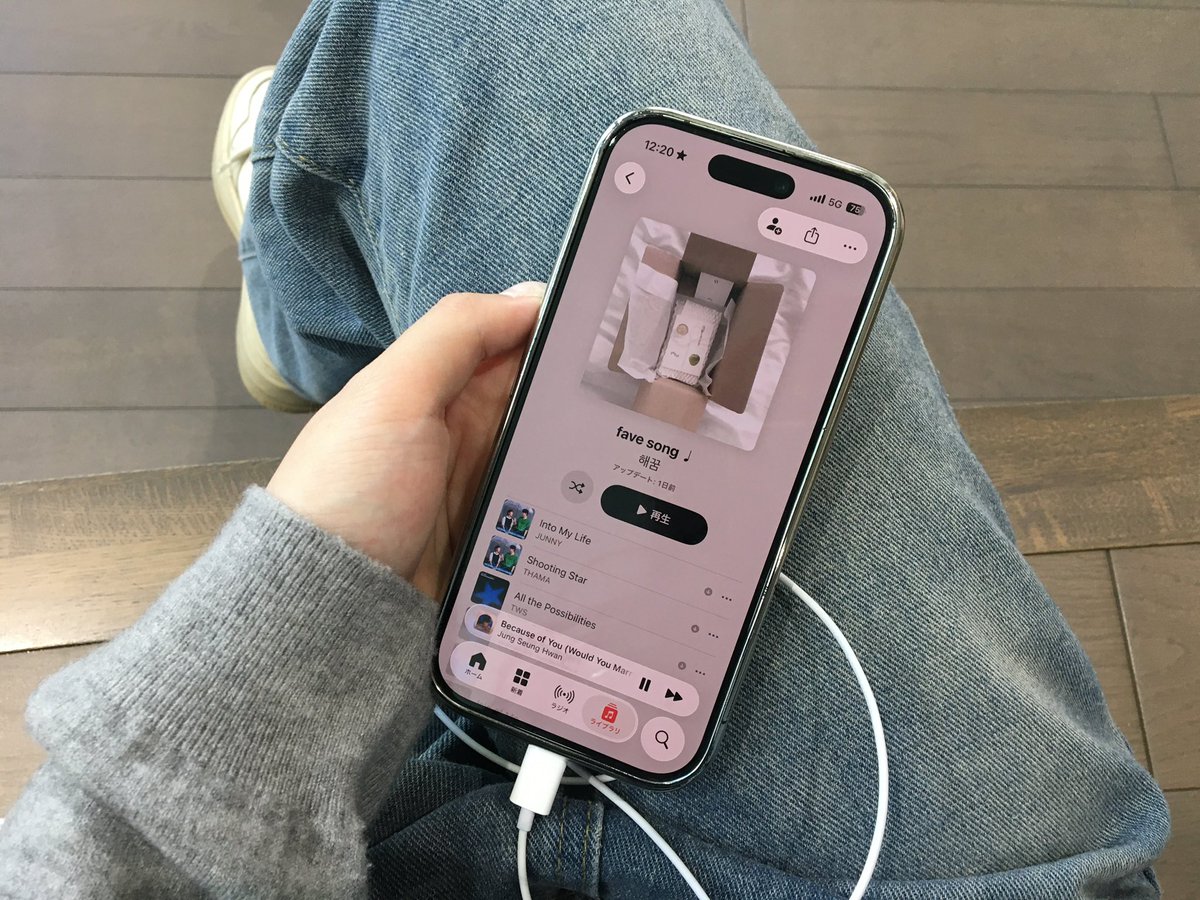
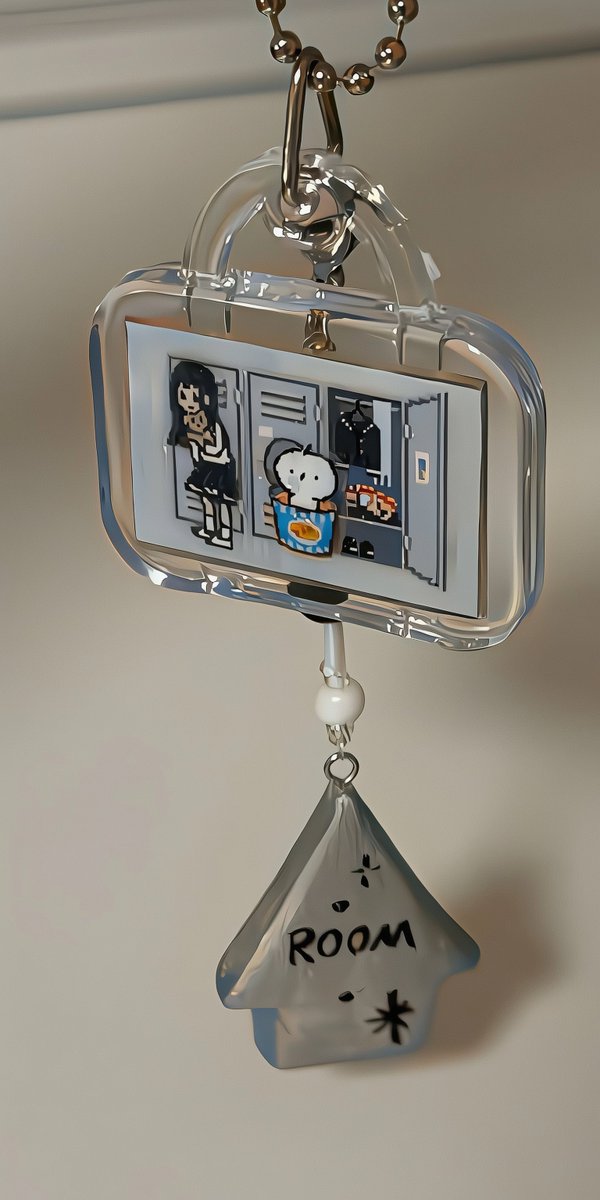
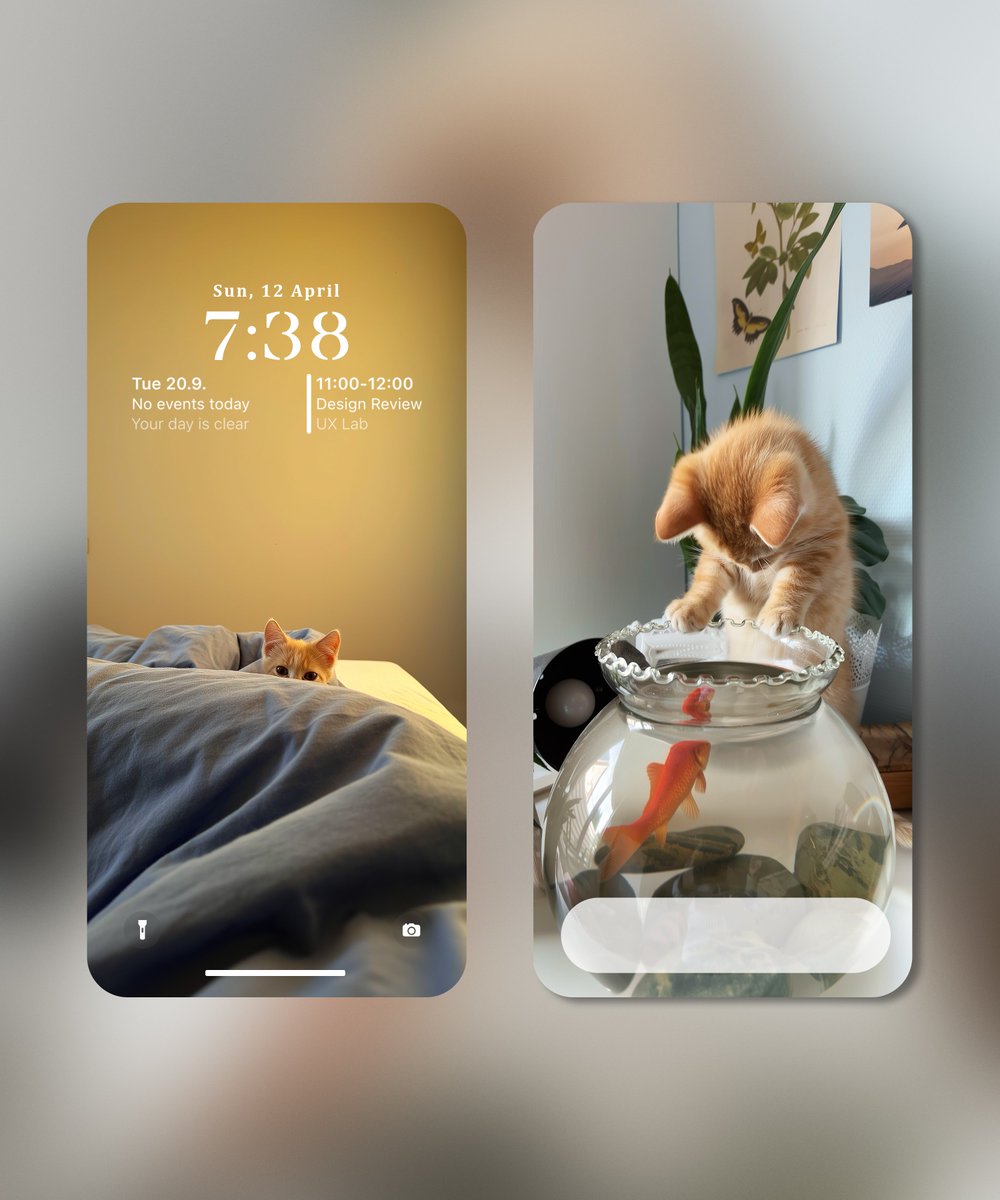
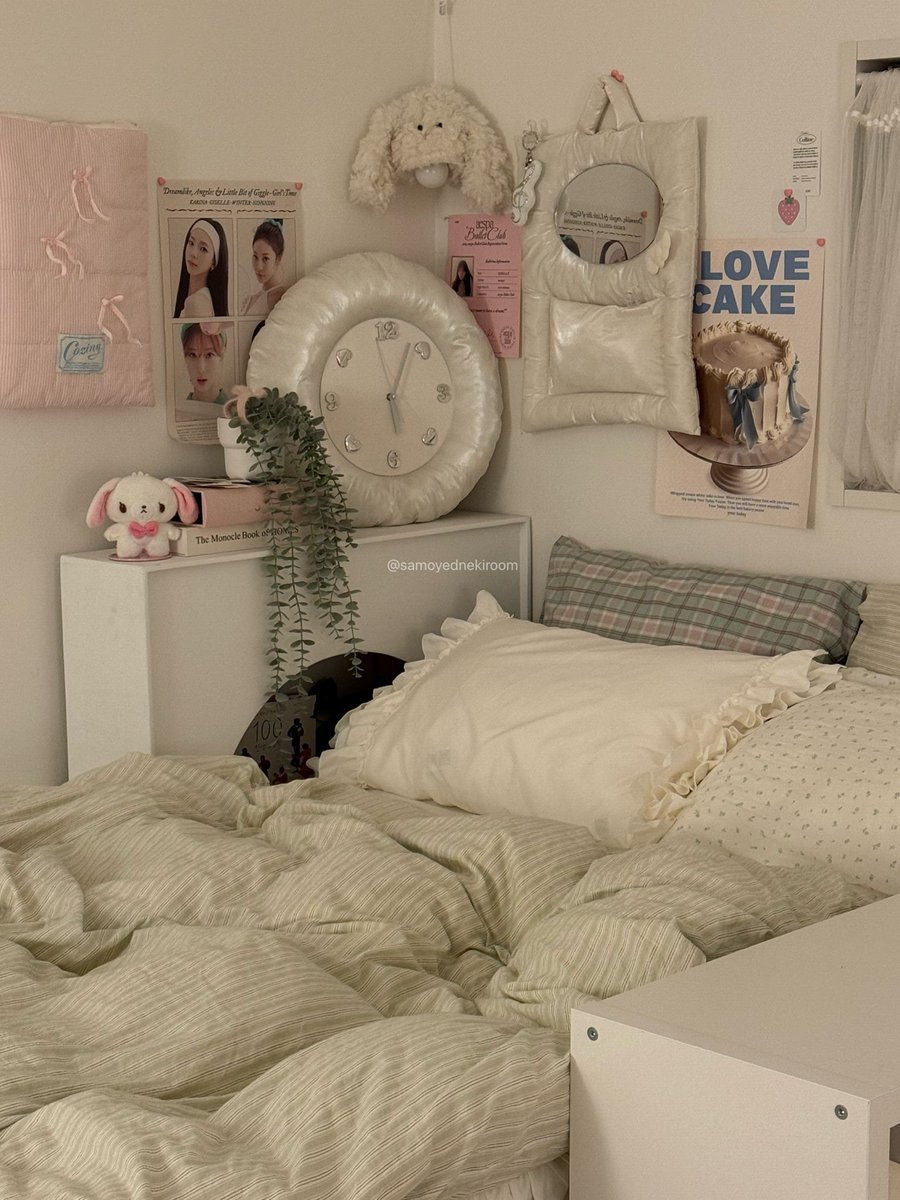
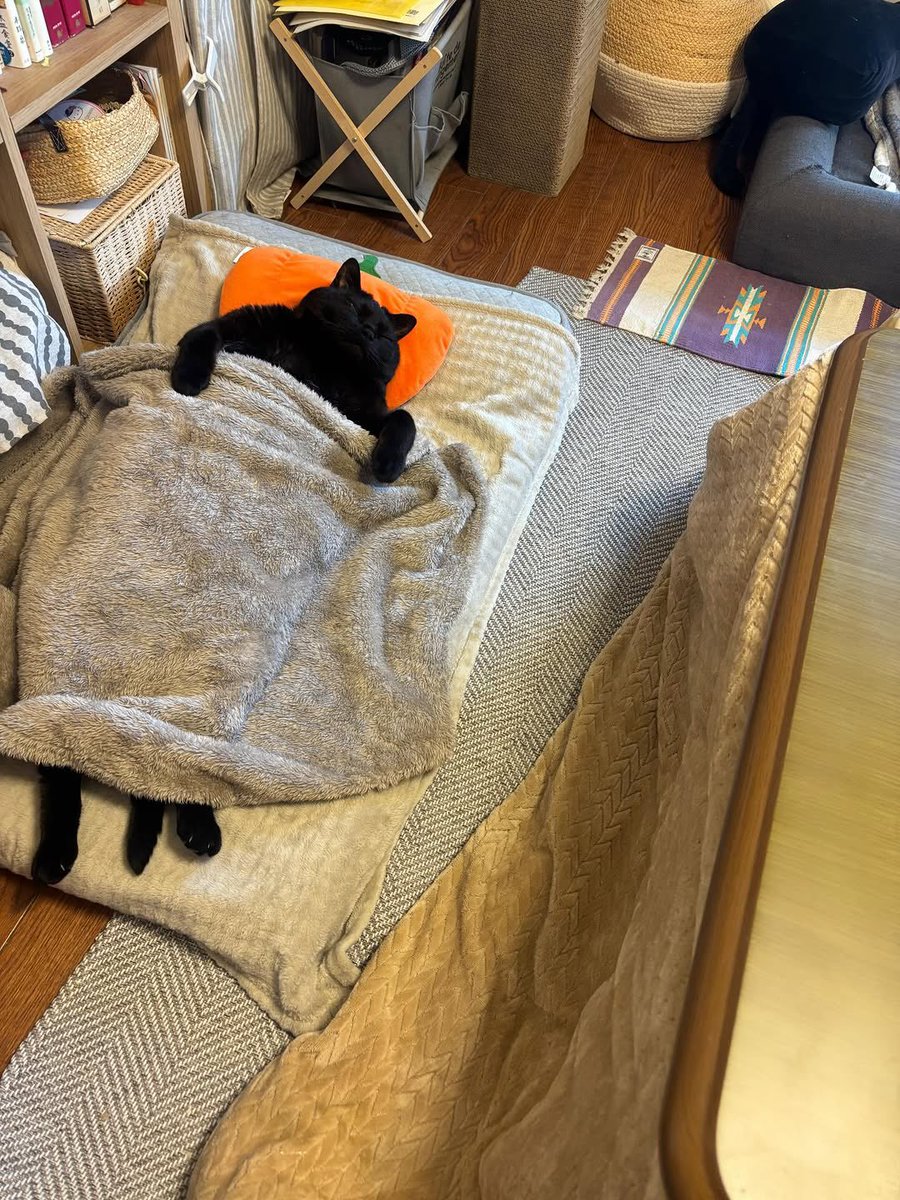
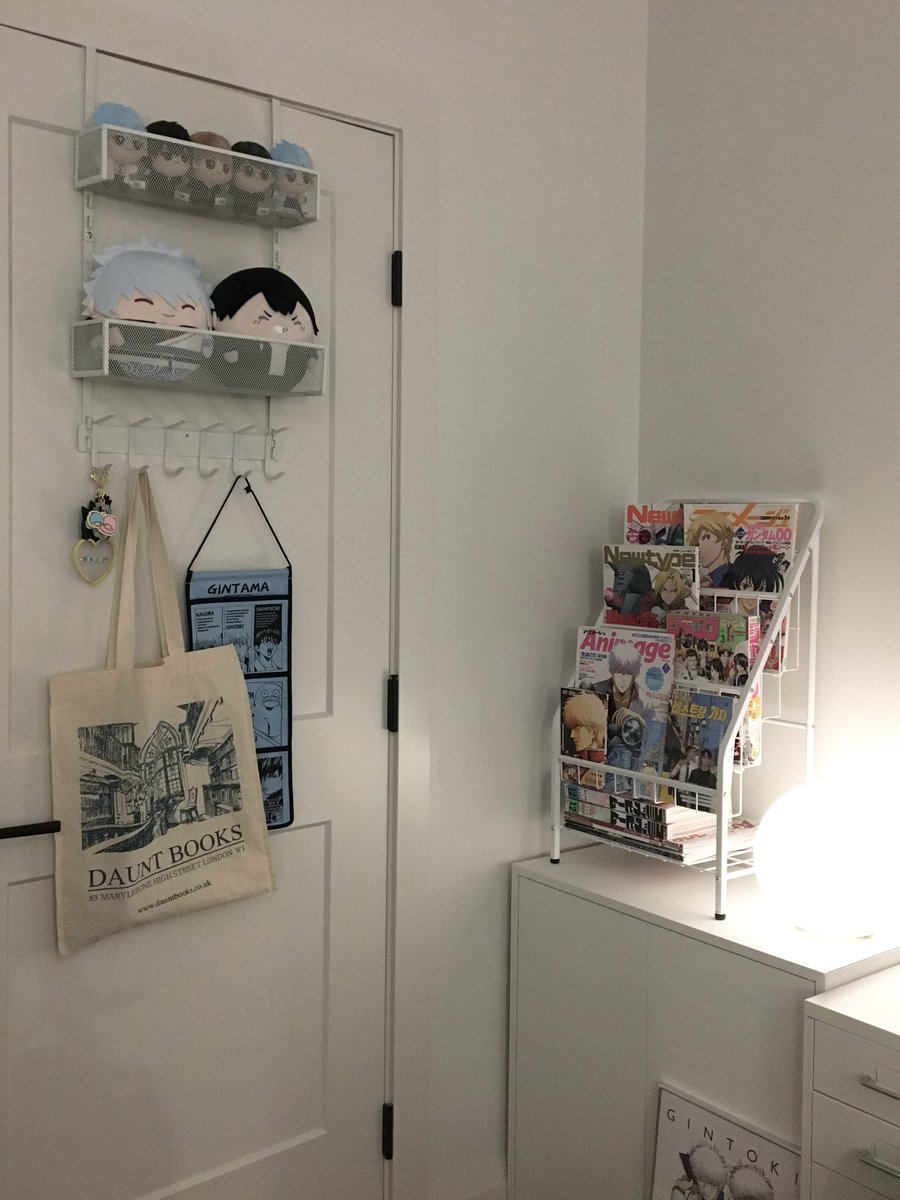
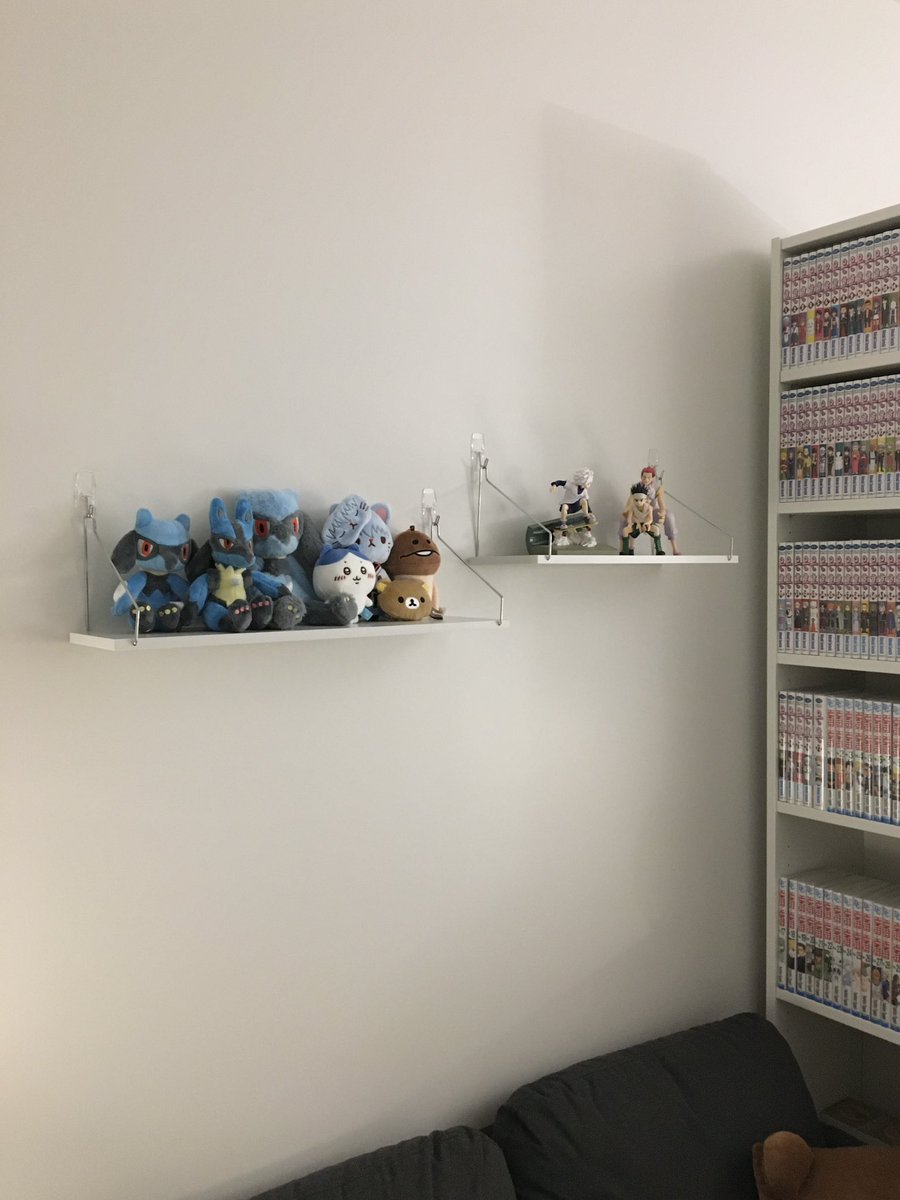
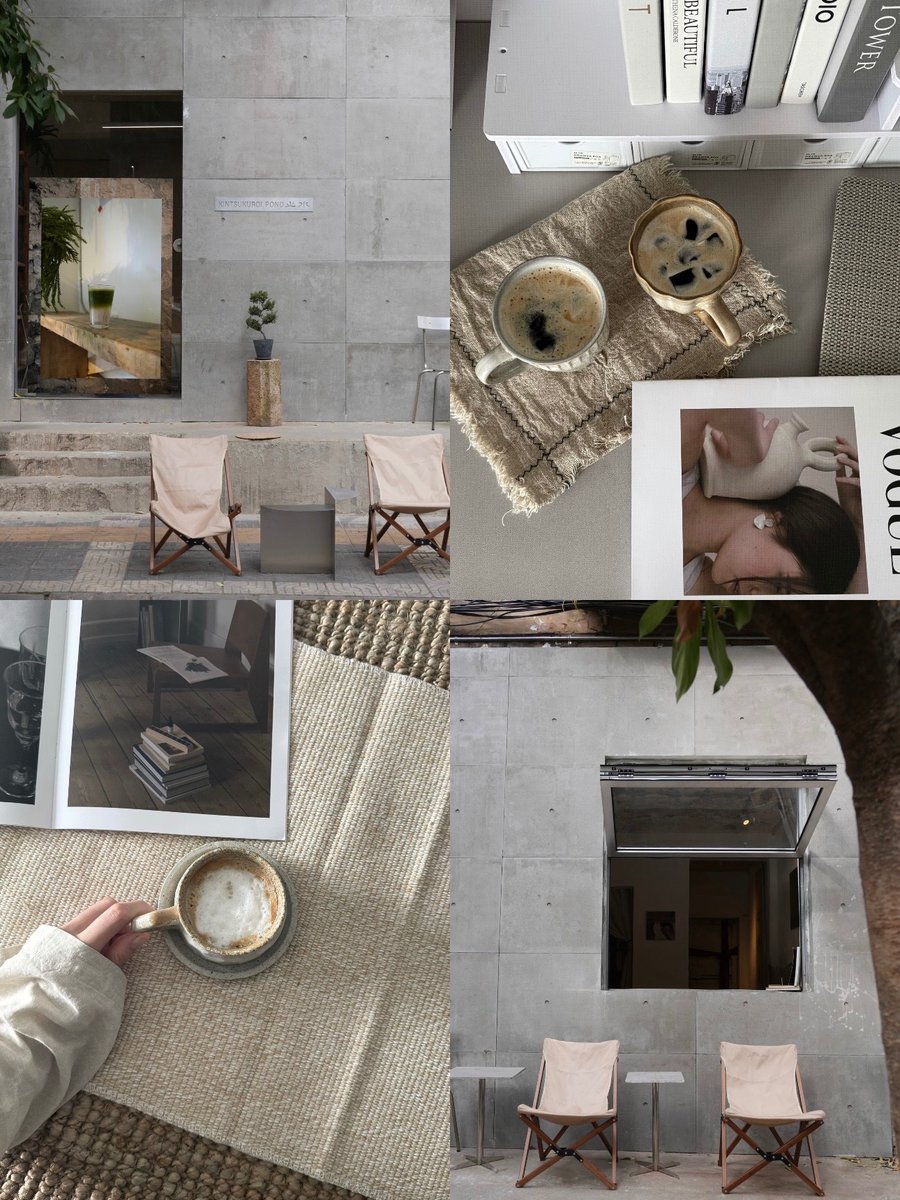
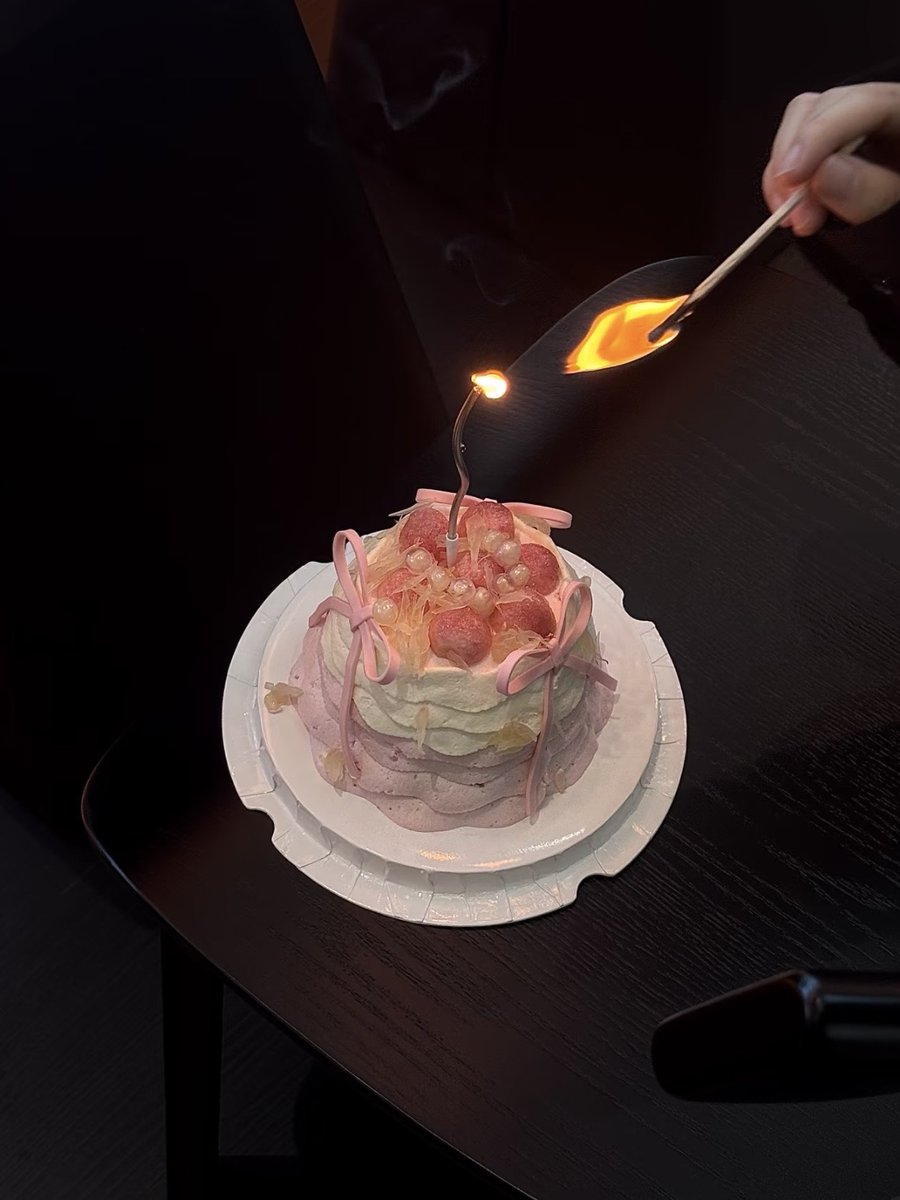
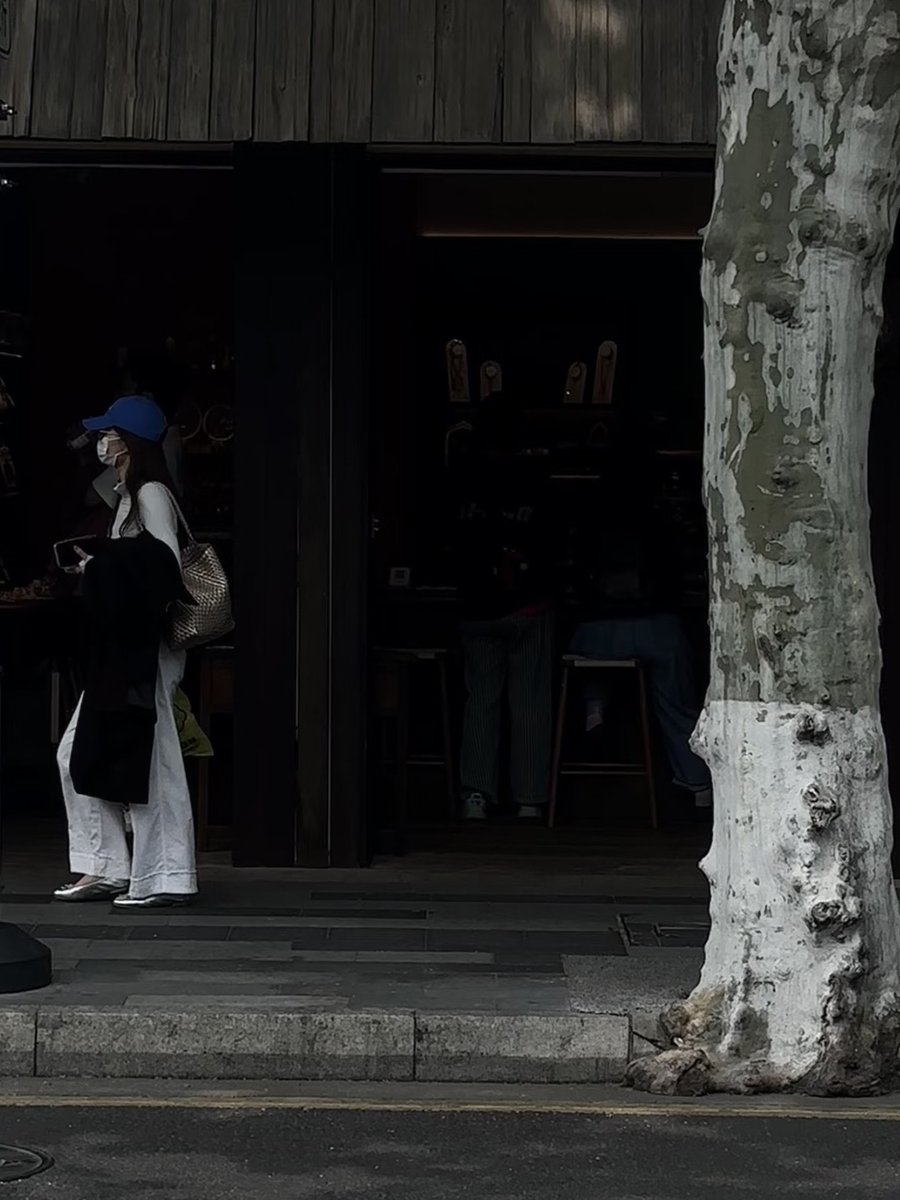
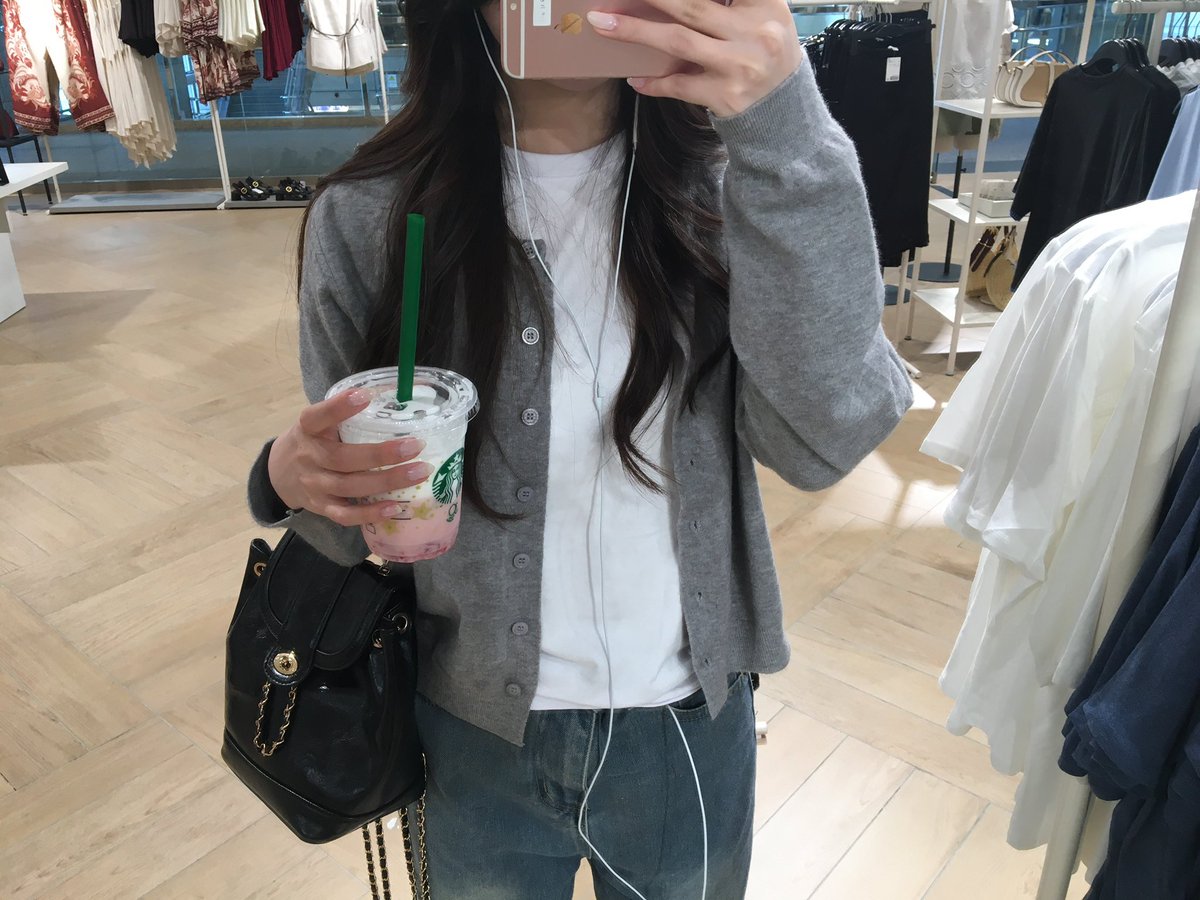
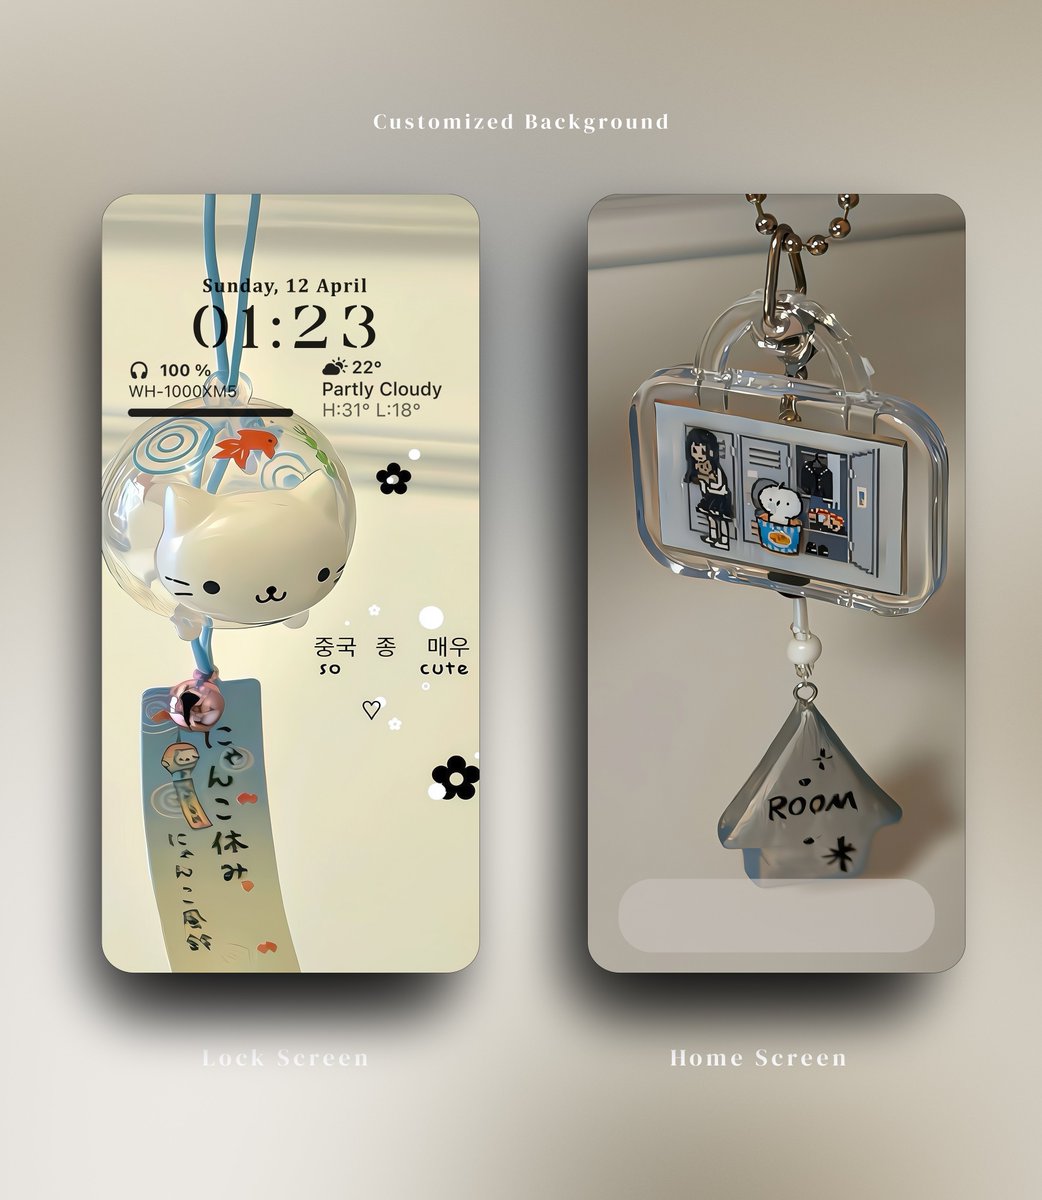
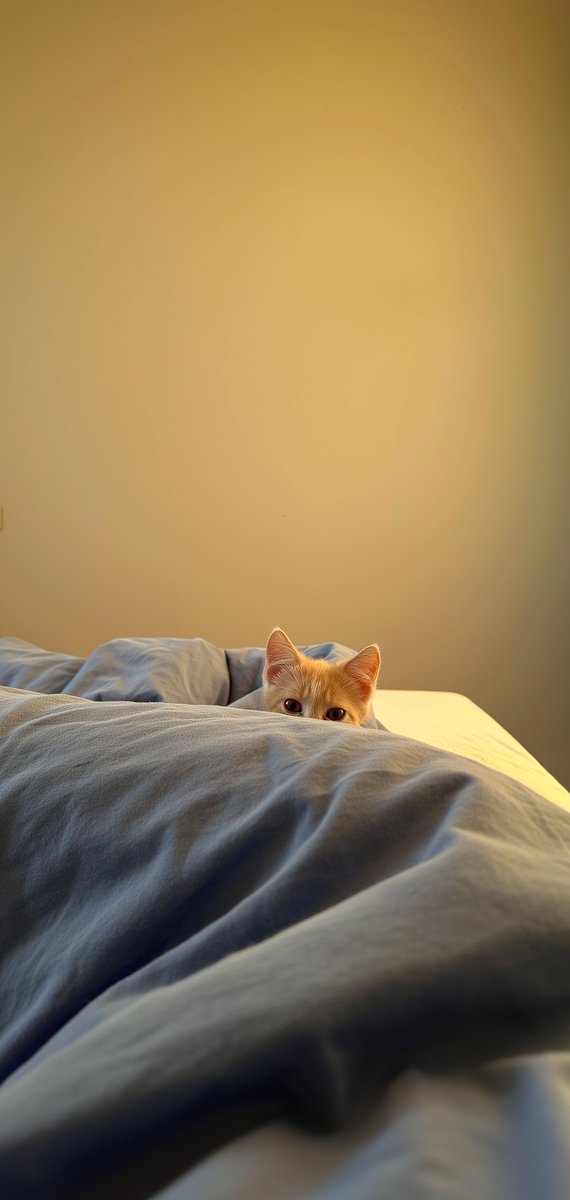
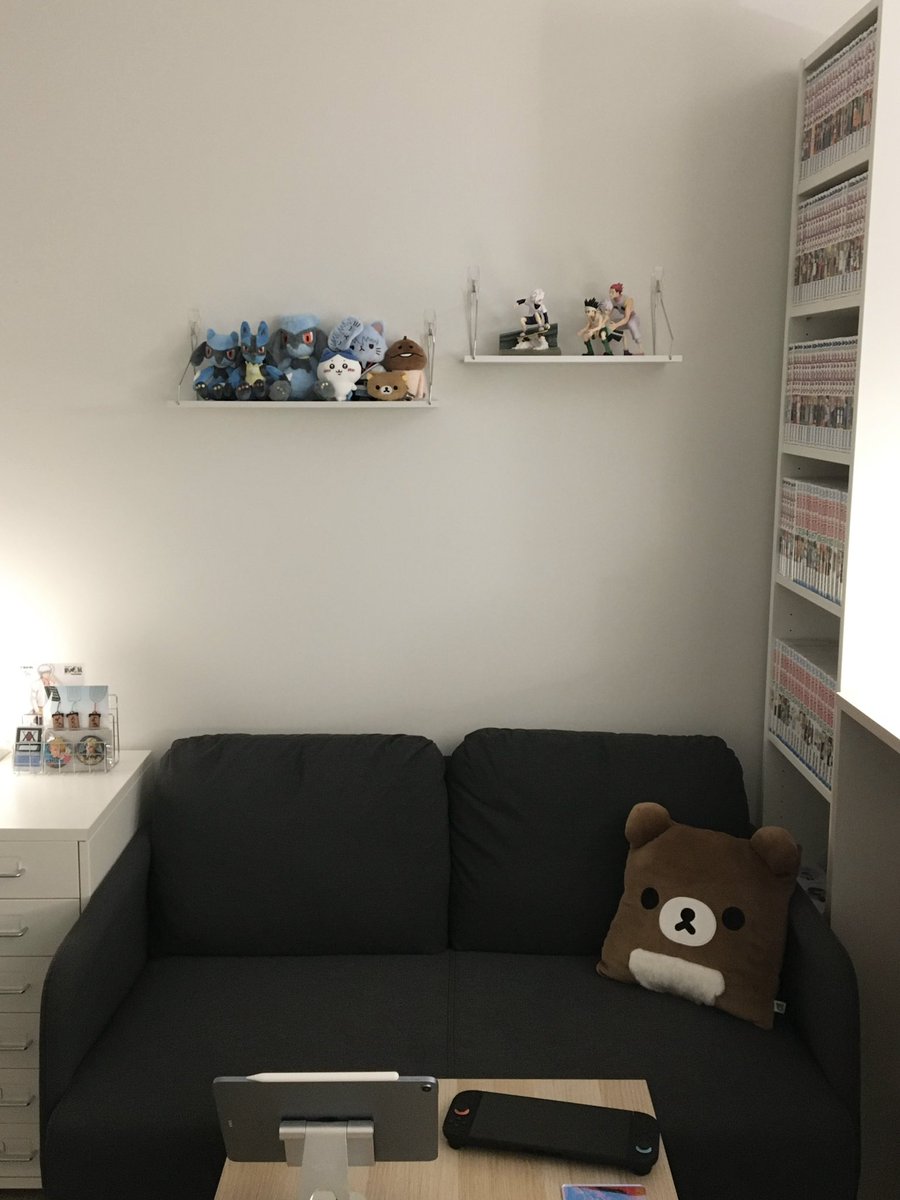
▫️ My go-to settings for that Korean-style gray-toned Insta look
iPhone color grading:
•Exposure -15
•Contrast +10
•Highlights -10
•Saturation -25 (this is the magic number!)
•Sharpening +50
💭 Remember to tweak these a bit depending on your lighting~
📱iPhone camera edits:
•Exposure: -25
•Brilliance: -20
•Highlights: +50 (this is what gives it that glow)
•Shadows: -10
•Contrast: +25
•Brightness: -10
•Saturation: -10
•Natural Saturation: -15
•Warmth: -20
•Sharpness: +50
•Definition: +40
•Black Point: +0 (add this if your blacks look a bit off)
📷Quick tips for that dark aesthetic:
✅Stick to black, white, and gray backgrounds
✅Turn on your camera's grid to help with composition
✅Zoom in to save those not-so-great shots
✅Don't forget to wipe your lens before snapping pics
✅Pick spots with steady lighting for your photos
iPhone original camera editing recipe: (Not fixed, tweak it up or down)
•Exposure -15
•Brilliance -8
•Shadows -5
•Contrast +8
•Brightness -5
•Black Point +3
•Sharpness +45
•Definition +35
Dark tone tips:
• Wipe that lens clean! No blurry pics allowed.
• Zoom in 1.5-3x to cut out the messy background and focus on the main subject.
• Lower the exposure with the original cam (This is key for that dark vibe!!)
iPhone original camera color adjustment parameters:
•Exposure -20
•Vividness -12
•Shadows -5
•Contrast +8
•Brightness -5
•Black point +3
•Sharpness +35
•Clarity +45
• Clean the lens thoroughly to avoid blurriness
• Zoom the lens 1.5-3 times to avoid surrounding clutter and highlight the subject
• When shooting, lower the exposure (key to dark tone texture!)