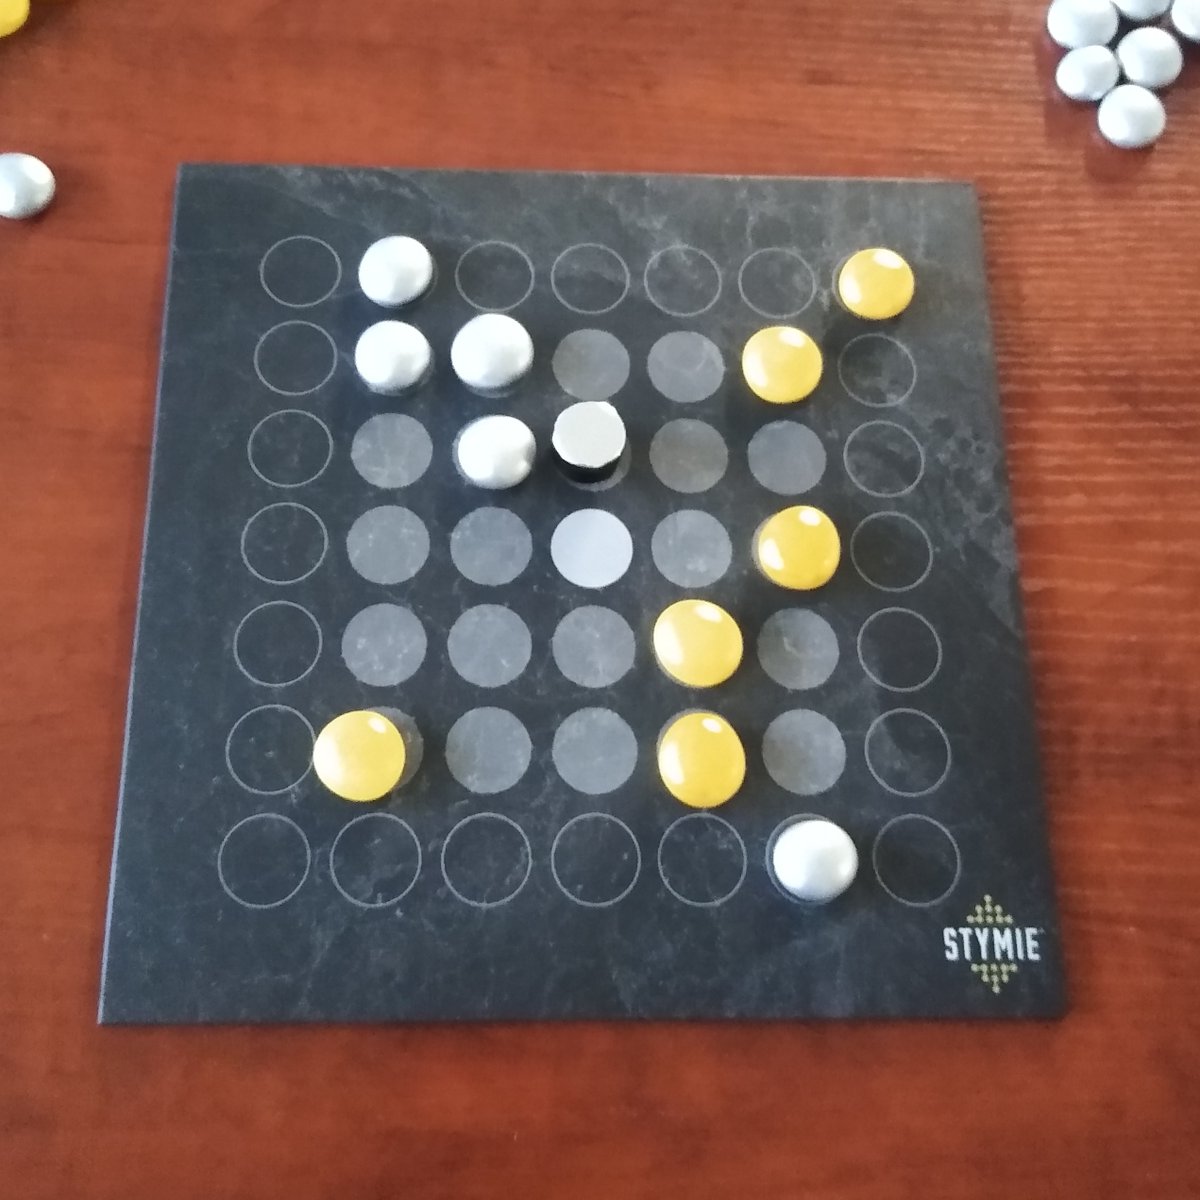
16. E4-E3 C7 j C5
Gold retreats from Silver's powerful alignment in the upper left corner of the board while simultaneously threatening the stone on F1. Silver begins his advance to divide and conquer Gold's forces.
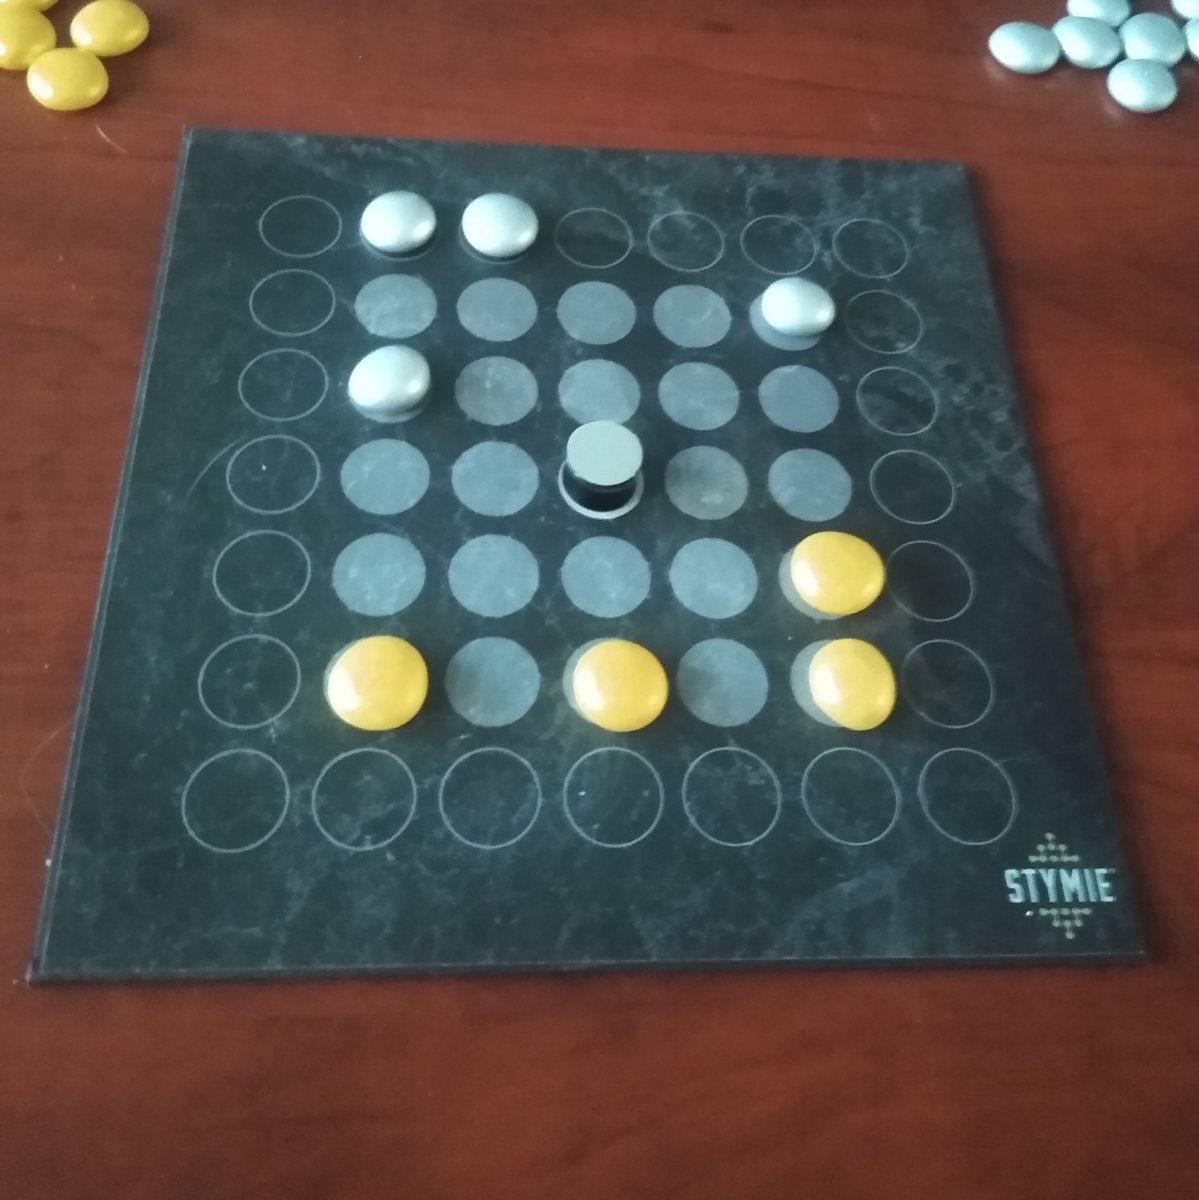
Enjoy the New Board Game of our honored guest
Stymie @Stymie2021@GamesMindf78327@pcast_ol@ncore_ol @bookslafayette @stuartbedlam
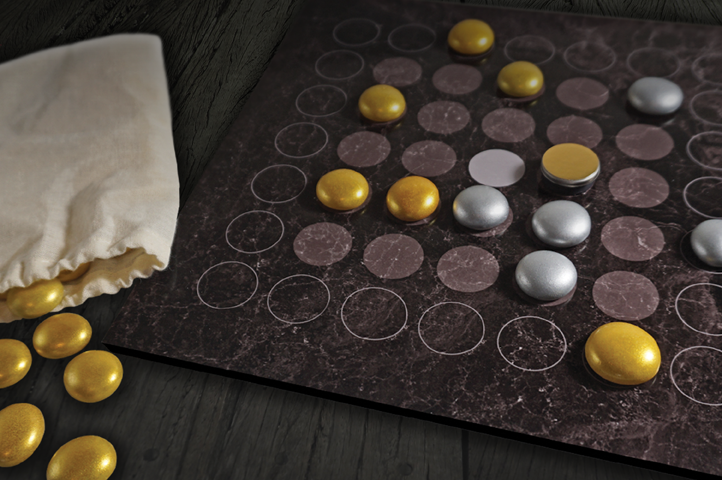
Stymie is a classic game of territory control and capture.
web: https://t.co/20CsThiW0m
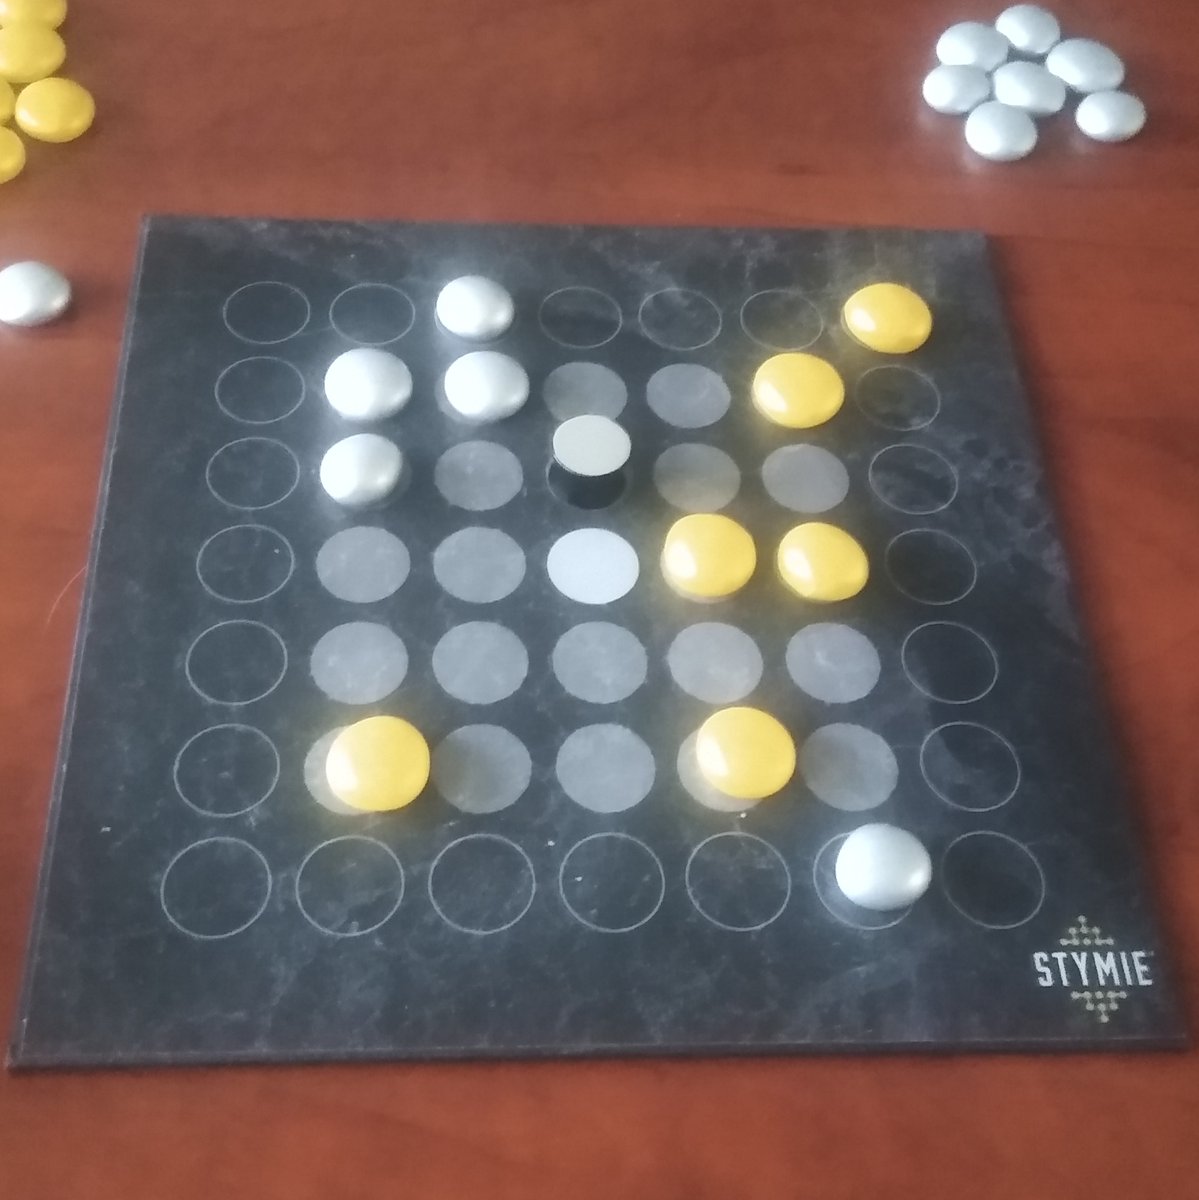
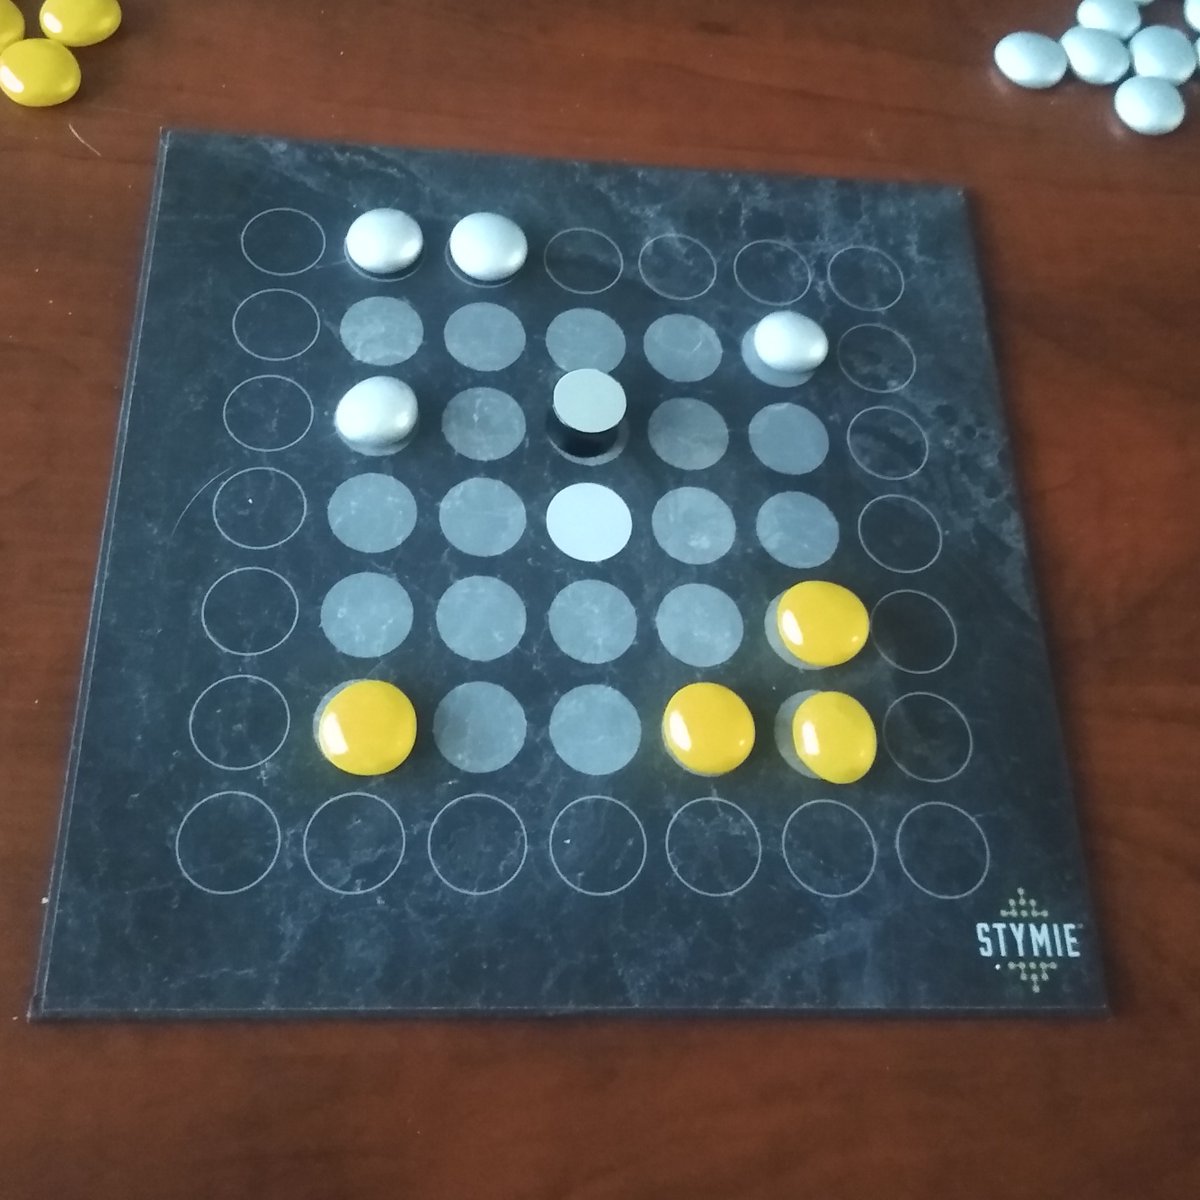
13. G6-G7 A7-B7
Gold backtracks with G6-G7 and his forces are divided. Silver has taken initiative and is building a strong foundation to go on the offensive.
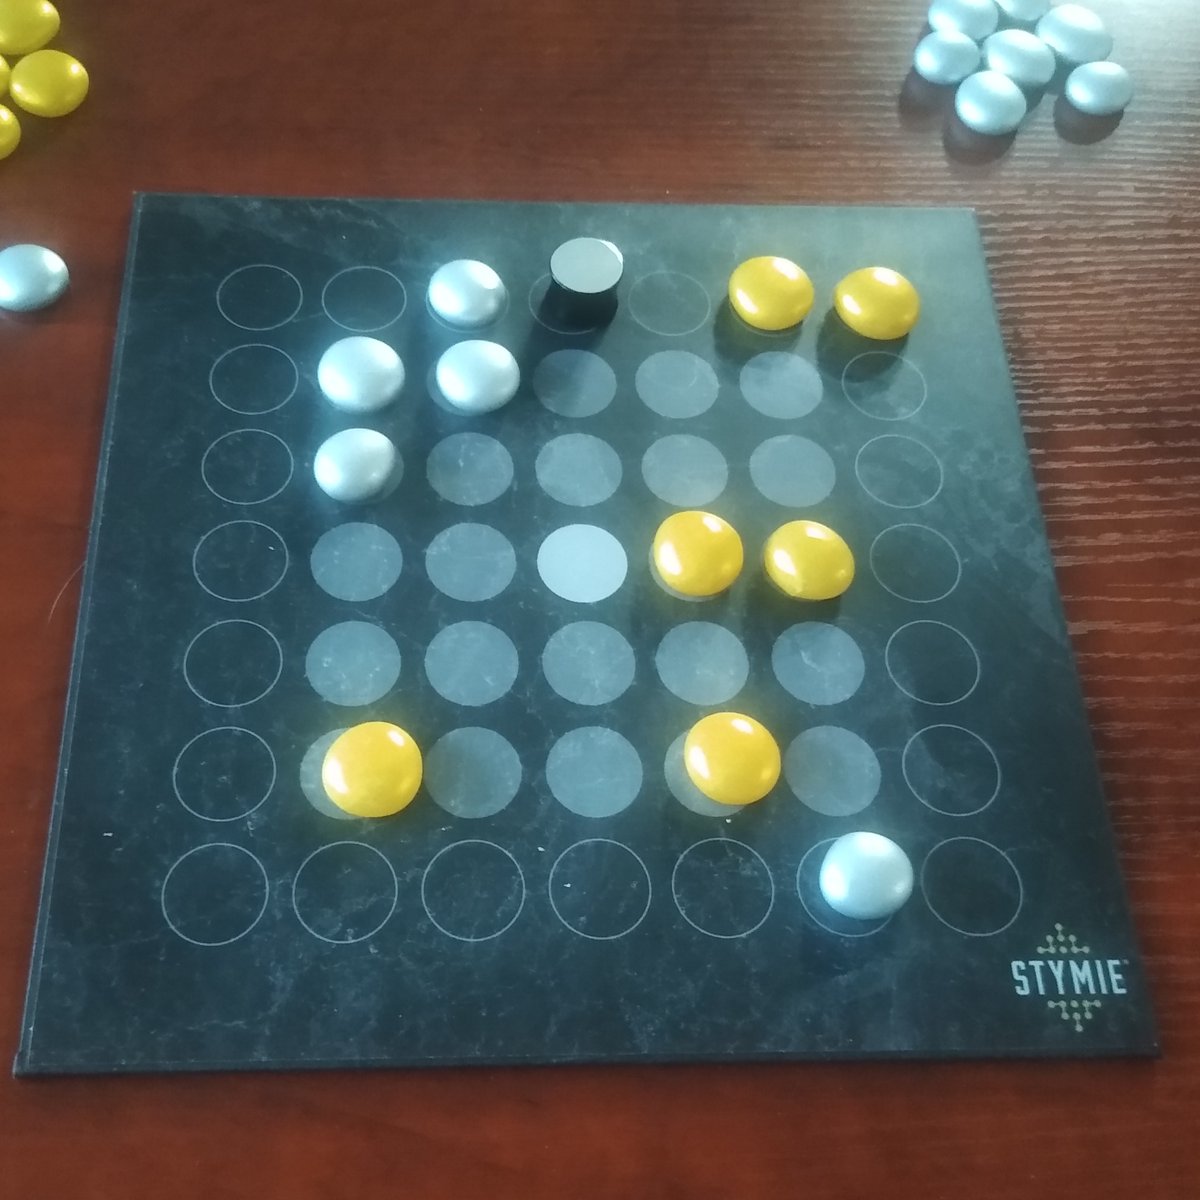
12. G6 A7
Both players are able to enter a stone into play, but Silver suddenly has developed an interesting position. The Gold stone on E7 is temporarily stuck and Silver is only two moves away from building a square
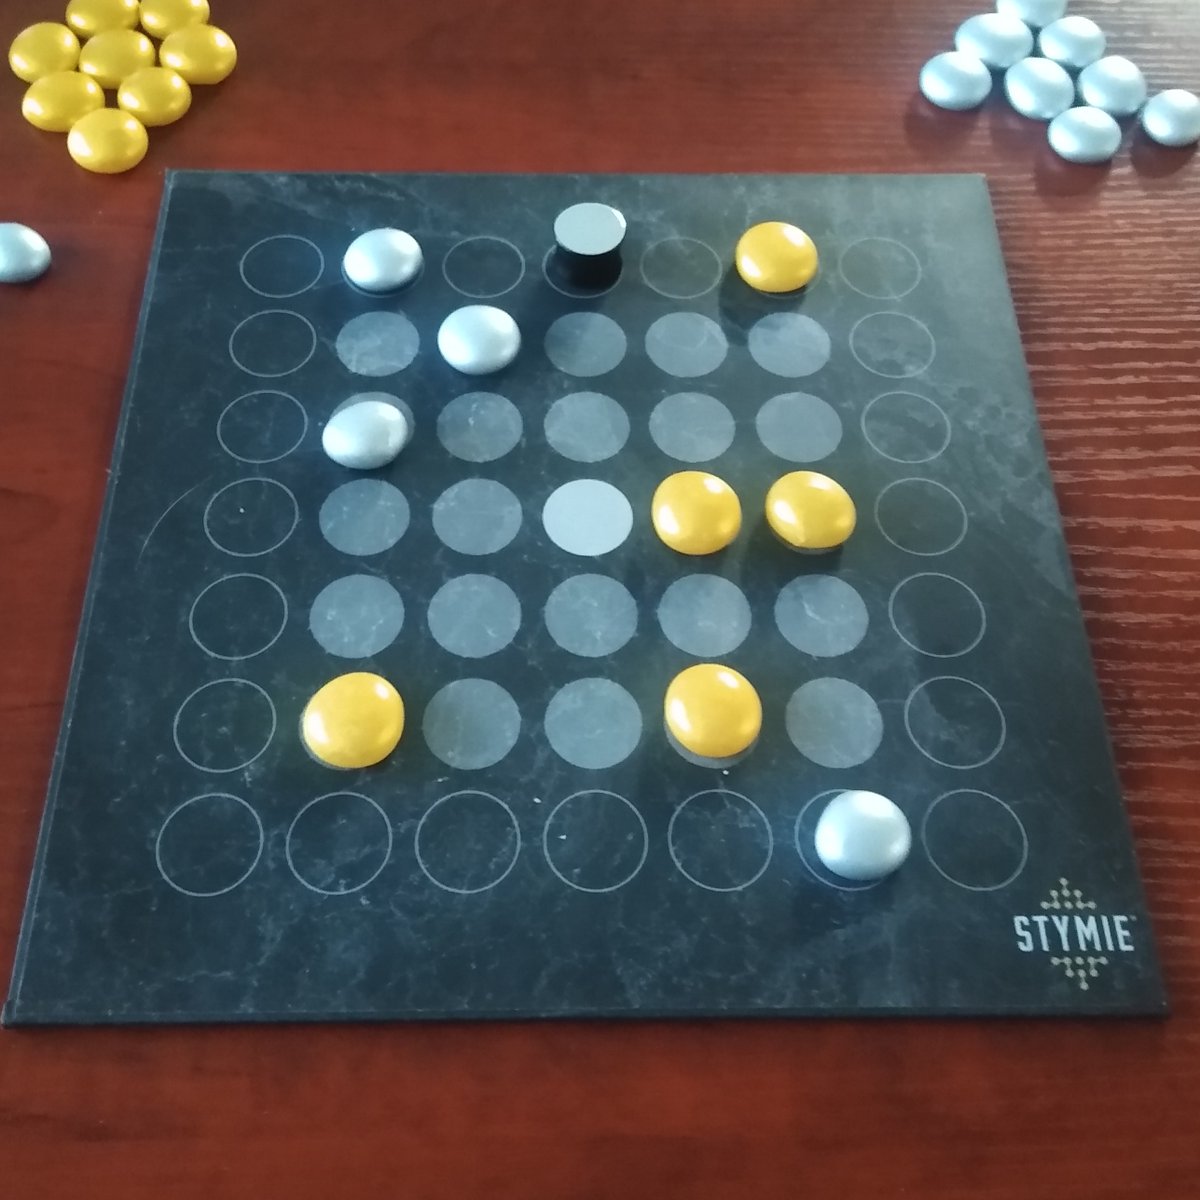
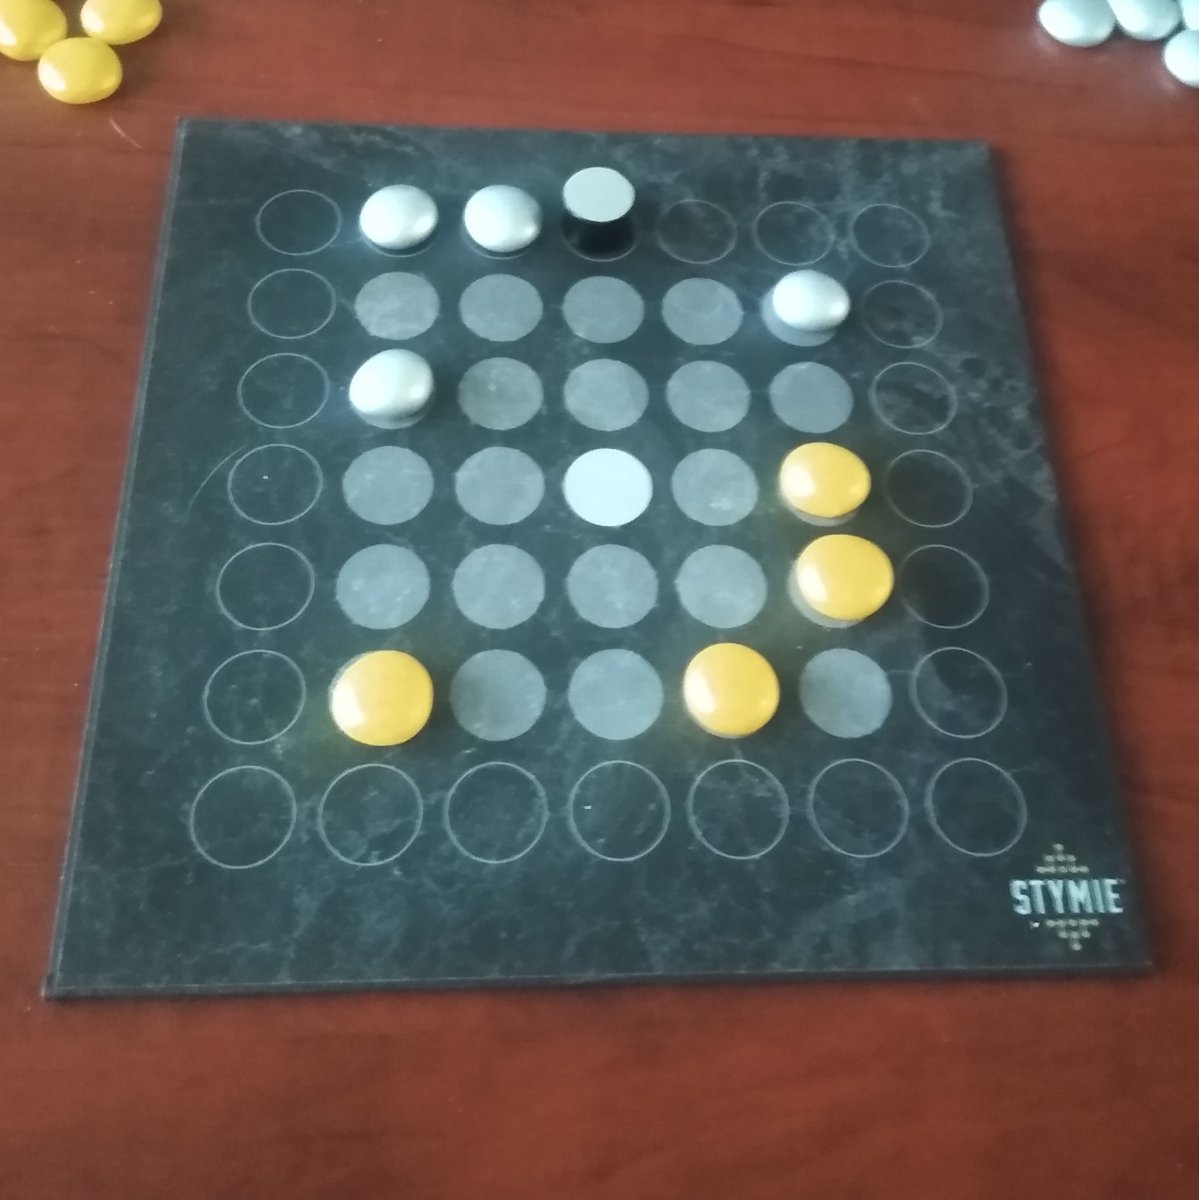
11. F7-E7 B7-C7
Gold threatens to take control of the Antipode and capture the stone on B7 as well opening up G6 or G7. Silver has no choice but to defend the attack and open A7
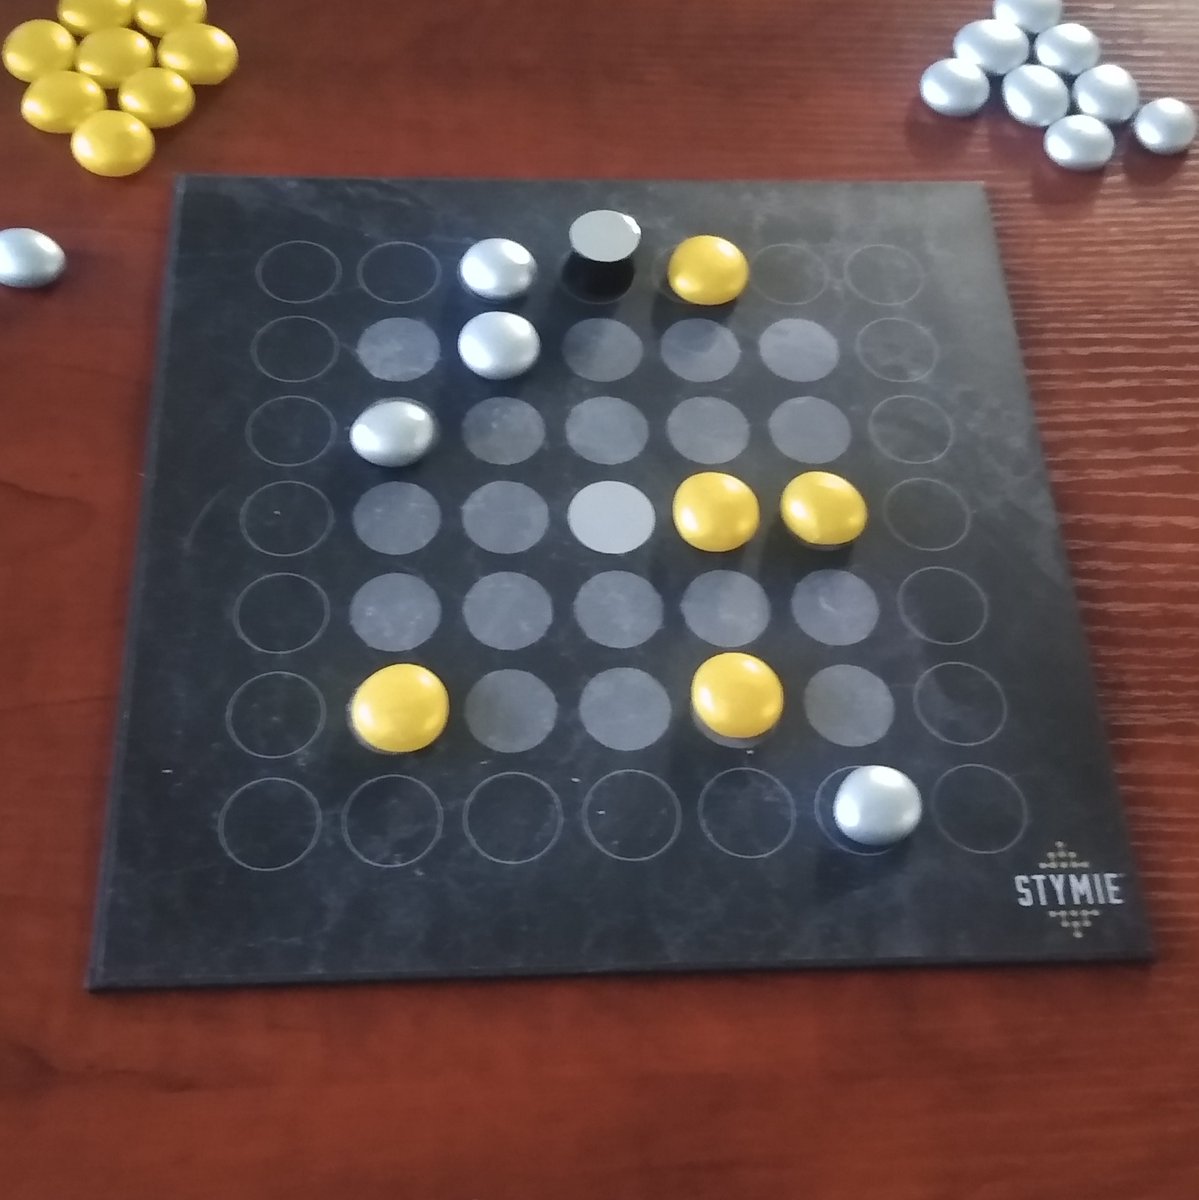
9. F3 j F5 j F7 (cF6) C7-C6
Gold decides to break up a potential square and chooses to capture the Silver stone on F6. Silver could capture Gold stone on F7 and lose control of the Antipode but decides to bring his stone on C7 into a Prime space instead.
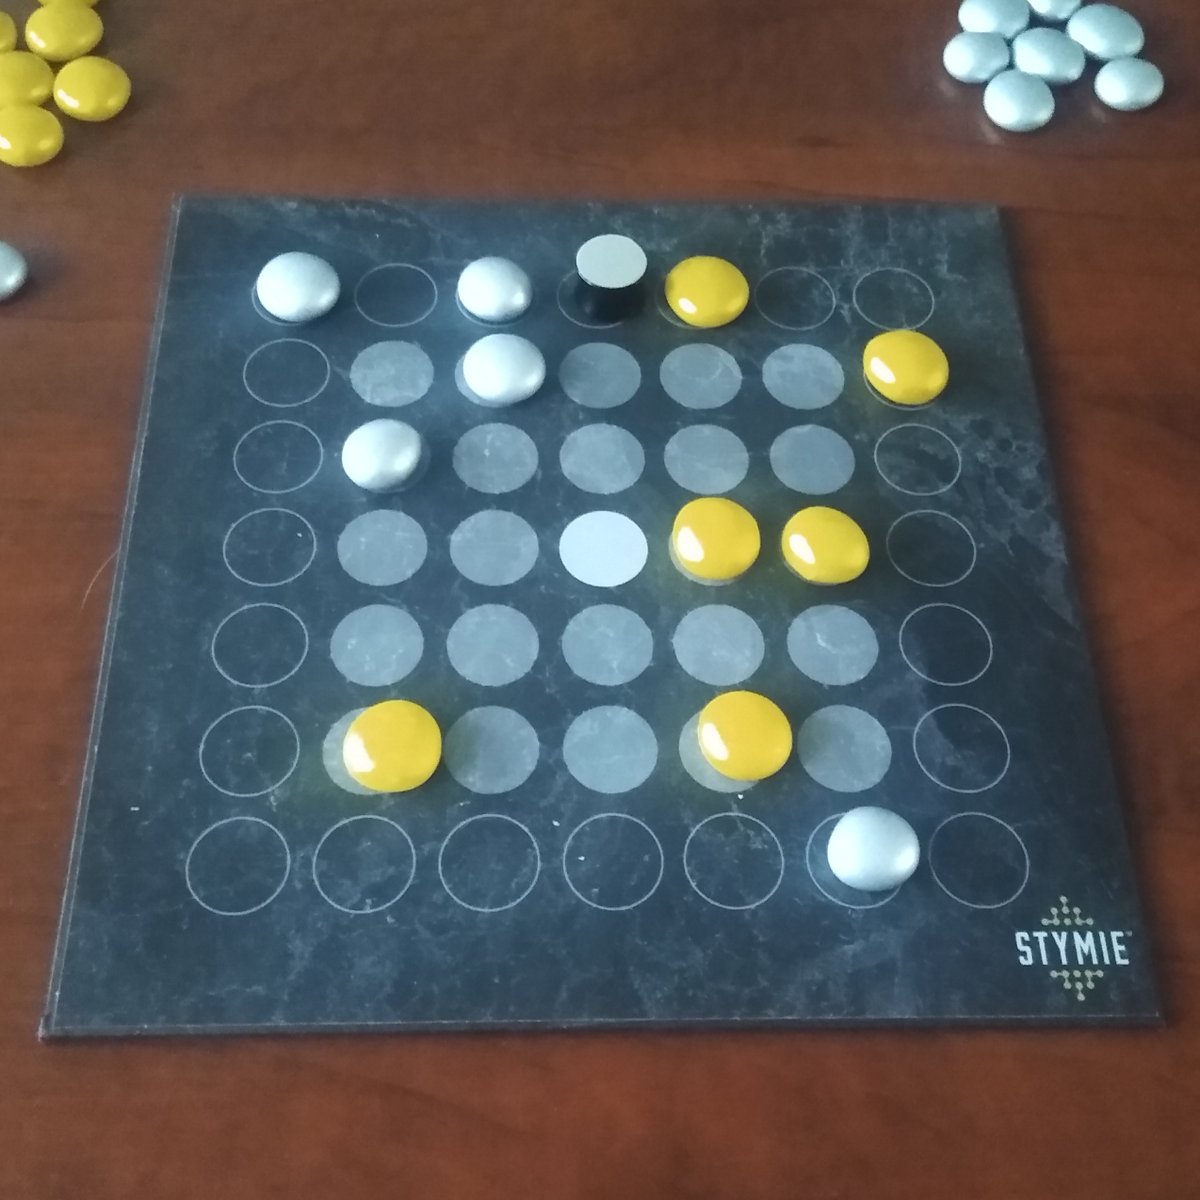
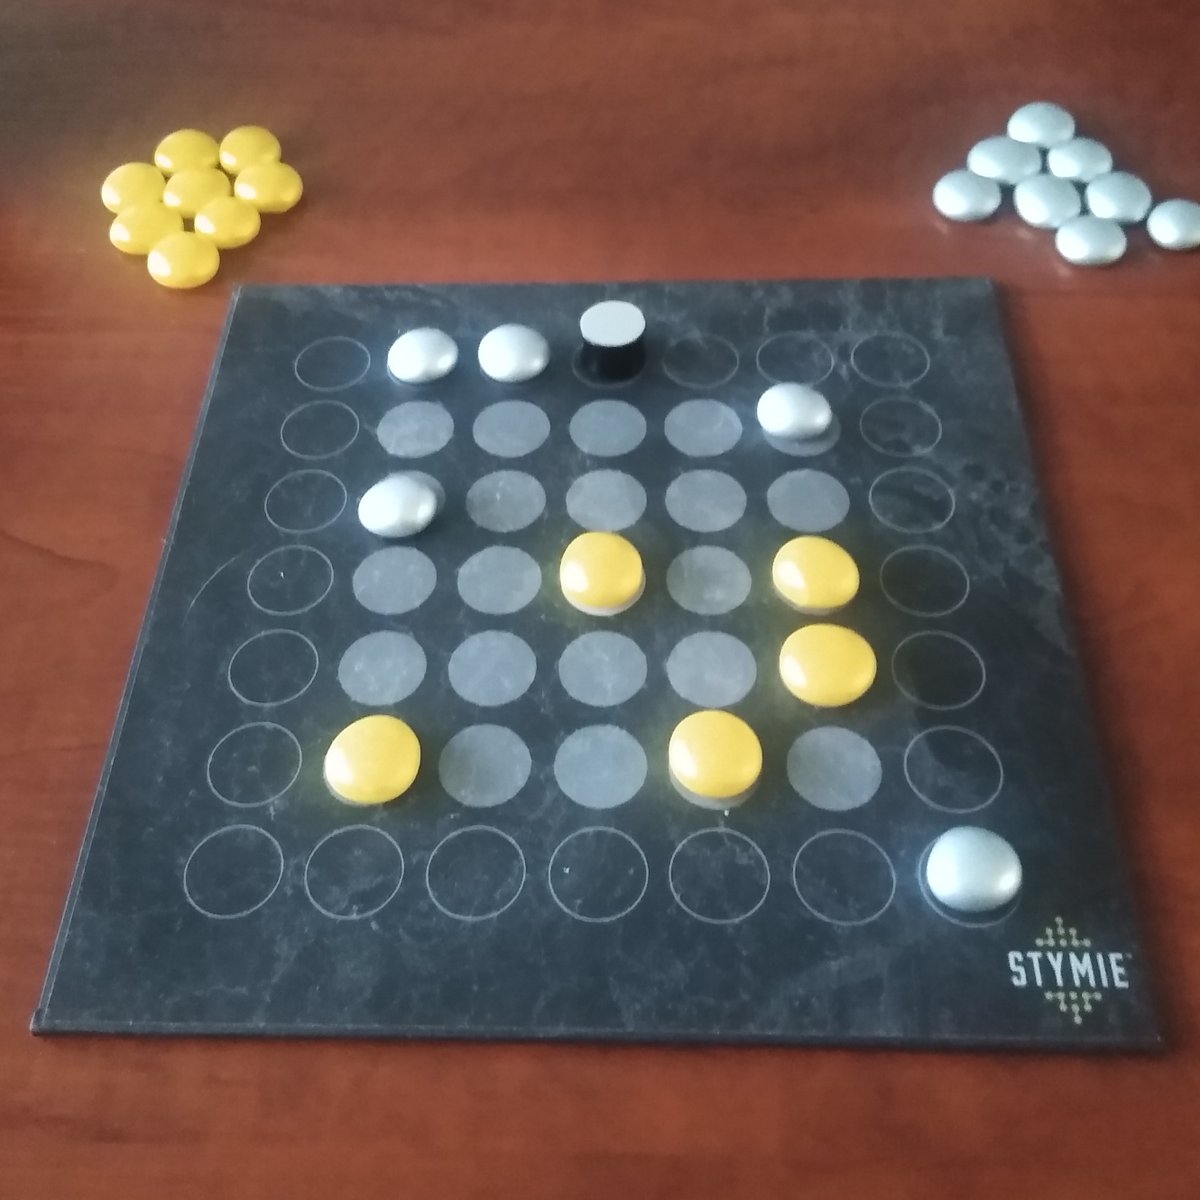
8. D4 G1
Gold drops a stone on D4. Even though D5 is a Prime space, D4 puts the stone in closer proximity to his stones on E2, F3 and F4. Silver places a stone on G1 evening the stone count at 5 apiece.
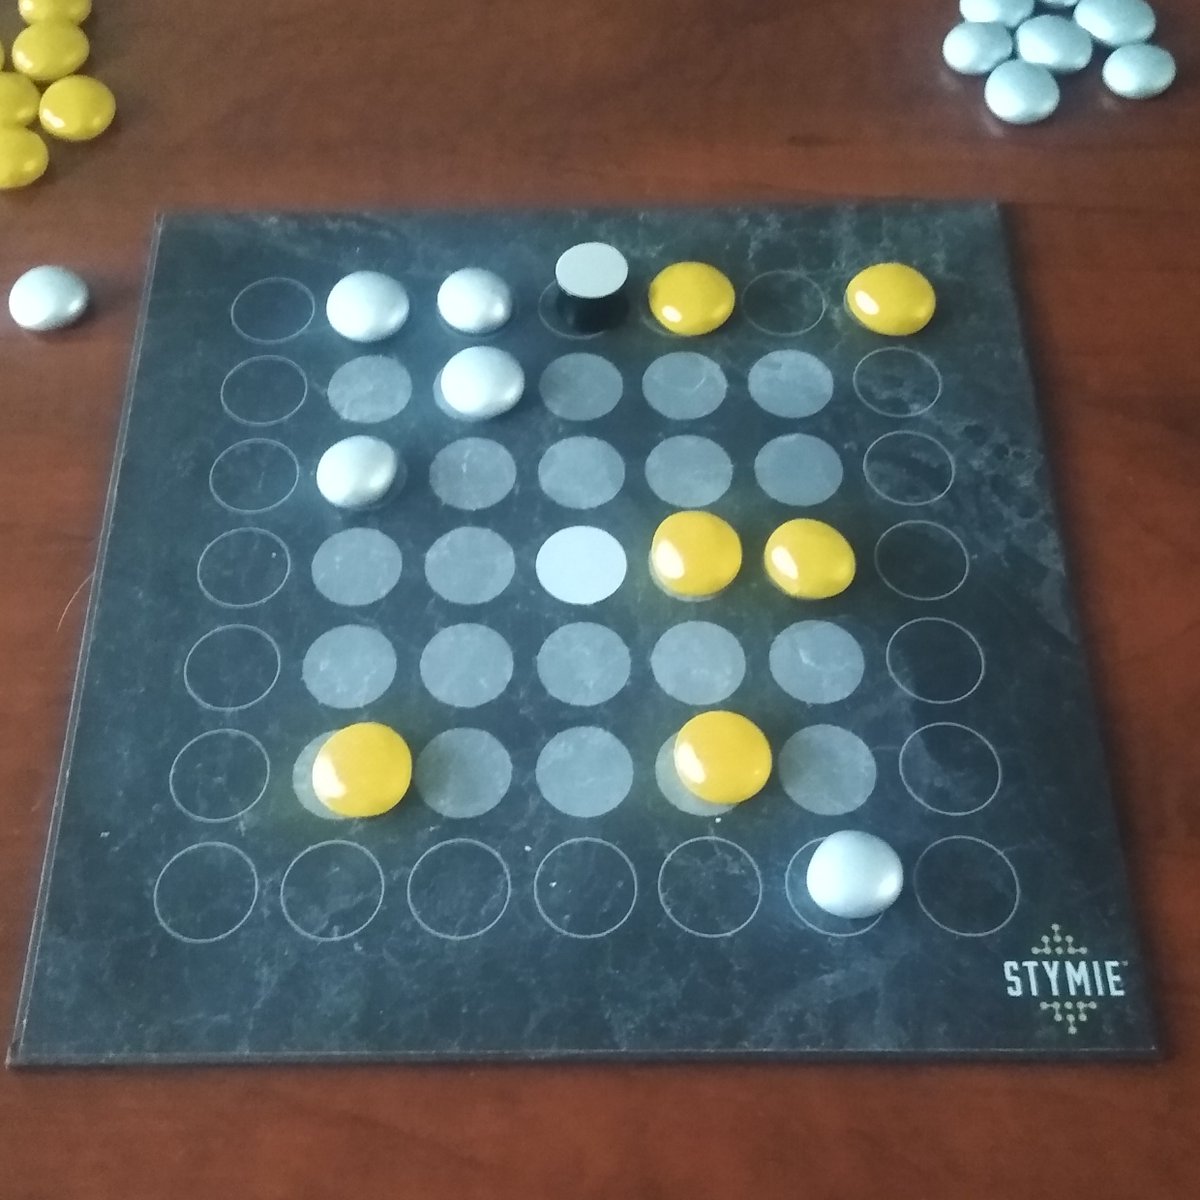
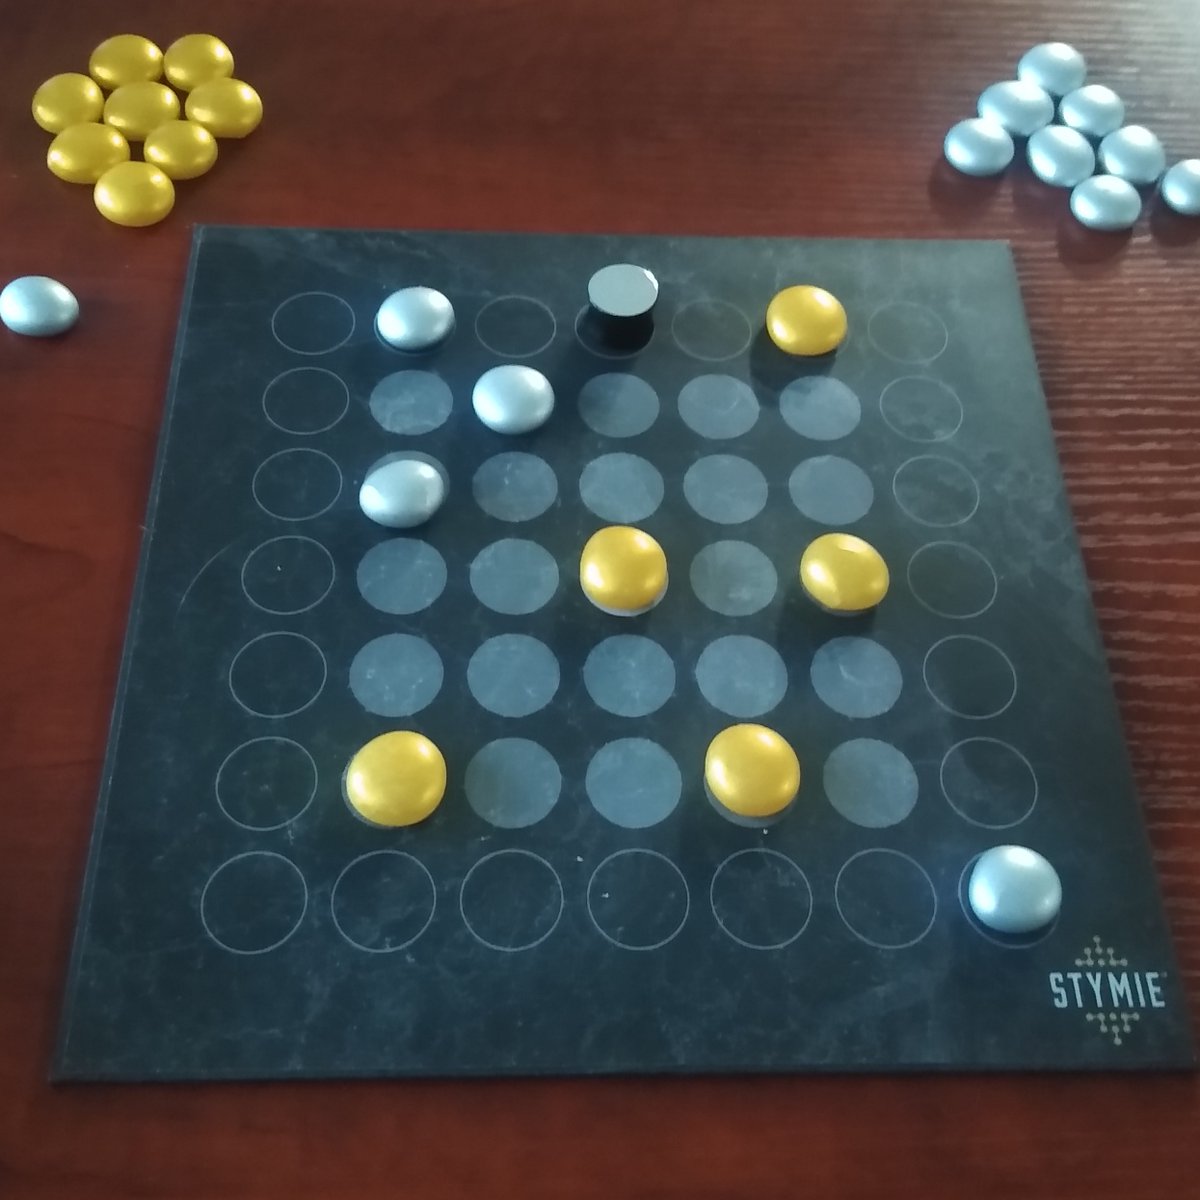
7. F2 j F4 Antipode D5-D7
In this game, Gold and Silver both entered the movement phase with only 4 stones on the board. This type of beginning usually leads to an extremely positional start, but Gold pushes the action by threatening Silver's stone on F6 and opening F1 in the process. Surprisingly Silver counters by sliding the Antipode to D7, offering some protection to the stone on F6, but also opening either D4 or D5. At first glance moving the Antipode to D6, eliminating the possibility of Gold dropping a stone on D5 and threatening D4 seems like a better play.