High demand skills in 2024:
- Web design.
- Digital marketing.
- Graphic design.
- Product design.
- Video editing.
- Content writing/creation.
- Copywriting
- Moderator
-Community Leader
Learn one today.
Be wise!
Epoch 1 ends today.
But for idOS , this isn’t the end.
It’s the quiet beginning of a new data future — owned by us, powered by us.
In Web2, our data was currency.
But we never held the wallet.
Every click, scroll and sign up.
Owned, stored and sold our without consent.
@idOS_network flipped that script.
Epoch 1 was more than just tasks and power points.
It was proof that decentralized identity isn't theory.
It’s working. It’s growing.
And real humans are opting in.
With zk tech, composability, and full user control.
idOS became a public good for data ownership.
A network where your identity isn’t a product but yours.
To everyone who verified, shared, built or just showed up; you have helped shape the foundation of something rare.
✅Data dignity.
✅Real privacy.
✅And open identity rails for Web3.
Epoch 2 is coming.
New flows. New value. New direction.
But the mission? Unchanged!!!
Self-sovereignty for all.
On-chain identity is no longer a dream.
Thanks to idOS, it’s now a movement.
And we are just getting started.
Guide for Setting up @ritualnet Infernet Node.
Ritual is a decentralized AI compute platform with a mission to decentralize access to AI infrastructure.
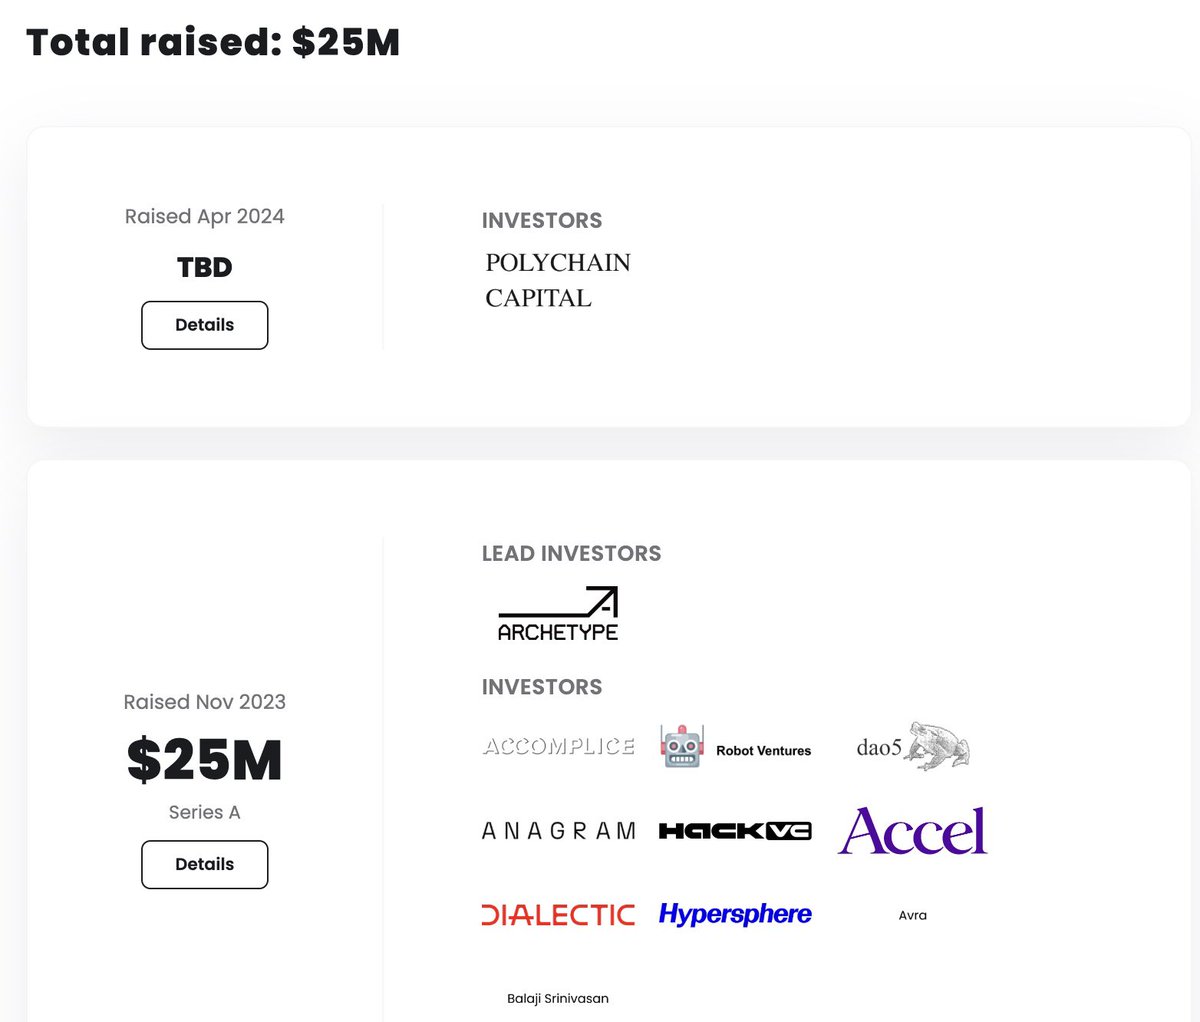
They raised $25 million in funding led by Archetype.
Let’s begin:
Here are the requirements:
- Git, Docker, and Docker Compose.
- EVM Wallet with $ETH on Base mainnet (ensure you have a minimum of $1 is in your wallet).
- Getting a VPS and Configuring it
To install and run your Infernet node at an optimal level, you need a VPS (Virtual Private Server).
Ritual recommends getting a VPS with 4 vCPUs, 16GB RAM and 500GB SSD.
You can get one from Contabo.
Ensure you select Ubuntu 24.04 as the OS (Operating System) and Include Docker in the Apps and Panels.
Once you’ve purchased a VPS package, you can use SSH to connect to it.
- Your VPS login details will be sent to your email.
- Install Termius or Putty.
- Add a new host.
- Enter your server IP address in the IP or Hostname section.
- Then enter your username and password.
- Username is “root”
- Click Save or Open to log into your VPS server.
🧮 Installations
Once you’re logged into your VPS, we can install all the required tools for running a Ritual node.
- Update Packages on your server by running the command below:
sudo apt update && sudo apt upgrade -y
🧮 Install Build Tools
Next, we are going to install the build tools needed to run a node by running the command below:
sudo apt -qy install curl git jq lz4 build-essential screen
🧮 Install Docker
We can now install Docker by running the following command:
sudo apt install https://t.co/bnA92lIKEL
🧮 Install Docker Compose
Once docker has been installed, we can install Docker Compose next by running the command below:
sudo curl -L "https://t.co/74sjIFOT25$(uname -s)-$(uname -m)" -o /usr/local/bin/docker-compose
🧮 Assign the Docker Compose directory higher permissions by running the command below:
sudo chmod +x /usr/local/bin/docker-compose
🧮 Install Docker Compose CLI Plugin by running the commands below:
DOCKER_CONFIG=${DOCKER_CONFIG:-$HOME/.docker}
mkdir -p $DOCKER_CONFIG/cli-plugins
curl -SL https://t.co/Z87hYLHNAs -o $DOCKER_CONFIG/cli-plugins/docker-compose
🧮 Make the plugin executable by running the command below:
chmod +x $DOCKER_CONFIG/cli-plugins/docker-compose
🧮 Verify the installation by running the command below:
docker compose version
🧮 Reboot system to apply changes by running the command below:
sudo reboot
You can verify your group membership with by running: groups
🧮 Verify everything works fine by running:
docker run hello-world
🧮 Clone The Starter Repository
We’ve now successfully installed all the tools we need.
Clone the starter repository to your local machine by running the command below:
git clone https://github(.)com/ritual-net/infernet-container-starter
Remove the brackets () in the URL in the command above before running it.
🧮 Navigate to the repository using the command below:
cd infernet-container-starter
🧮 Start a new screen session with the name “ritual” so that the Docker container continues running even if we lose connection with the VPS using the command below:
screen -S ritual
🧮 Deploy the hello-world container inside this session using the command below:
project=hello-world make deploy-container
Detach from your session using: CTRL + A + D
Missed your New Year’s resolutions? No worries—the grind starts now.
For the month of April, post zkgym with your gym selfies, tag @union_build, and let the Union Army know you’re putting in the work. LFG 💪
Guide on Union Build Ceremony Contribution and Testnet
💰Raised $16 Million in Funding
@union_build is a hyper-efficient interoperability protocol that connects all blockchains and rollups, across any ecosystem.
Completing the Ceremony Campaign will guarantee you a whitelist spot to mint @WhaleSharkNFTs
To get started
- Visit: https://t.co/Gfvf965bz7
- Connect X (Twitter)
- Connect Discord
- Connect GitHub
- Connect EVM wallet
- Complete Social Quests.
Note: On-chain interactions will begin after the full testnet goes live.
✨ Union Ceremony Contribution
Note: Your Mac/PC should have at least 8GB RAM and 512GB storage.
- Visit: https://t.co/05P2PG7VST
- Sign up with Google to receive timely notifications when it’s your turn to contribute
- Download @keplrwallet extension and add the Union testnet to your Keplr wallet through: https://t.co/vj5OVbE5y0
Note: You’ll be asked to choose your operating system. If you’re using Windows select Linux, or select Mac if that’s what you’re using.
🔸Mac Users
Visit: https://t.co/KSFDNS6lXC
Download and install OrbStack, then sign up on @Docker.
- Go back to the Ceremony page, copy the provided code, and paste it into your Terminal, this will download the necessary files and you will be added the queue.
Note: You’ll receive an email notification 2-4 hours beforehand, so set reminders a few days ahead of the estimated date and keep an eye on your inbox.
After completing your contribution, go to the Union dashboard to claim your guaranteed whitelist spot for @WhaleSharkNFTs.
🔸Windows Users
- First, you need to enable some features on your PC.
- Click on the Windows icon and search for "Turn Windows features on or off."
- In the window that opens, find and turn on "Virtual Machine Platform" and "Windows Subsystem for Linux."
- Restart your PC after enabling each feature.
- Open the Microsoft Store on your PC and search "Ubuntu” and download it.
✨Choose the version without a version number.
- After downloading, open it, it will install automatically.
- After installation is completed, it will prompte you to enter your username and password.
✨If you encounter an error that says "WslRegisterDistribution failed with error...", visit https://t.co/V6io37iJXG and download the Linux Kernel Update Package.
- After downloading the package, open the WSL file and run it to install the update on your PC.
- Once this is done, close and reopen your Ubuntu app and enter your username and password.
Note: Your password will not appear on the terminal.
- Once Ubuntu is set up, go back to the Ceremony page, copy the code provided, and paste it into your Ubuntu Terminal.
✨It will run for a few seconds and add you to the queue.
Note: You’ll receive an email notification 2-4 hours beforehand, so set reminders a few days ahead of the estimated date and keep an eye on your inbox.
After completing your contribution, go to the Union dashboard to claim your guaranteed whitelist spot for @WhaleSharkNFTs.
That’s all for now, stay tuned for more updates 🫡
🟪Whitelist registration for our upcoming testnet NFT mint (FCFS) is now open!
🔗Check if your wallet qualifies and secure your spot here: https://t.co/lJWWTRQsJR
⌚Ends in 24 hours
⚠️Important: Only wallets holding the NFTs mentioned in the thread below are eligible 👇👇
👉Follow @Pepemon_xyz + RT + Comment Monad wallet for WL