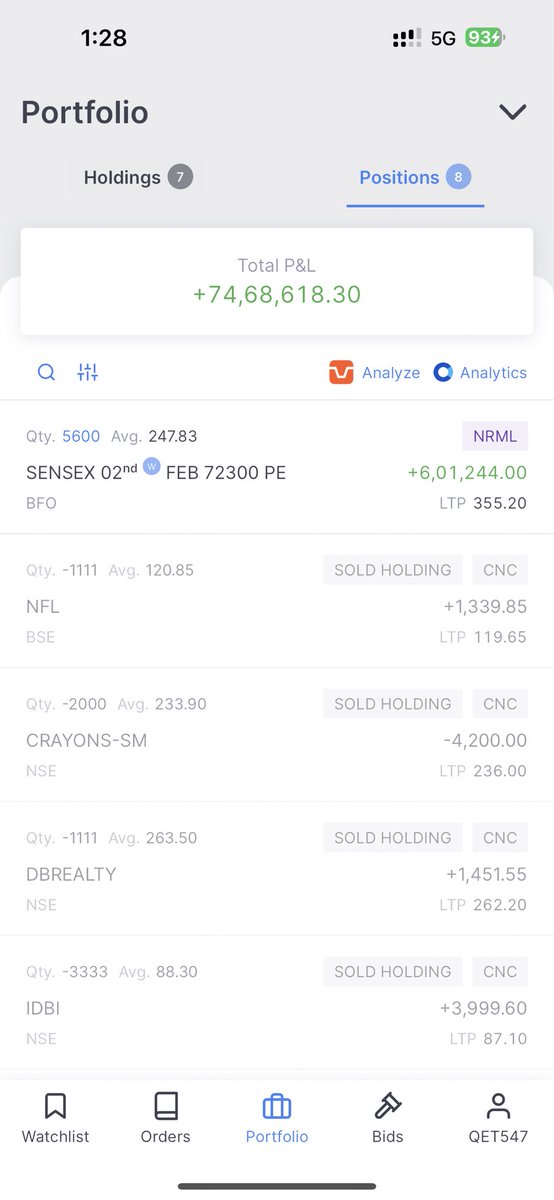
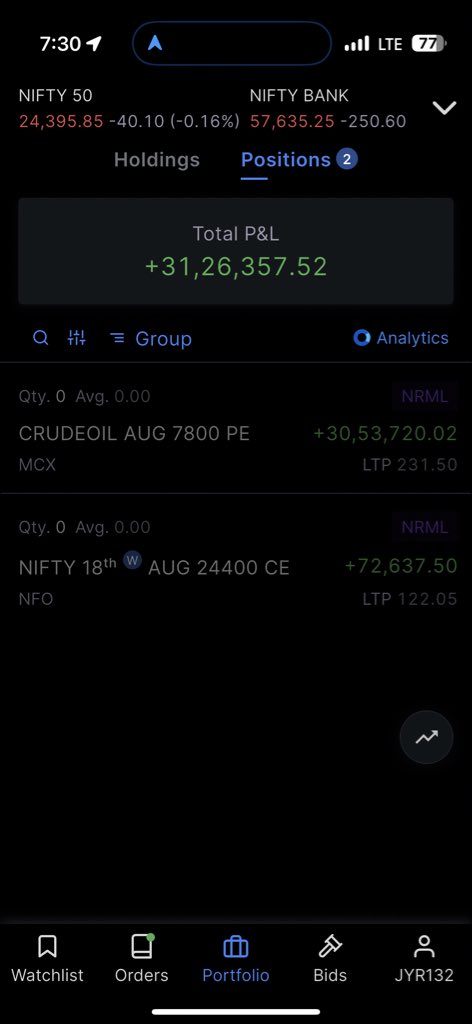
I have an opportunity for you in #XAUUSD / #GOLD
If this tweet surpasses 500+ retweets then I��ll share the opportunity to you.
You have less time and the opportunity is BIG.
#commodities #forex #commoditytrading
Open the Photos app Launch the Photos app from the Dock, Spotlight (Cmd + Space), or Applications folder.
3. Select the photos you want to transfer
• To select all photos: Go to the Library tab → click on All Photos → press Cmd + A to select everything.
• To select specific photos: Hold Cmd and click individual photos, or hold Shift to select a range.
• You can also go into an Album and select photos there.
4. Export the photos (recommended method)
• Go to the menu bar: File → Export → Export Unmodified Originals (this gives you the original full-quality files with all metadata).
• Alternative: Export [number] Photos if you want resized versions or specific formats.
• In the export window:
• Choose Subfolder Format if you want them organized (e.g., by date or album).
• Uncheck any options you don’t need.
• Click Export.
• In the save dialog, navigate to your external hard drive and choose (or create) a folder on it.
• Click Export to start the process.
5. Wait for the transfer to complete Depending on how many photos you have, this can take a while. You’ll see a progress bar.
6. Verify the files Open Finder, go to your hard drive, and check that the photos are there. You can safely delete them from the Photos app later if you want (after confirming they transferred correctly).