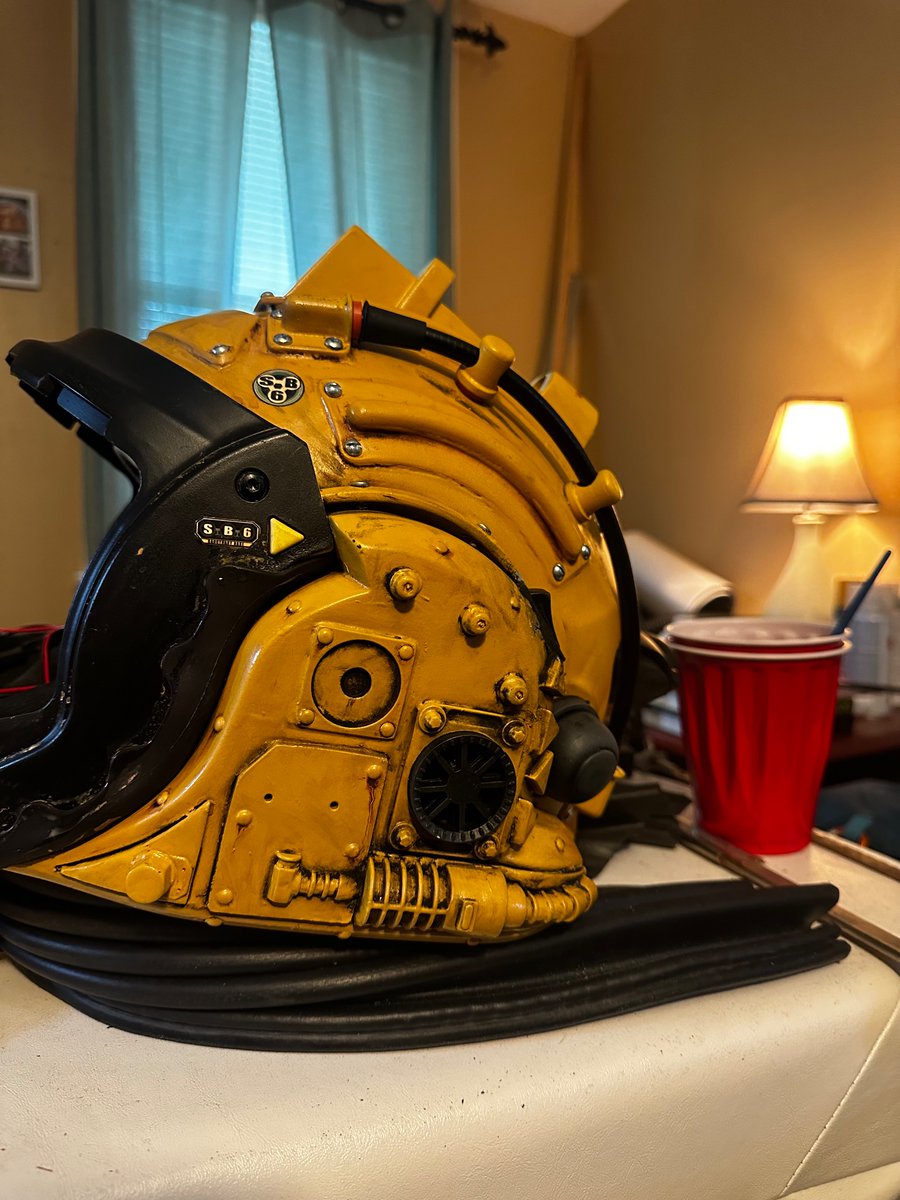
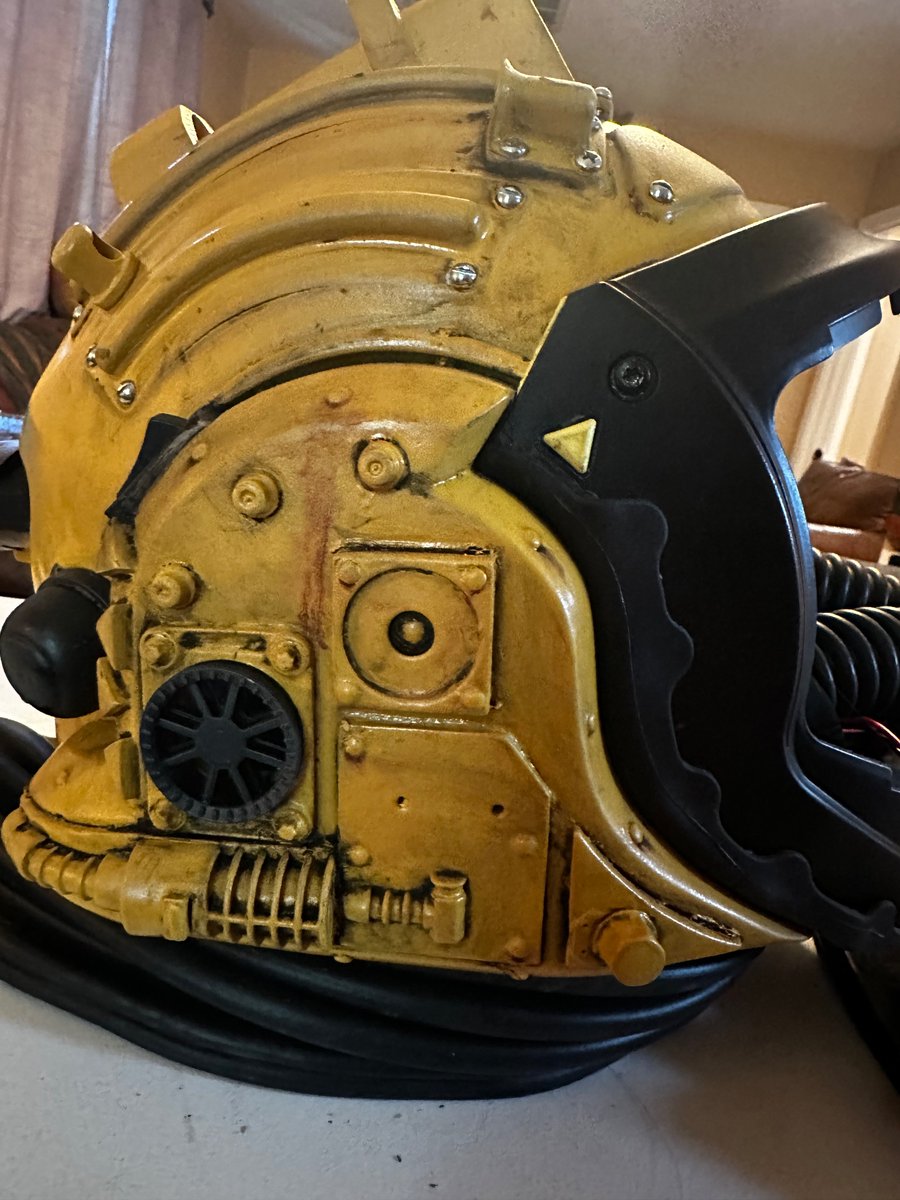
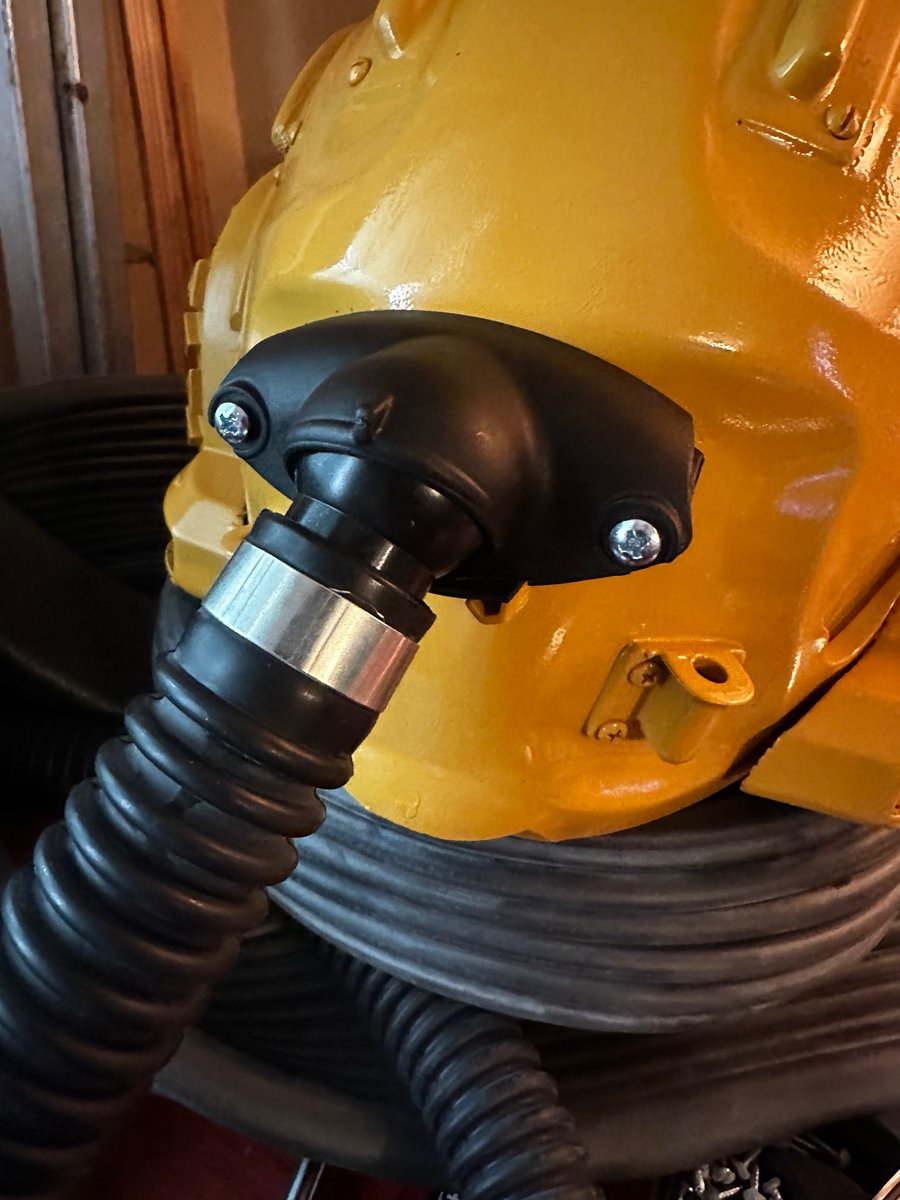
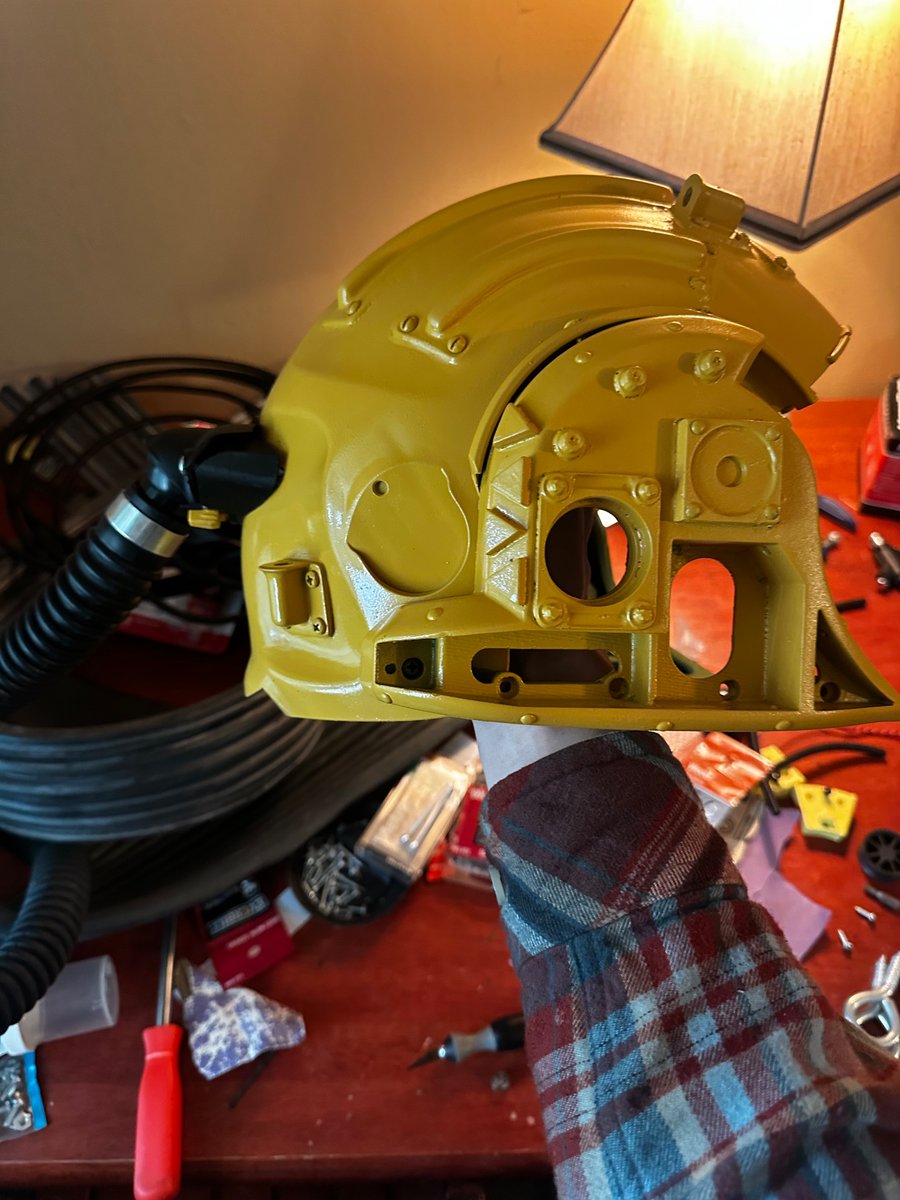
@JGemvik I’ve been really busy lately but I’m ready to pick the helmet project up again. Any chance you have gotten a chance to work on that last part for the helmet?
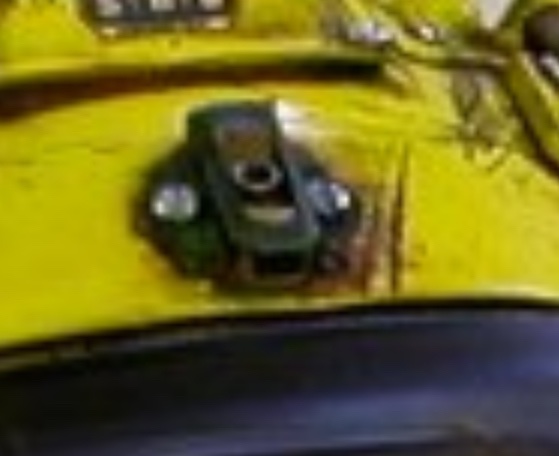
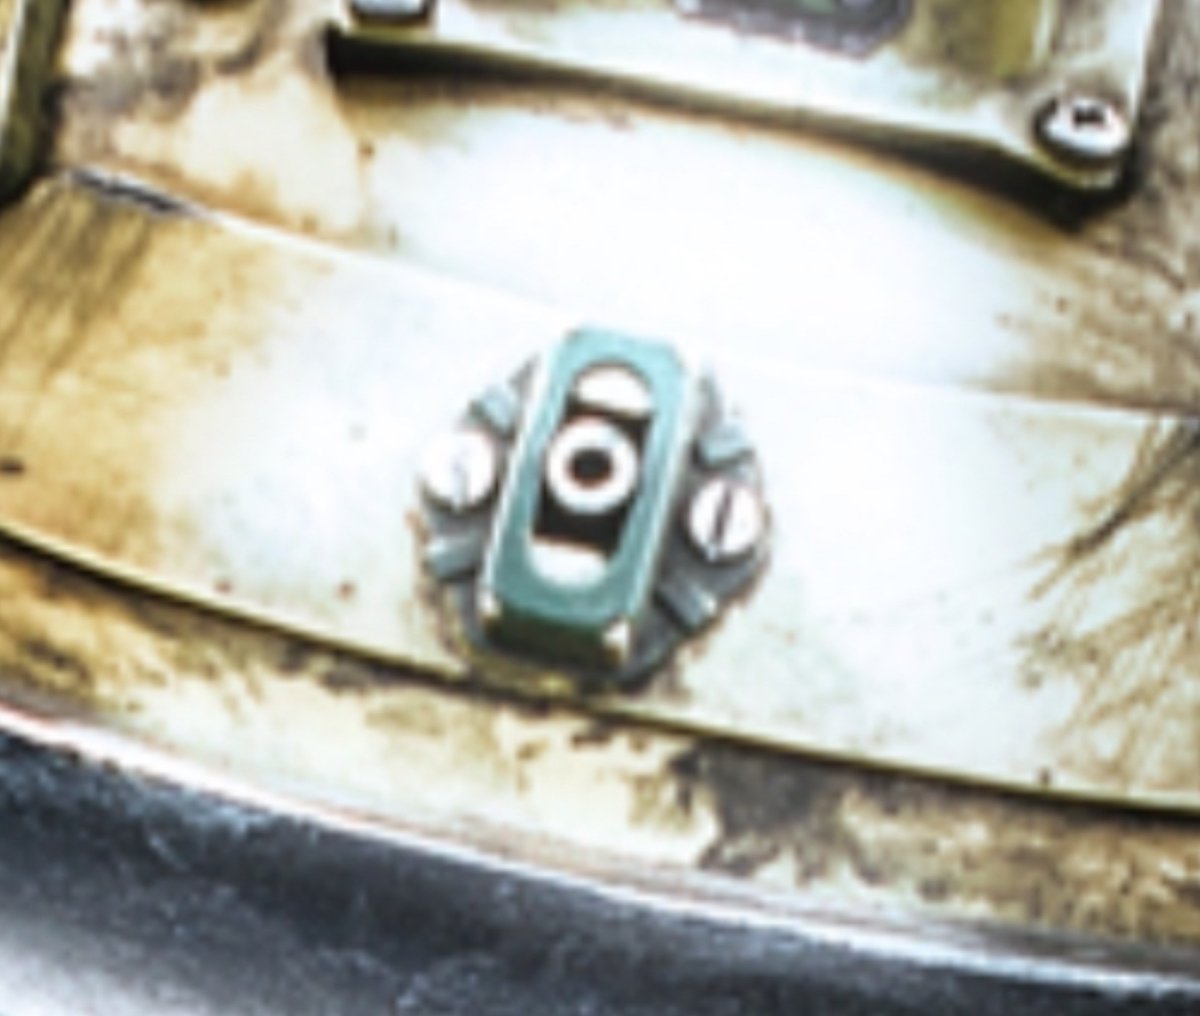
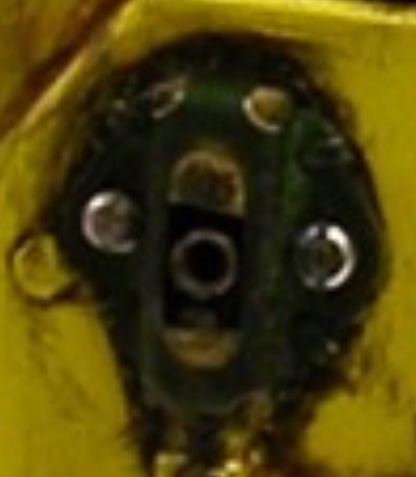
@JGemvik To me it kind of looks like two yellow pieces on each side with a hole filled with a hex screw or something in the middle. I think the yellow parts are part by themselves not the helmet showing through.
@JGemvik I’m dont have lantern hose connector. I modeled some cone pieces for the cable ends that I think should work. I was hoping to get this piece in the pictures as one solid part. My CAD skills are not the best. Not exactly part of the computer engineering curriculum but I make do
@JGemvik I talked with Mark Cordory, the guy who made the original prop, and I got the down low on how the rubber neck ring was made. The process involves making a model from clay and plaster castings it. Then use the plaster mold with latex or silicone. A bit involved but I may attempt.
@JGemvik Thanks! I think it’s really coming along. I’ve got one more weathering pass one to do after I get the last of the printed parts. Then it should be on to the electronics.
@JGemvik I used a vinyl fluorescent light diffuser for all the translucent panels. Shaping the top was a pain b/c it hardens very quickly out of the oven but it’s easy enough to throw it back in the oven for a few minutes. Just took a few tries to get it right.
@JGemvik Screen accurate parts are nice and I want to try to make it look a close a possible but right now my main concern is getting it off the plate without snapping off the sides.
@JGemvik Just came across your Dr who space helmet on myminifactory. Looks really great but I’d like to modify the side knob and small plate. Any way for me to get the CAD files? Also what’s the best mounting strategy for the side pieces?