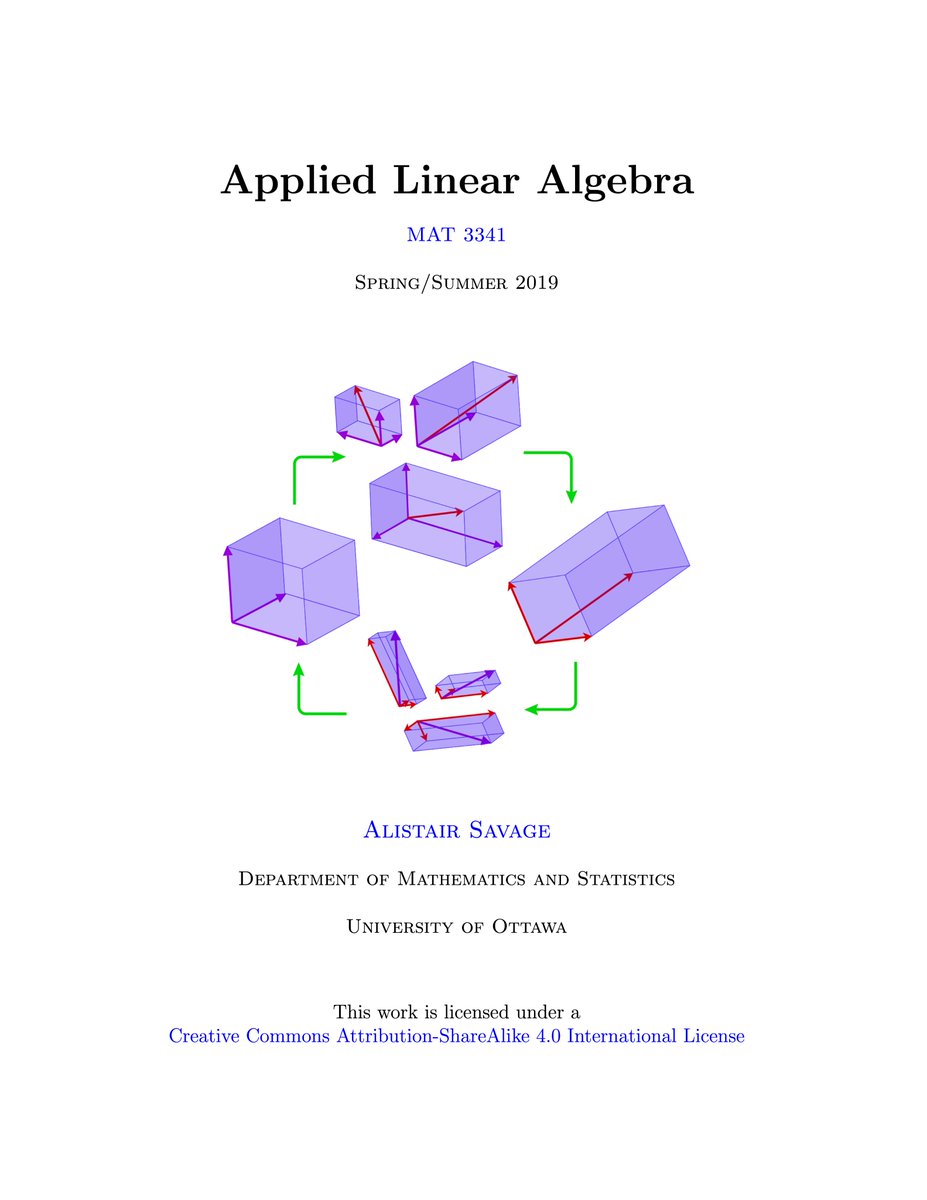
Free book introducing cryptography concepts and algorithms in an accessible way.
"Practical Cryptography for Developers Book"
https://t.co/BZvOdE28hN
Credits Svetlin Nakov (@svetlinnakov)
#cryptography#cybersecurity
Logging, tracing and metrics are 3 pillars of system observability.
The diagram below shows their definitions and typical architectures.
🔹 Logging
Logging records discrete events in the system. For example, we can record an incoming request or a visit to databases as events. It has the highest volume. ELK (Elastic-Logstash-Kibana) stack is often used to build a log analysis platform. We often define a standardized logging format for different teams to implement, so that we can leverage keywords when searching among massive amounts of logs.
🔹 Tracing
Tracing is usually request-scoped. For example, a user request goes through the API gateway, load balancer, service A, service B, and database, which can be visualized in the tracing systems. This is useful when we are trying to identify the bottlenecks in the system. We use OpenTelemetry to showcase the typical architecture, which unifies the 3 pillars in a single framework.
🔹 Metrics
Metrics are usually aggregatable information from the system. For example, service QPS, API responsiveness, service latency, etc. The raw data is recorded in time-series databases like InfluxDB. Prometheus pulls the data and transforms the data based on pre-defined alerting rules. Then the data is sent to Grafana for display or to the alert manager which then sends out email, SMS, or Slack notifications or alerts.
🔹 Over to you: Which tools have you used for system monitoring?
--
Subscribe to our weekly newsletter to get a Free System Design PDF (158 pages): https://t.co/uc5M7CdXXC
Series on virtualization and internals of various solutions (QEMU, Xen and VMWare)
Intro: https://t.co/kuDRlu1fnm
VMWare: https://t.co/OlqHuul7df
Xen: https://t.co/VFTqEqfEeY
QEMU: https://t.co/v0IVKiuHEv
Excellent series by @LordNoteworthy
#virtualization
Design Patterns Cheat Sheet - Part 1 and Part 2
The cheat sheet briefly explains each pattern and how to use it.
What's included?
- Factory
- Builder
- Prototype
- Singleton
- Chain of Responsibility
- And many more!
–
Retweet and subscribe to our newsletter to receive both part 1 and part 2 of the cheat sheet link: https://t.co/KD7ABkG4qG
How do you pay from your digital wallet, such as Paypal, Venmo, Paytm, by scanning the QR code?
To understand the process involved, we need to divide the “scan to pay” process into two sub-processes:
1. Merchant generates a QR code and displays it on the screen
2. Consumer scans the QR code and pays
Here are the steps for generating the QR code:
1. When you want to pay for your shopping, the cashier tallies up all the goods and calculates the total amount due, for example, $123.45. The checkout has an order ID of SN129803. The cashier clicks the “checkout” button.
2. The cashier’s computer sends the order ID and the amount to PSP.
3. The PSP saves this information to the database and generates a QR code URL.
4. PSP’s Payment Gateway service reads the QR code URL.
5. The payment gateway returns the QR code URL to the merchant’s computer.
6. The merchant’s computer sends the QR code URL (or image) to the checkout counter.
7. The checkout counter displays the QR code.
These 7 steps complete in less than a second. Now it’s the consumer’s turn to pay from their digital wallet by scanning the QR code:
1. The consumer opens their digital wallet app to scan the QR code.
2. After confirming the amount is correct, the client clicks the “pay” button.
3. The digital wallet App notifies the PSP that the consumer has paid the given QR code.
4. The PSP payment gateway marks this QR code as paid and returns a success message to the consumer’s digital wallet App.
5. The PSP payment gateway notifies the merchant that the consumer has paid the given QR code.
–
Subscribe to our weekly newsletter to get a Free System Design PDF (158 pages): https://t.co/uc5M7CdXXC