Our goal is to open up the art world and offer high-quality arts supplies. We're here to connect you with everything you need to bring your world to life.
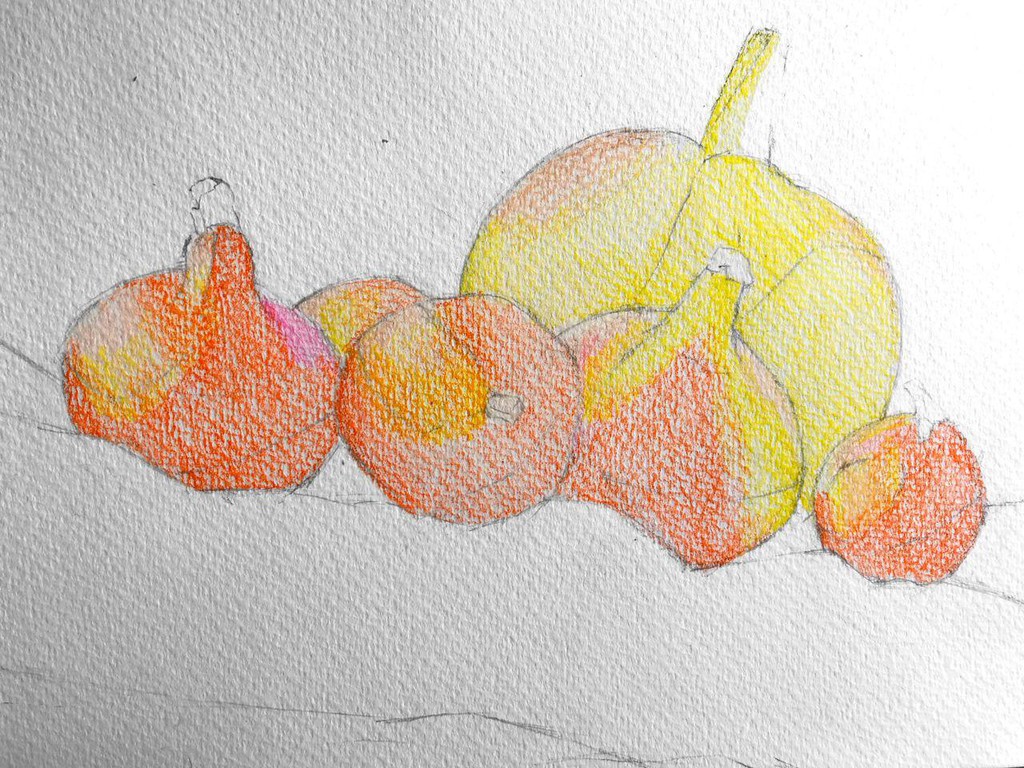
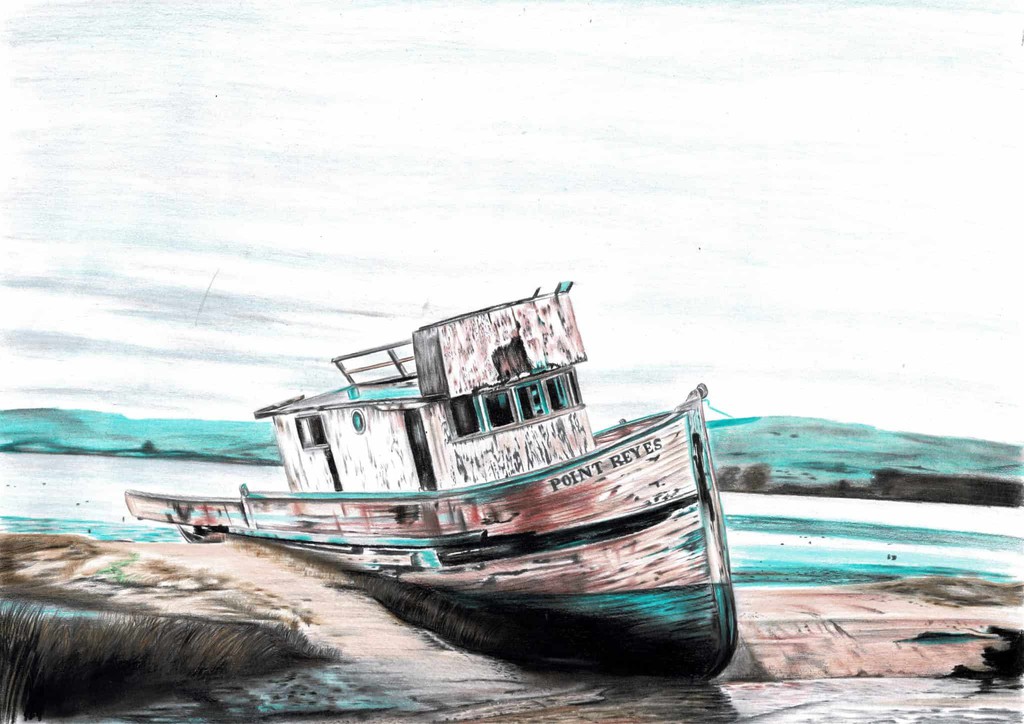
The texture of watercolor pencils is softer than that of regular pencils and is activated through contact with water.
Read the full article: How to Draw Landscapes: Watercolor Pencil Techniques
▸ https://t.co/2UGrfM81U4
#drawing#sketching
Start by putting in lighter shades and continue until you get to the darkest parts (remember to use the reference for that!).
Read the full article: How to Sketch a Face: Step-by-Step Process
▸ https://t.co/BKrCBanIKF
These drawing exercises will help you develop the necessary skills that all professional artists have developed with years of practice.
Read more 👉 https://t.co/X4kGa6XRmh
As I mentioned earlier, watercolor pencils are very soft, so it is important not to make the tone too dark and saturated at the very beginning, so as not to muddy the colors.
Read more 👉 https://t.co/eOUZSHUtlY
Even if you’re just doing the first layer, the direction of the colored pencil will add to the texture of the drawing and to the final result.
Read the full article: How to Draw a Bird With Colored Pencils
▸ https://t.co/6pxZj89k0J
You can always go back over certain areas with a heavier pencil to darken portions of your drawing.
Read the full article: How to Draw Trees
▸ https://t.co/gtJQok0GWB
Eyes are complex, and because we see them all the time (both our own and other people’s eyes), we can detect imperfections in our eye drawings a mile away.
Read the full article: How to Draw Eyes: A Step by Step Guide
▸ https://t.co/fsvIx4FPNn
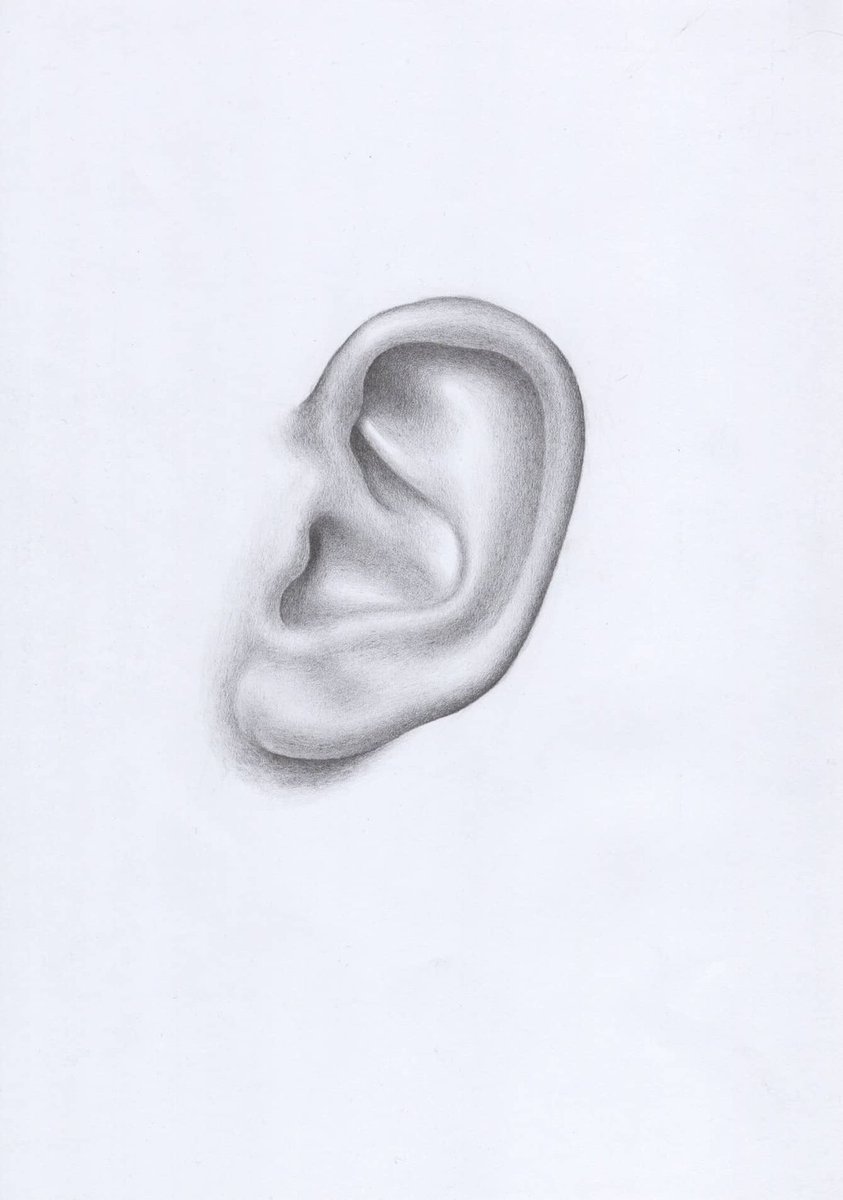
As we add in the final half-tones throughout, we need to be aware of how these medium tones meet the lightest structures in the ear.
Read more 👉 https://t.co/mimsEjvc5E
After we have the basic blocking done for the shape of the ear, we can begin placing some of the structures of the ear, again using the 4B pencil and very light lines.
Read more 👉 https://t.co/0HEXCw3hew
What if we told you there was an overnight trick to learn how to start drawing and become an artist?
Read more 👉 https://t.co/Sih6135s2D
#HowToStartDrawing
As we continue adding in the halftones with the drawing pencils, 4B or smaller, this is the step where we must define each part of the ear.
Read the full article: How To Draw an Ear
▸ https://t.co/k3GULBtBuE
This is the first of the drawing basics: pick a subject and start.
Read the full article: Drawing Basics – How to Start Drawing
▸ https://t.co/yj6Jge9Zxg
#HowToStartDrawing
Once this is done, dip the second color in water (wet pencil/dry paper), wait a few seconds to let the solid pigment absorb the moisture, and draw.
Read the full article: How to Draw Landscapes: Watercolor Pencil Techniques
▸ https://t.co/oDJmaiMECf
#drawing#sketching
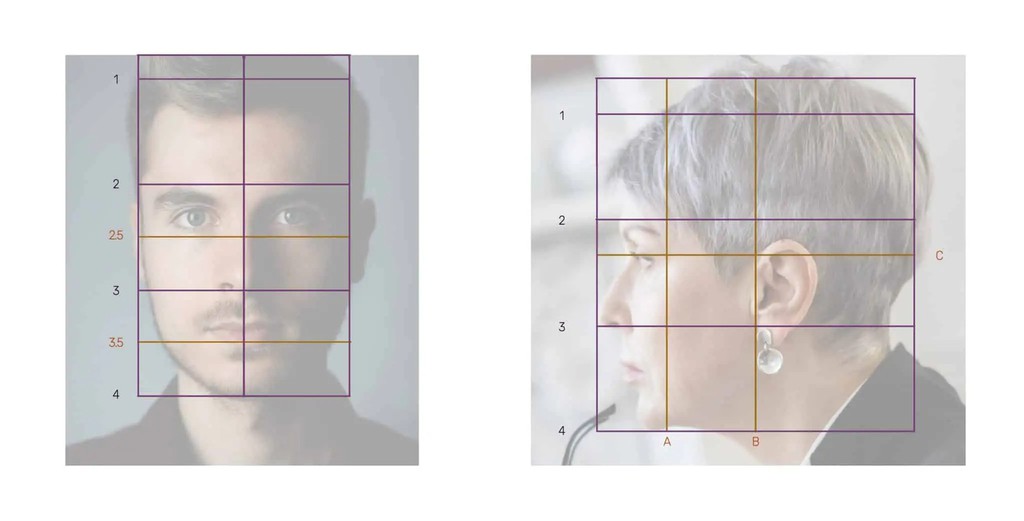
Now, for the material you will be drawing on, I suggest sketching paper, but a simple white sheet of paper will do if you have it on hand.
Read the full article: How to Draw Portraits in Pencil: Using the Grid Method
▸ https://t.co/3zNPx9iosm
#Drawing#Sketching
For advanced shading, you can use toned paper and a white colored pencil for the highlights (see the “useful tips” section)
Read the full article: How to Sketch a Face: Step-by-Step Process
▸ https://t.co/753H1WBFwa
But your task as a beginner is not to recreate the full spectrum of colors seen by the human eye in your first drawing.
Read the full article: Drawing Basics – How to Start Drawing
▸ https://t.co/mD9ybZ0hK3
#HowToStartDrawing
Drawing Exercise #2: Single Light Source
Read the full article: 4 Simple Drawing Exercises That Will Make You a Better Artist
▸ https://t.co/hsKE91ckvL