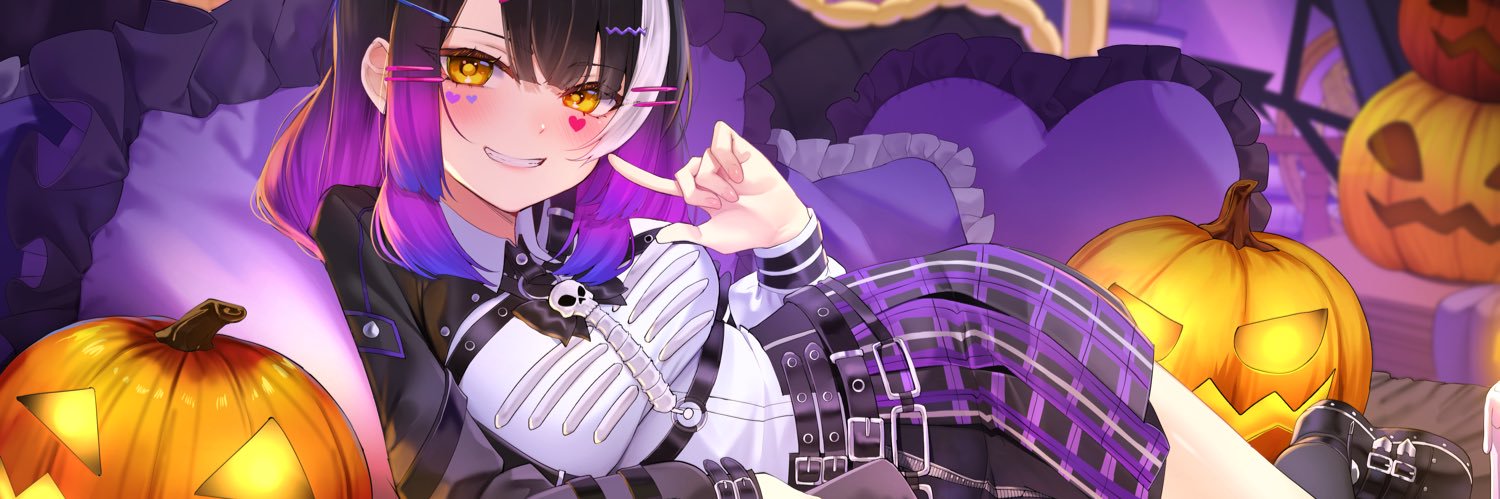
I was in charge of rigging Live2D model for Zona🐳 - Repise project! , the frist genaration member of Polygon Project.
Vtuber : @ ZonaPLG
Artist : @daefny
Rig:me
I am really thankful to Daefny and Polygon work team for cutting and advising support. 🙏💖
#Live2D#ZONAREPRISE
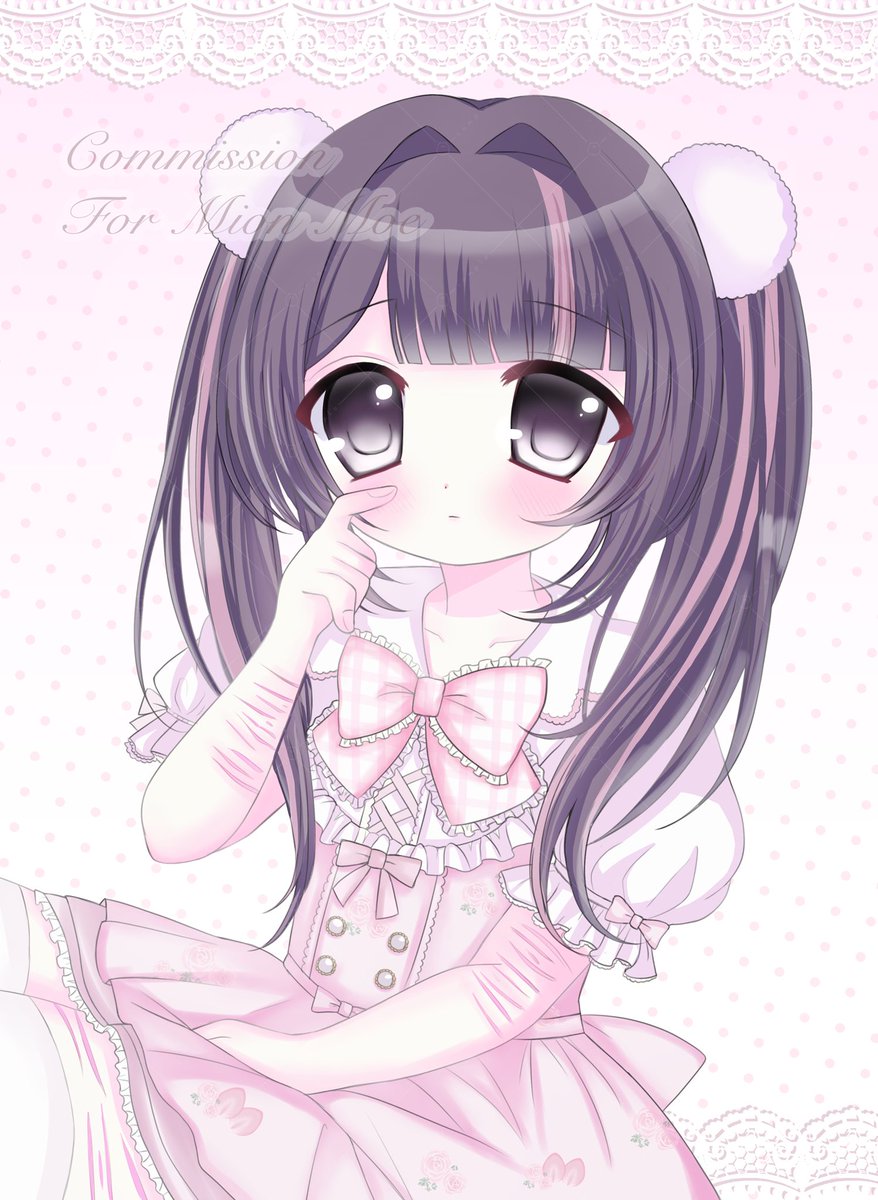
Yamata no Orochi ── .✦
One of my internship works at #KPComicsStudios.
I tried creating a storytelling animation by cutting and animating parts from a plain .jpeg.
I'm really proud of this project! ^-^
illustration by KPComicsStudios
#animation#Aftereffect#Live2D #animatedillustration
Yamata no Orochi ── .✦
One of my internship works at #KPComicsStudios.
I tried creating a storytelling animation by cutting and animating parts from a plain .jpeg.
I'm really proud of this project! ^-^
illustration by KPComicsStudios
#animation#Aftereffect#Live2D #animatedillustration
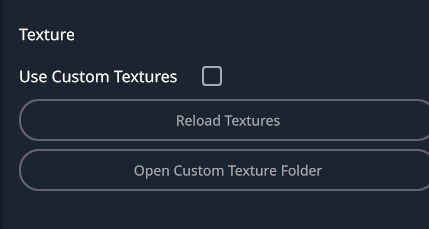
You have to select the parts ( < > button) in Emotelab first and find the same texture to replace, such as i'm using the hairbang >> 13 is that have uv texture then paint on custom uv texture file.
If you're using method 2, let try to uncheck the use custom textures. it's maybe overlap each other 🤔
I’m trying to re-texture my avatar in #EmoteLab
it’s very cute! >< I’ll share the tutorial below!
________________________
How to Make Your Own Textures in EmoteLab
Method 1: Using Custom Textures
- First, check which texture number the character is using and find the UV texture.
- Go to the Bucket icon → enable Use Custom Textures.
- Open the Custom Texture Folder.
Example textures I used (copyable):
CoffeeBean_11
CoffeeBean_12
- Repaint the texture in Clip Studio Paint.
You can use the original textures as references.
Recolor or paint on top of them as needed.
- Save the texture as .PNG in this folder:
EmoteLab > Texture Cache > CoffeeBean > Custom Textures
- Go back to EmoteLab and click Reload Textures.
Method 2: Easier Way to Edit Textures Directly
- Go to Settings → Open Character Folder.
- Find the version you are using, then open your character folder.
- Click Regions.
- You will find the textures used by the character there.
You can edit these textures directly as well.
💡Tip: I recommend editing the WeightTransfer folder first, then Click Unload Current Model and Load the model again to refresh the textures.
Finally, You will get your own EmoteLab texture!!
@JasperPupPlays https://t.co/JT3jGmkpLB
I separated the parts from the PNG file by retouching and painting the missing areas using the Pen Tool and Brush in Photoshop. ^^ Many animators separate artwork in a similar way to VTuber cutting, but with less detail compared to full VTuber cuts.
I had the opportunity to work on animation
for Rozéa 🩹@.RozeaVT
Thank you very much for your support. 💙
I really love this kind of work ;;w;; !
#Live2D#Animatedillustration#Loadingscreen
I had the opportunity to work on animation for Hoshimura Himawari. Thank you very much for your support. 💙🌟
ขอบคุณคุณฮิมะสำหรับการสนับสนุนด้วยนะคะ 🥺
Client : Hoshimura Himawari
Artist : Re-ViVi
Animation : Bunri (me !)
#Live2D#Animatedillustration#Loadingscreen