HOLE #18: This legendary short par four has served as the canvas for many of the game’s most dramatic finishes. A severely sloped green framed by various bunkers creates a number of hazards- potentially meaning the difference between a birdie and an almost certain bogie.
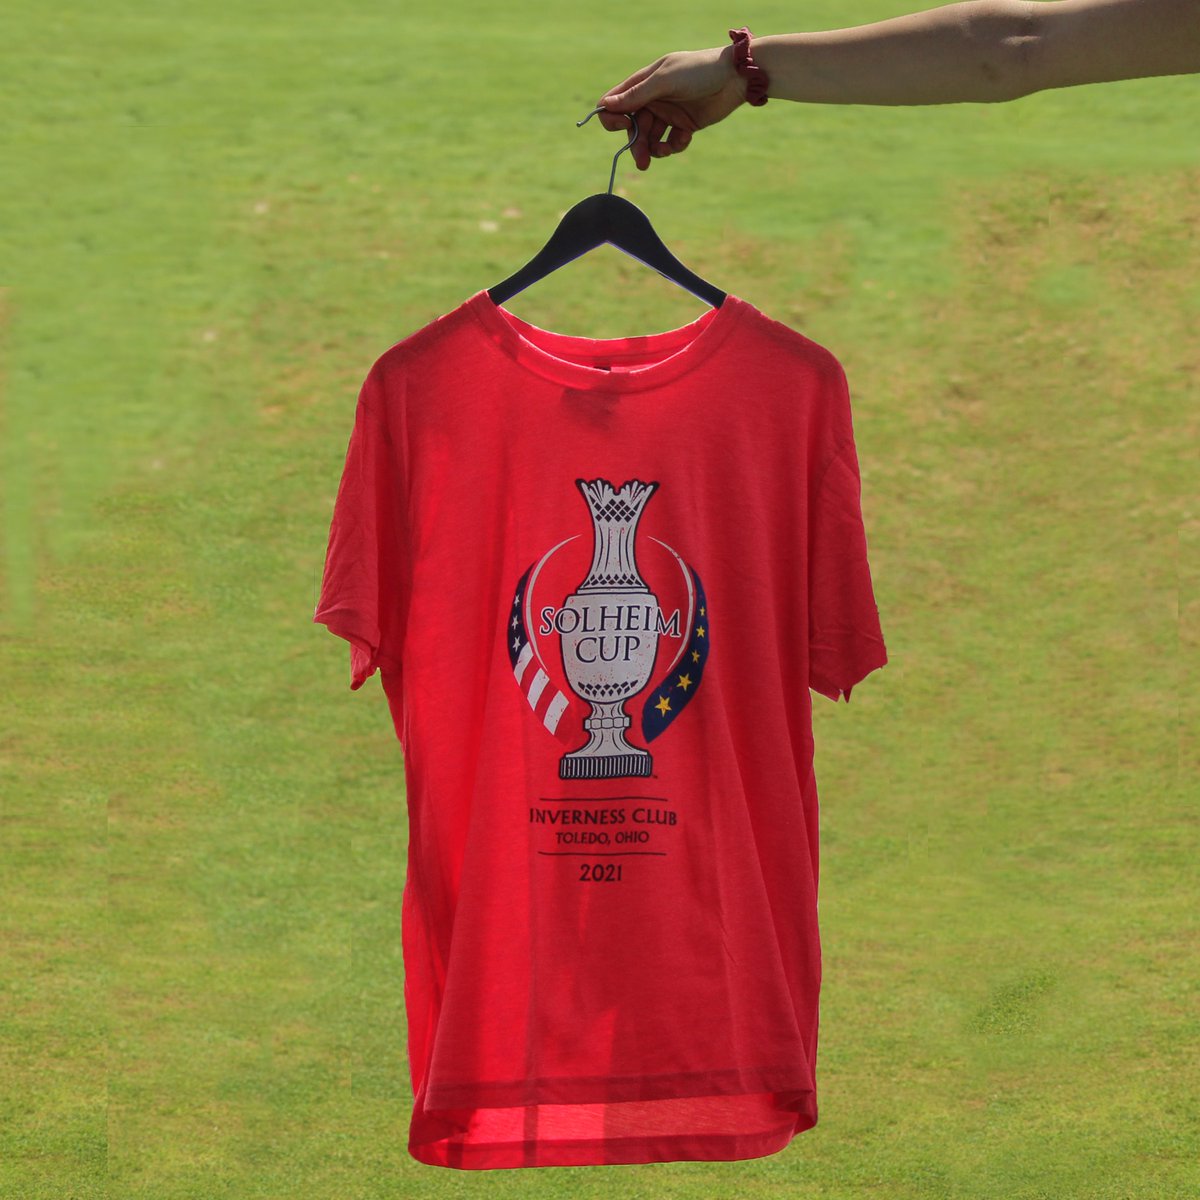
Your #SolheimCup spirit doesn’t need to be confined to your clothing! Gear up with our special edition tumblers, golf balls, and more—all available at our new pop-up shop!
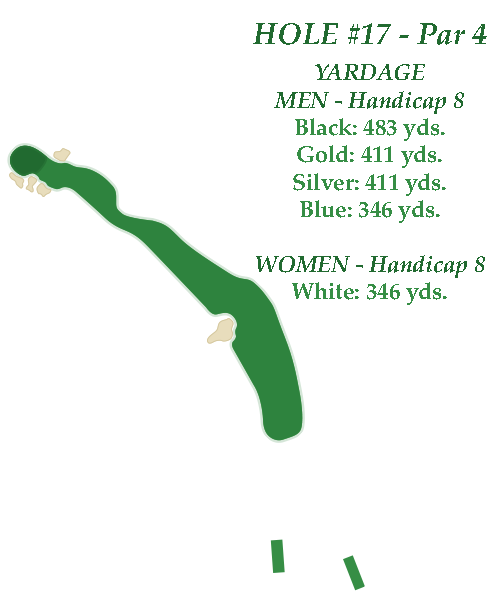
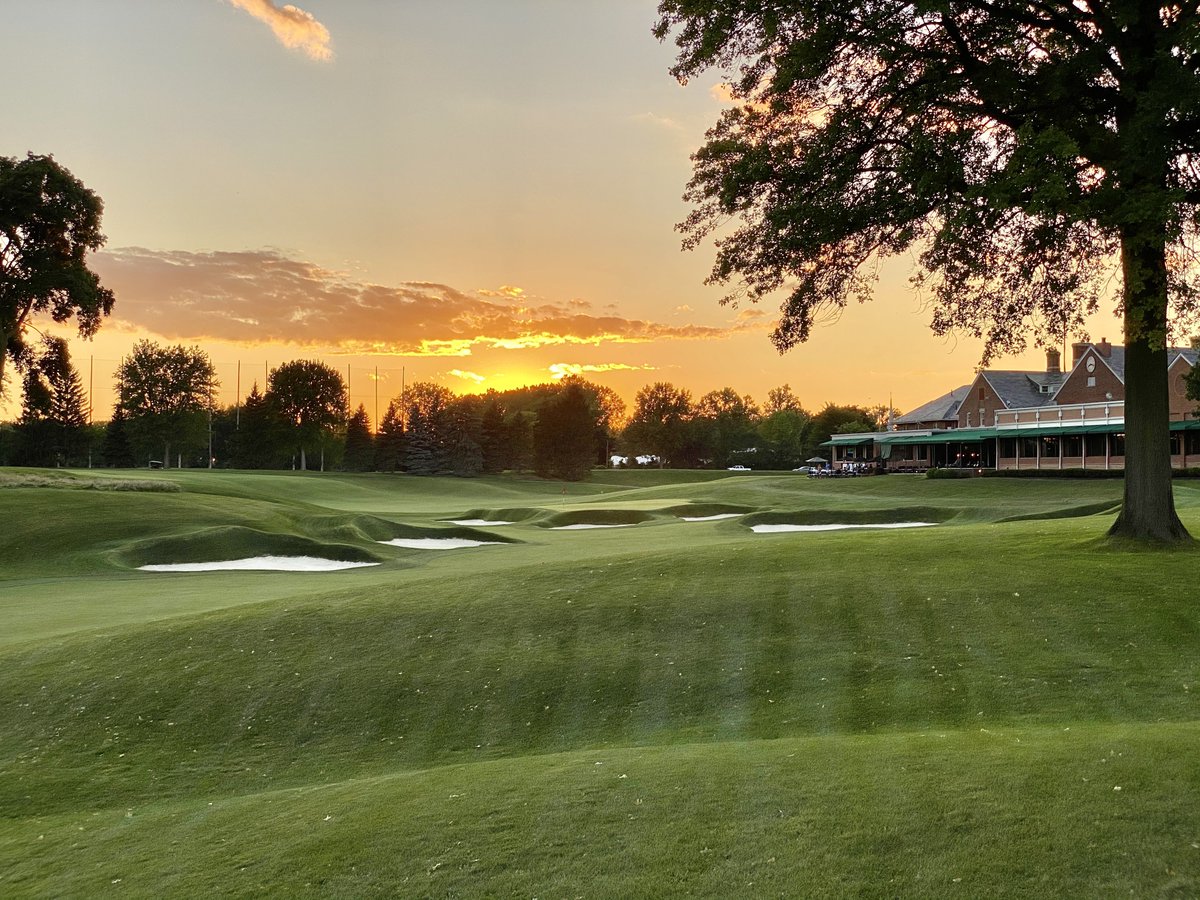
HOLE #17: The dogleg left of this hole begins one's dramatic final turn towards the Clubhouse. An accurate drive followed by a short to mid-iron approach is required to reach the green. The green complex provides picturesque and ample seating for the gallery.
Construction is nearly complete on the Meijer Pavilion, the largest structure in the history of women’s professional golf! Check out how the build has progressed, and don't forget to see it in person during @TheSolheimCup
HOLE #16: A well placed tee shot on this hole yields a significant advantage. This bunker-lined fairway leads towards a short to mid-iron approach, which even the most skilled golfers may find errant.
HOLE #15: A number of fairway switchbacks lead one’s well-placed tee shots to disappear. Short and mid-iron approaches lead to a small green protected by liberal bunkering and sunken stance, leading to stunning views for spectators.
HOLE #14: This hole’s right-leaning movement means it is typically played into the wind. A long drive down the fairway is followed by a short to mid-iron approach towards the green. The green's bunkering is a perfect complement to its putting surface.
HOLE #13: This hole can prove to be highly interesting and rewarding with a quality tee sheet. Its large bunker lines and winding creek can create a challenge for even the most skilled of players. The green is difficult to read thanks to its very quick putting surface.