feel free to use my video guide to walk through the quoted step-by-step guide by @defi_explora
how to deploy a simple contract on base and claim the deployer role
deploy a simple contract on base and claim the deployer role!
in this guide, i’ll walk you through how to deploy a simple contract on base and claim the deployer role from guild.
→ step 1: create an etherscan api key
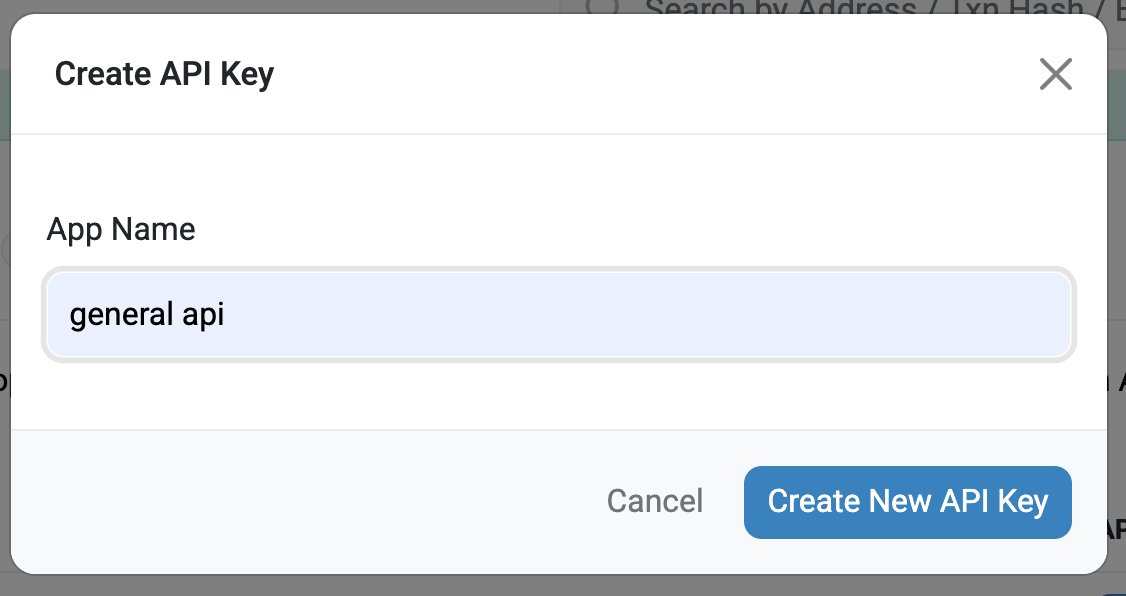
go to https://t.co/3rvrVSGqUr, create an account and generate an api key. since base explorer (basescan) is powered by Etherscan, the same api key works for verification.
→ step 2: open remix and set the api key for your deployment
go to https://t.co/5S9rMLPOmr, sign in with your github account. then click the ⚙️ settings icon (bottom left) > connected services > turn on etherscan access token then paste your api key inside.
→ step 3: create the contract file
click create on the home page > new file, name it "SimpleStorage.sol", then paste the code below into the editor:
// SPDX-License-Identifier: MIT
pragma solidity ^0.8.20;
contract SimpleStorage {
string public message;
constructor(string memory _message) {
message = _message;
}
function setMessage(string memory _newMessage) public {
message = _newMessage;
}
}
→ step 4: compile the contract
click solidity compiler on the side menu > click compile SimpleStorage.sol
→ step 5: deploy on base mainnet
click deploy & run transactions, environment → select injected provider (metamask/rabby). make sure your wallet is on base mainnet
in the constructor field, type "gm base", then click deploy and verify. it will auto-verify the contract on basescan.
→ step 6: claim your role
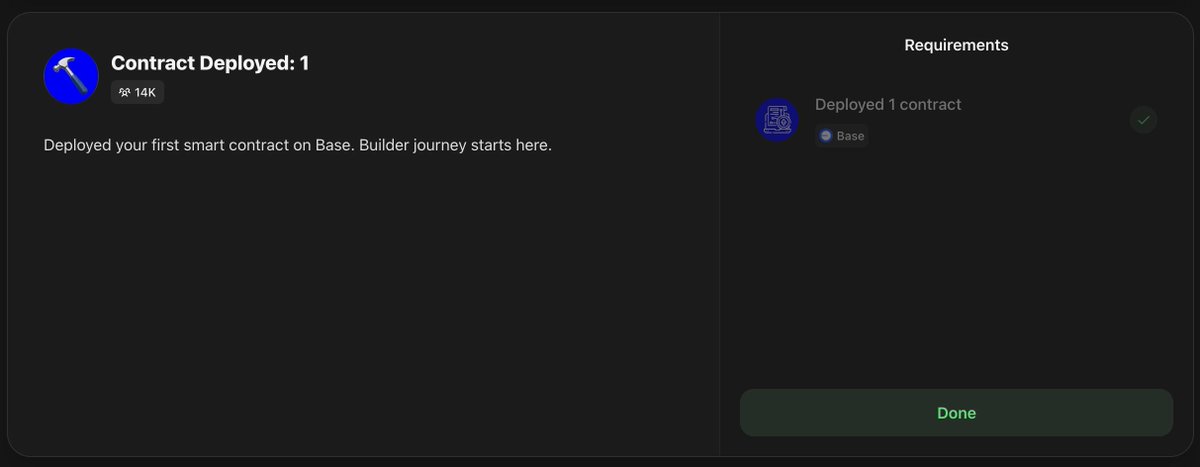
after successful deployment and verification, go to: https://t.co/jYyOs2Lv9j and claim the deployer role.
what you just did? you deployed a simple contract that stores the message "gm base" fully onchain on base.
if you encounter any error, drop it in the comments and i’ll help you fix it.
Free $20-$50 on @predofficial {time sensitive}
If you have an active Base wallet, you might have a Surprise Drop waiting as Predofficial rewards eligible users.
➥ How to claim:
1. visit :https://t.co/hFezWGAVTA
2. check your wallet address
3. view your Surprise Drop reward
➥ How to withdraw:
- Log in or register
- Deposit $1 and place a trade. If you win, the reward unlocks for withdrawal. If you lose, you may need to deposit again and try another trade.
Retium Identity (RID) Now Available to Mint
The OG mint is now LIVE on testnet, and eligible OG members have less than 48 hours to claim their Golden Identity
How to mint your Retium Identity 👇
→ Visit the RID site: https://t.co/T25ruOMCeQ
→ Connect your Retium wallet
→ Check your eligibility. If you’re on the OG allowlist, you should see Gold · OG · Free
→ Mint your Golden Identity NFT
→ Check your RID in the My Stuff tab
Important 👇
→ The VIP role can still be earned by new and existing members who actively contribute to Retium
→ Genuine support matters: participate in the community, test the network and help spread the word about @RetiumChain
→ Inactive accounts and bots may lose their VIP status
Remember, this is still testnet, and there will be more opportunities in future testing cycles
🚨How to Participate in the QMS Testnet and Earn Quanta Points
@QMSNetwork is building a Layer 1 focused on post-quantum security and useful computation, and its public testnet is now live
Here’s how to get started 👇
1️⃣ Join the Discord Testnet Trials
🔗 Discord: https://t.co/sVPaxlE4vf
→ Go to the Quanta Testnet channel
→ Press Submit my wallet and enter the EVM wallet address you’ll use for testing
⚠️ Submit your wallet before making any transactions, as only transactions made after registration count
2️⃣ Claim Test Tokens
🔗 Faucet: https://t.co/jOLGZesepA
→ Mine & Claim free test QMS to cover transaction fees
3️⃣ Start Testing on QWAP
🔗 Testnet app: https://t.co/irwZISsecP
→ Connect the same wallet you registered in Discord
→ Add the QMS testnet if prompted
→ Make a swap
→ Add liquidity
→ Check your portfolio and track transactions on the explorer
4️⃣ How to Earn Quanta Points
1 set = 1 successful swap + 1 successful LP addition
→ 1 swap + 1 LP = 1 set
→ 5 swaps + 5 LP additions = 5 sets
→ 10 swaps + 10 LP additions = 10 sets
Each swap and LP addition must be a separate successful transaction made directly through the testnet app
Adding liquidity to a new pool counts, but removing liquidity doesn’t
5️⃣ Quanta Points Rewards
→ Qubits: 10 Quanta per set, up to 100 Quanta
→ Quantum Pioneer: 13 Quanta per set, up to 130 Quanta
You can complete up to 10 sets, with progress usually updating 10-15 minutes after each transaction
Return to the Quanta Testnet channel and press Check my progress to track your points
Follow @QMSNetwork for updates