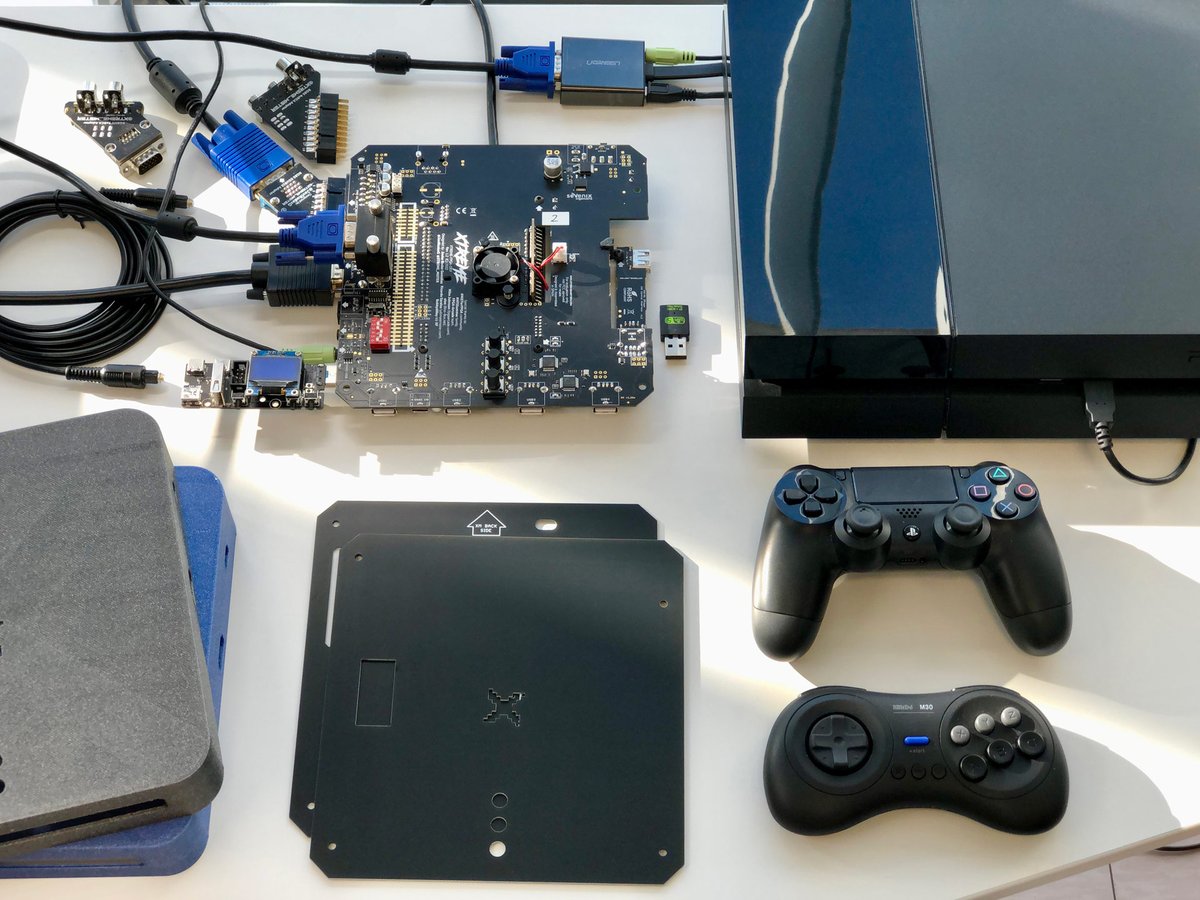
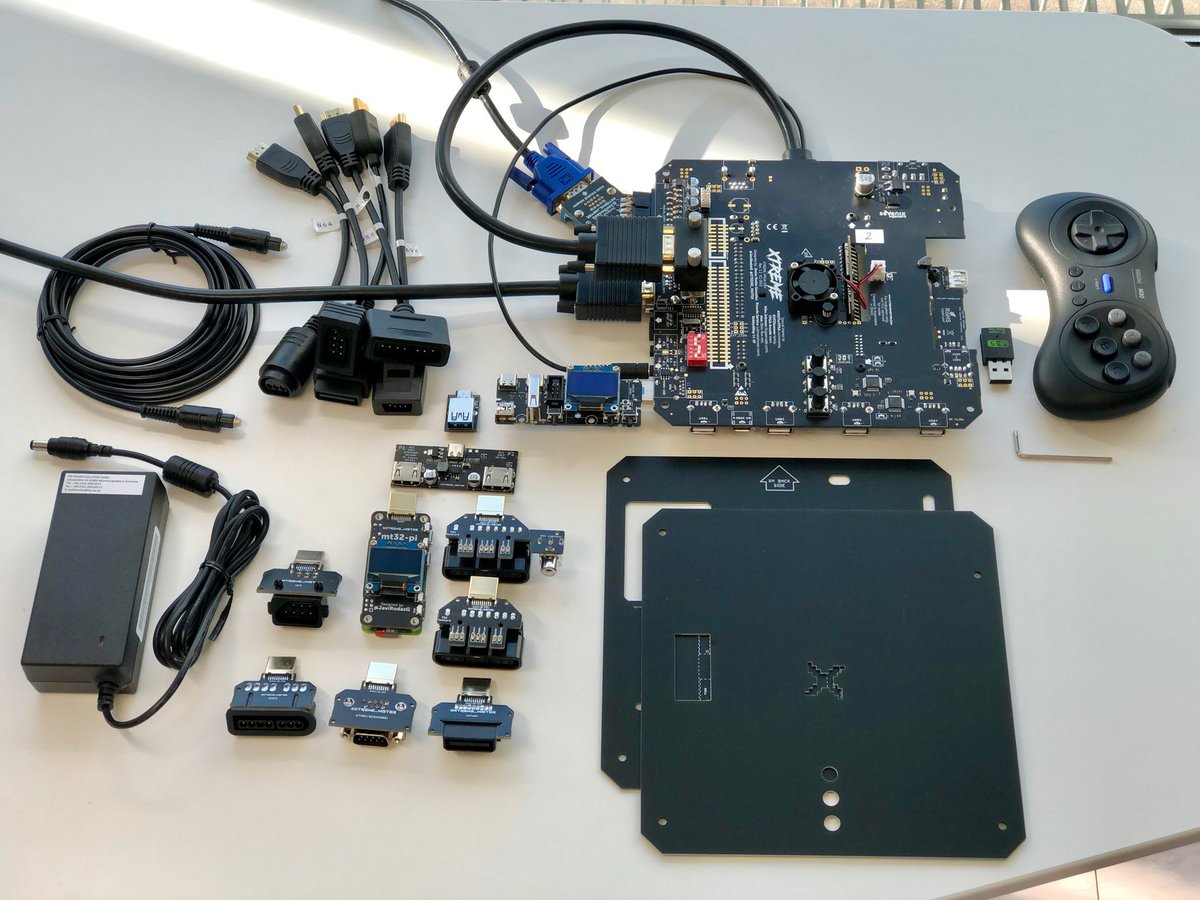
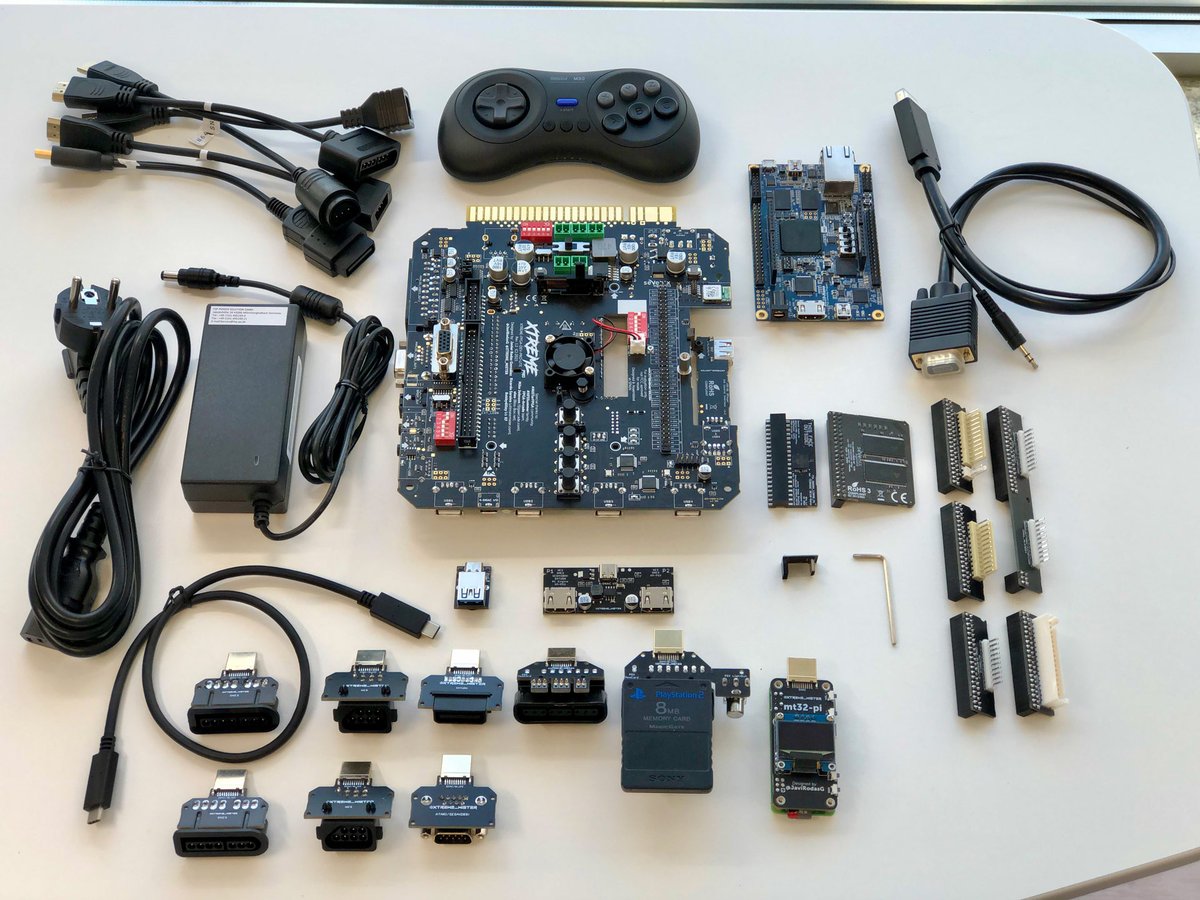
Expand your FPGA input-controller, audio&video capabilities to a new level. For CRT, multi-player & multi-ARCADE enthusiasts.
#MiSTerFPGA & next-gen compatible
🚨It’s here!. After years of development and hard work, we're proud to announce our https://t.co/RxLD5QY78f website. We are accepting pre-orders of the XTREME revised boards. Get the best possible A/V & JAMMA on your #MiSTerFPGA DE10-Nano, also forward-compatible with #MARSFPGA
Finally got all the resolution switches from the RT4K auto-sample rate buttery smooth!!!!
Took a lot longer than I hoped, but I finally got my birthday present🙃
Update should be posted soon after I do a few more cleanups. Should help both analog video and MiSTer DV1
If true, that's really shitty. That guy seems to do nothing but make money off of other people's hard work. I don't even believe he does his own engineering.
Must be nice to take information from someone who spent years on a project then use that information, not credit them, and make a household median income from it in 72hrs...
A new i/o board from @MisterAddons could improve on the poor levels from the reference i/o boards. https://t.co/hXgiZbEHm1. But I see you pulled a lot of data from the work I did at https://t.co/el1yKEhmdR, a little credit would be nice for my time and money invested :)
ENGLISH:
I have added a new video https://t.co/2HP1Px7fE1
to the GETTING STARTED VIDEO shared folder
https://t.co/fhCysQAs0D showing how to connect the external RJ45 network cable at the BACK of the XM-PRO when the JAMMA connector is already in place.
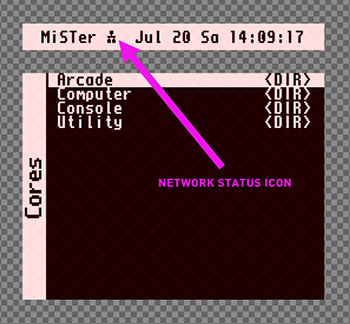
FYI, you may need to wait up to 30 SECONDS before the MiSTer gets the IP address via DHCP from your router, and that network status icon to appear. In case you don’t end up getting a valid IP (and the NETWORK STATUS ICON at the top Bar of the MiSTer) please review that your router has enabled the DHCP Server on the network port that you are using.
Please also make sure the internal RJ45-RJ45 tiny network cable is correctly plugged into the 2 internal RJ45 FEMALE connectors.
In the new video, I show you how to properly cut the plastic protection of some RJ45 connectors (in case they have such protection, not all the cables need this), in order to fit it freely under the JAMMA connector.
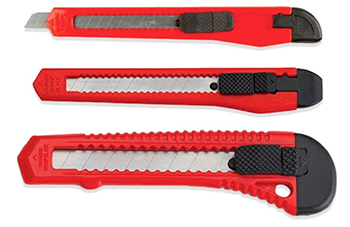
You can use any inexpensive (few cents) cutter for this rubber plastic easy cut (in case you don’t have other tools).
---
CASTELLANO:
He añadido un nuevo video https://t.co/2HP1Px7fE1
a la carpeta compartida GUIA DE INICIO
https://t.co/fhCysQAs0D mostrando como se debe conectar un cable RJ45 a la parte TRASERA de la XM-PRO, bajo el conector JAMMA.
NOTA: Puede ser necesario esperar hasta 30 SEGUNDOS hasta que la MiSTer obtenga una dirección IP via DHCP desde tu router, y en ese momento aparezca el ICONO DE RED en la barra de estado superior. En caso de que no obtengas una dirección IP válida (ni el icono de estado en la barra de MiSTer) por favor revisa que tu router tenga el servidor DHCP activado en la toma de red que estás usando.
Por favor, asegúrate también de que el pequeño de cable de red RJ45-RJ45 interno está correctamente enchufado en ambos conectores RJ45 HEMBRA internos.
En el nuevo video muestro como se debe cortar el plástico de protección que tienen los conectores de algunos cables de red. Este paso no es necesario en todos los cables de red. Una vez se elimina este exceso de plástico el conector entrará sin esfuerzo en la parte trasera, bajo el conector JAMMA.
Puedes utilizar un cutter para esta tarea (en caso de que no tengas otro tipo de herramientas).
#MiSTerFPGA
ENGLISH: This is the FIRST external temperature sensor "1" of the XM-PRO and its default position. In case you have received your package with this temperature sensor "1" outside the CUSTOM COOLER solution of the XTREME #MiSTerFPGA during the transit of the package, we really encourage to put it back at this default spot of the cooler, to avoid any possibility of short with other metal pins of the board.
The sensor dimensions and type of elastic cable avoid them to fall outside by gravity. We are sorry to see the currier companies don't treat the packages with the same care as we did in origin 😣
This video is now available at the "Getting started" video folder of the documentation: https://t.co/fhCysQAs0D
---
CASTELLANO: Este es el PRIMER sensor de temperatura "1" externo de la XM-PRO, y su posición por defecto. En caso de que recibáis vuestro paquete con este sensor de temperatura "1" fuera del CUSTOM COOLER de la XTREME #MiSTerFPGA debido a una incidencia durante el transporte, por favor debéis montarlo de nuevo en el lugar que le corresponde dentro del COOLER, para evitar cualquier posible peligro de cortocircuito con otros pines metálicos de la placa base.
Las dimensiones del sensor así como la elasticidad del cables elegido, garantizan que no se caiga fuera por efecto de la gravedad. Lamentamos ver como las compañías de transporte no tratan los paquetes con el mismo cuidado con el que lo hacemos nosotros en origen 😣
Este video está ahora disponible junto al resto en la carpeta compartida de videos de la "Guía de Inicio" de la documentación: https://t.co/fhCysQAs0D
Said that, in case you want to make constructive criticism, if you detect any typo, spelling errors or something that is, in your opinion, not written correctly, please tell us where is the issue so that we could fix it (and improve the documentation).
Our current and future costumers will appreciate your feedback.
You can write us your comments in private if you prefer.
Thanks in advance for your feedback.
🚨👀 Hello everybody,
As promised here you have the HD assembling videos, step by step, following the same order as in the “Getting Started” manual (at the first section):
GETTING STARTING VIDEOS:
https://t.co/fhCysQAs0D
GETTING STARTING - DOCUMENTATION (ENGLISH):
https://t.co/cIwrUJ6WmR
https://t.co/fy4yLpJzGo
-------------------
Hola a todo el mundo,
Tal y como prometimos, aquí tenéis los videos en HD de la guía de inicio, paso a paso, en el mismo orden que el mostrado en el manual “Guía de Inicio” (en la primera sección):
VIDEOS DE LA GUIA DE INICIO:
https://t.co/fhCysQAs0D
GUIA DE INICIO - DOCUMENTACIÓN (ESPAÑOL):
https://t.co/KRGeFL6T0f
https://t.co/2wgL4VgAVW
#MiSTerFPGA #MARSFPGA
👀☝🏼 By default the delivered XM-PRO motherboards are configured to be powered from the JAMMA harness. In case you decide to power the XM-PRO from a +12V power adapter instead of from the JAMMA, you should move these 2 power jumpers at the BOTTOM of the board, from the “EN_5V_JAMMA” to the “EN_5V_DCDC” position.
👀 More documentation on the previous post 👇🏼👇🏼👇🏼
Enjoy your #MiSTerFPGA #MARSFPGA day!
Dear Dario, thanks for reaching out and for your interest in our products.
There was a pre-order period before the end of 2023 where all the purchasing information was available. I'm sorry you missed it.
Now that period is over and we will update the website when it's the time to offer the next batch of bundles (mostly based on inventory, so the delivery time will be much shorter next time).
We will also allow the units to be purchased through distributors when possible too.
We are super busy with lots of stuff going on... so please be patient.
Have a great day.
🚨 Here's to a Fantastic New Year!
At the conclusion of this year, we would like to express our sincerest appreciation to all those who have supported us and placed their confidence in our products.
We are pleased to inform you that all outstanding shipments from the initial pre-order have been sent out as of last week.
Moving forward, we will be offering various bundles and promotions using our current inventory, in principle with consolidated shipments scheduled once a month during the fourth week of each month. We will notify you when the changes are implemented on our website, along with the upload of several pending documentation pieces. We are also in the process of releasing the latest revision of our XtremeMiSTer Mobile Tool (v0.5-beta) on the Android Market, to enhance the user experience to the fullest extent.
Furthermore, we will commence the procedure of sending out shipments through distributors whenever it is feasible.
To conclude, we would like to mention that several XM-PRO units are reserved for #MARSFPGA bundle offerings.
May the beginning of the year 2024 bring you an abundance of good health and cherished moments shared with your dear ones!.
#MiSTerFPGA #FPGAGaming #Arcade #gaming #RETROGAMING #retrogamer
ENGLISH: This is the FIRST external temperature sensor "1" of the XM-PRO and its default position. In case you have received your package with this temperature sensor "1" outside the CUSTOM COOLER solution of the XTREME #MiSTerFPGA during the transit of the package, we really encourage to put it back at this default spot of the cooler, to avoid any possibility of short with other metal pins of the board.
The sensor dimensions and type of elastic cable avoid them to fall outside by gravity. We are sorry to see the currier companies don't treat the packages with the same care as we did in origin 😣
This video is now available at the "Getting started" video folder of the documentation: https://t.co/fhCysQAs0D
---
CASTELLANO: Este es el PRIMER sensor de temperatura "1" externo de la XM-PRO, y su posición por defecto. En caso de que recibáis vuestro paquete con este sensor de temperatura "1" fuera del CUSTOM COOLER de la XTREME #MiSTerFPGA debido a una incidencia durante el transporte, por favor debéis montarlo de nuevo en el lugar que le corresponde dentro del COOLER, para evitar cualquier posible peligro de cortocircuito con otros pines metálicos de la placa base.
Las dimensiones del sensor así como la elasticidad del cables elegido, garantizan que no se caiga fuera por efecto de la gravedad. Lamentamos ver como las compañías de transporte no tratan los paquetes con el mismo cuidado con el que lo hacemos nosotros en origen 😣
Este video está ahora disponible junto al resto en la carpeta compartida de videos de la "Guía de Inicio" de la documentación: https://t.co/fhCysQAs0D
Hello, that’s a temperature sensor that is intended to be inside the FPGA custom cooler. I’m sorry to see that it moved out during the transportation 🫤.
You can try to put it back inside the cooler again using some tweezers, else you would need to remove the USB-BRIDGE and next the DE10-Nano to place it confortable back at its place. Another option is that you pull the FFC connector (at the sides) and disconnect the FFC cable connected to the sensor “1”.
Another second temperature sensor is included in the bag, but it’s optional too. It can be used to measure the ambient temperature inside a cabinet (and outside the enclosure).
There is a third temperature sensor soldered under that small RTC+3xTemp PCB addon too, so both FFC cables are really optional, to have different temperatures at different spots of the hardware (like it’s usually available in other PC motherboards).
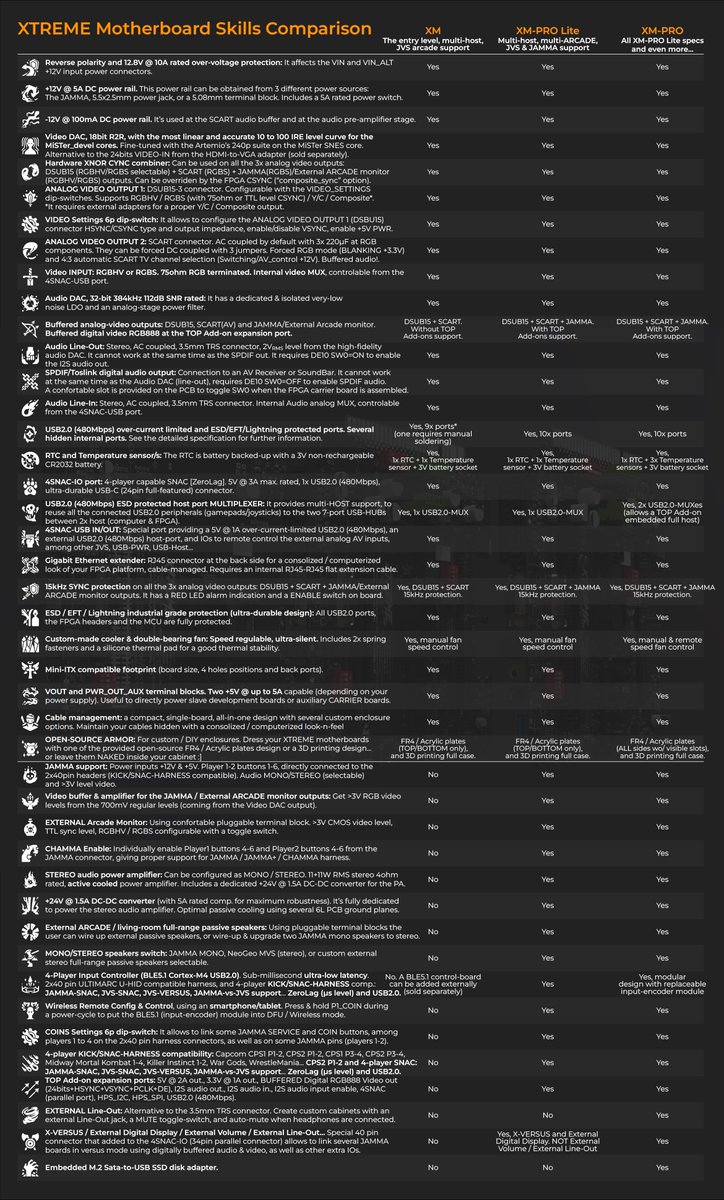
Those two extra “external” temperature sensors are not available on the XM-PRO Lite (for simplicity), only on the XM-PRO, as shown on the comparison table and hardware diagrams at the bottom of the https://t.co/aiGb1jvRPV
Hello, that’s a temperature sensor that is intended to be inside the FPGA custom cooler. I’m sorry to see that it moved out during the transportation 🫤.
You can try to put it back inside the cooler again using some tweezers, else you would need to remove the USB-BRIDGE and next the DE10-Nano to place it confortable back at its place. Another option is that you pull the FFC connector (at the sides) and disconnect the FFC cable connected to the sensor “1”.
Another second temperature sensor is included in the bag, but it’s optional too. It can be used to measure the ambient temperature inside a cabinet (and outside the enclosure).
There is a third temperature sensor soldered under that small RTC+3xTemp PCB addon too, so both FFC cables are really optional, to have different temperatures at different spots of the hardware (like it’s usually available in other PC motherboards).
Those two extra “external” temperature sensors are not available on the XM-PRO Lite (for simplicity), only on the XM-PRO, as shown on the comparison table and hardware diagrams at the bottom of the https://t.co/aiGb1jvRPV
Hola Eduardo, solo con la XM-PRO y PRO-Lite es posible, que son las 2 que incorporan el módulo BLE embebido: https://t.co/5OVbKtgQZx
https://t.co/63H6FwX9kV
Es la 6ª característica empezando por abajo, y solo pone YES en la segunda y tercera columna. Actualmente el firmware ya no requiere entrar de forma manual en modo DFU pulsando el botón de COIN como pibe en esa tabla. Ahora el firmware arranca en modo 4player Input encoder + BLE bridge por defecto. Desde la app se puede controlar, configurar/actualizar la plataforma incluso si estas jugando con los joysticks conectados a este input encoder. Veo que esto está desactualizado en al tabla.
#MiSTerFPGA
👀☝🏼 By default the delivered XM-PRO motherboards are configured to be powered from the JAMMA harness. In case you decide to power the XM-PRO from a +12V power adapter instead of from the JAMMA, you should move these 2 power jumpers at the BOTTOM of the board, from the “EN_5V_JAMMA” to the “EN_5V_DCDC” position.
👀 More documentation on the previous post 👇🏼👇🏼👇🏼
Enjoy your #MiSTerFPGA #MARSFPGA day!
🚨 We would like to give you the direct links the current Getting Started and updated Deployment documentation of the XTREME PRO/PRO-Lite boards, in both English 🇬🇧 and in Spanish 🇪🇸 languages.
ENGLISH:
https://t.co/cIwrUJ6WmR
https://t.co/fy4yLpJzGo
SPANISH:
https://t.co/KRGeFL6T0f
https://t.co/2wgL4VgAVW
We still need to take more pictures and videos of the assembly process, and of other accessories, but we would like you to have a decent part of documentation as soon as possible, as you are progressively receiving right now the packages sent during last two weeks.
We will continue updating the website and the documentation.
In case you have any doubt or comment about your orders or about the documentation please do not hesitate in contacting us.
PS: @wizzomafizzo take a look at the Getting Starting document to the updated screenshots of the latest revision of the 🔥 XtremeMiSTer Mobile Tool v0.5-beta 🔥
🚨 We would like to give you the direct links the current Getting Started and updated Deployment documentation of the XTREME PRO/PRO-Lite boards, in both English 🇬🇧 and in Spanish 🇪🇸 languages.
ENGLISH:
https://t.co/cIwrUJ6WmR
https://t.co/fy4yLpJzGo
SPANISH:
https://t.co/KRGeFL6T0f
https://t.co/2wgL4VgAVW
We still need to take more pictures and videos of the assembly process, and of other accessories, but we would like you to have a decent part of documentation as soon as possible, as you are progressively receiving right now the packages sent during last two weeks.
We will continue updating the website and the documentation.
In case you have any doubt or comment about your orders or about the documentation please do not hesitate in contacting us.
PS: @wizzomafizzo take a look at the Getting Starting document to the updated screenshots of the latest revision of the 🔥 XtremeMiSTer Mobile Tool v0.5-beta 🔥
Thanks for reaching out. We have been informing our costumers about the shipping notices, and on social media from time to time. The first XM bundle pre-orders are closed. Next batch will be partially from parts of our inventory, and we will inform again in advance on social media whenever it's available (with a shorter lead-time).
A lot of stuff is going on and can't talk yet about anything else.
🤔 Wondering what’s the opinion of Alexey Melnikov (the creator and main contributor of the #MiSTerFPGA open-source project https://t.co/xsMXTnel3i) or of @ricardosaraiva owner of https://t.co/QUZU0HZ4dP and actively supporter of the project from its foundation.