She liked the Charmander and the Rare Candy card and didn’t give two shits about the fancy one
This is how Pokemon should be enjoyed, just choose your favorites, a child understands that better than grown ass adults
Started this printing process back in October 2025. I learned from friends how to cut for print and YouTube on how to paint. Lots of projects and life happened inbetween. I hope you enjoy.🧼🫧
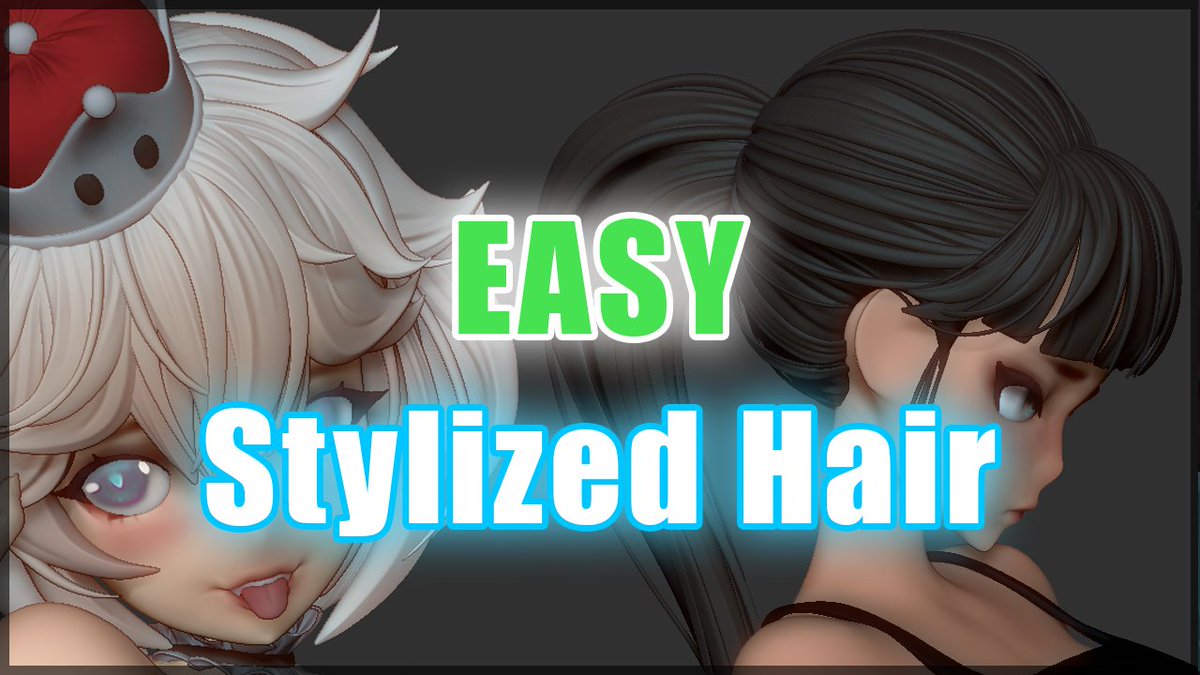
My Hair Tutorial is FINALLY done and uploaded along with the sample scene shown and 🌟FREE🌟 on my gumroad! Link to both the available content is in the thread below 🧵⬇️⬇️⬇️ Thanks for all your patience and Happy Thanksgiving!
I'm not sure if there's a need for it, but I've uploaded an old-VHS-style post-process below.
link:https://t.co/YTT4R1UpFA
Feel free to use it for learning and so on.
Massive update to my game resources megalist! 👾
- Game pitch templates
- Publisher and Funds lists
- Games industry data
- Engine and rendering learing resources
- Art tools and resources
- Pixel art fonts
- UI assets packs
+ more at https://t.co/J25tWuaiA2
#gamedev#indiedev
@Grummz Indie game devs out there, if you're reading this,
- Don't be afraid of what the journalists say about your game.
- Don't be afraid to launch a crowdfunding campaign for your dream project to materialize if you need our help.
- Always believe in yourselves no matter what.
🎓Learn how to create a powerful Worn Leather smart material in a matter of seconds in my latest video series (AAA) Pro Tips!
This smart material can be used on virtually any 3D asset.
____________________________________________________
In this video, the steps are as follows:
1. Create a fill layer with a black mask applied.
Inside its mask paint a simple pill shape and use a blur slope filter to introduce some random shapes. Apply a marble veins fill layer on top with its blending mode set to color burn. Apply a warp filter as well to introduce some randomness followed by an anchorpoint.
2. Create another fill layer using the same technique to apply some dirt in the crevices of the wear.
3. Next, Inside the main fill layer apply a tiling raw leather texture to its Color and roughness channel
4. Create an additional fill layer up top and apply a black mask to it.Inside this mask retrieve the anchorpoint information followed by a blur filter with a value of 6. Use a levels to increase the spread of the mask. Apply another marble veins matching the values of the marble veins fill layer that we previously added and set its blending mode to multiply. Lastly retrieve the anchorpoint information from the previous fill layer again but this time set its blending mode to subtract. This fill layers properties should have a dark diffuse color and a matte roughness.
5. Add another fill layer with a bright diffuse and height properties with a black mask applied to it. Inside its mask retrieve the anchorpoint information again followed by a blur slope. Apply the anchorpoint information again but this time set its blending mode to subtract.
Now we have a worn leather effect wherever we paint using the paint layer created inside the callout mask!
____________________________________________________
More AAA Game Dev Tips can be found on my YouTube channel here: https://t.co/GRJvxDixJb
Stay tuned for more weekly Tips!
Happy Texturing!💚
#gamedev #gameart #3dmodeling #3dartist #texturing #UE5 #unity #artstation
If you want to see the FULL process of creating a Helldivers 2 environment in UE5, our latest 80-minute YouTube tutorial is for you! This detailed tutorial includes general UE tips, the best Dash tools, how to use Ultra Dynamic Sky, and much more!
Full tutorial below! 👇
#3D #gamedevelopment #UnrealEngine5