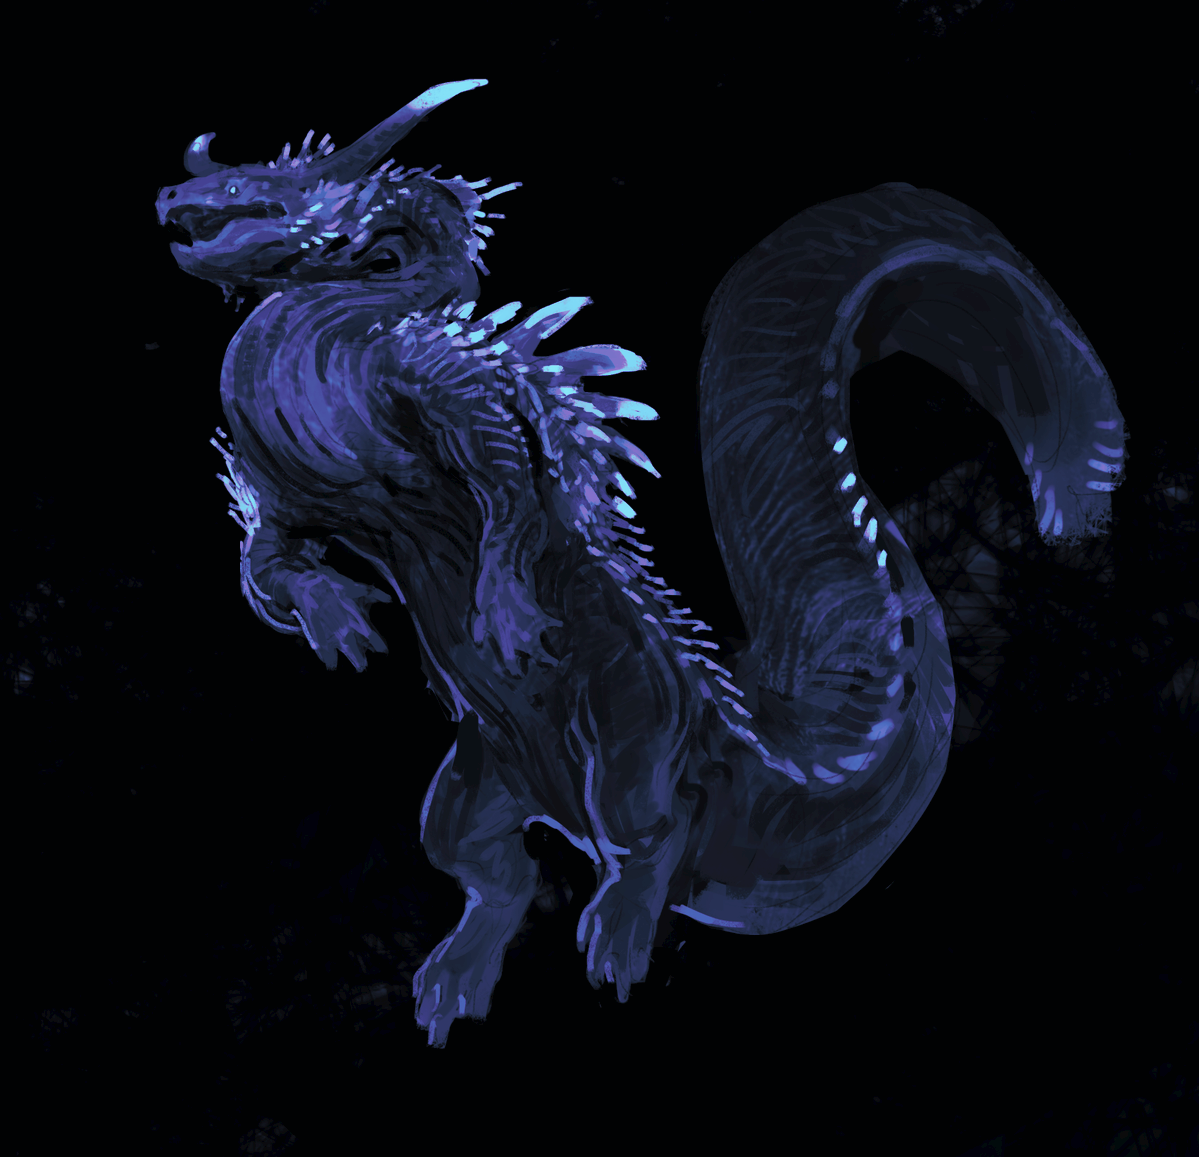
Two years ago, as a practice exercise, I sculpted this character in Blender, but I never finished it. Now, inspired by Angine de Poitrine, I’ve added some textures and animation.
Blender 5.1.2, Cycles.
BTW, no AI was involved in the process.
Music: Angine de Poitrine - Fabienk
#MAYA Xgen to Alembic cache,Test #unity 's hair system~👌
https://t.co/QOn6ICSOt4
Come and subscribe to my Fanbox to download this project
#unity3d#realtime#vfx#shader
🏃 Chop hours off your high poly workflow w/ @ThatNgonGuy
Build with booleans, subdiv & floaters, then import into Marmoset Toolbag.
Use the Bevel Shader for edges, duplicate, reduce booleans for low poly, then unwrap & bake.
Need changes? Update high poly, rebake, & done!
Introducing CozyBlanket Pro
A next-generation mesh optimization and cleanup toolkit, built from the ground up with AI-assisted retopology, cutting-edge UV tools, and powerful tool system to transform complex geometry into clean, efficient, production-ready assets.
MeshBlend 3.0 is out! 🥳
This has been an ongoing project for a while but it is finally ready! The update brings improved blend quality AND improved performance!
https://t.co/NDCMHZaUnu
#gamedev@UnrealEngine@fab
Universal Blender Material by Munsplit v1.2 is out.
Fixed many issues with bevel/ao/texture interaction
and also added camo texture, and noise texture clamping. You can find it on my Artstation Store page.
Hello new people, the monkey's name is Algernon and I made him to learn face tracking for creatures. I will conduct more experiments with him in the future.
Really excited to share a fun little colab I got to do with Erik Kangas!
We started the project we started a few years ago and kept going through rounds of changes and adjustments before finally settling on this design.
https://t.co/mptE4ByH92
RDStoat shared a clever approach to “fake” 3D enemies built entirely from 2D sprites, designed for a third-person 2.5D action game.
See more: https://t.co/NDlowwyyHa
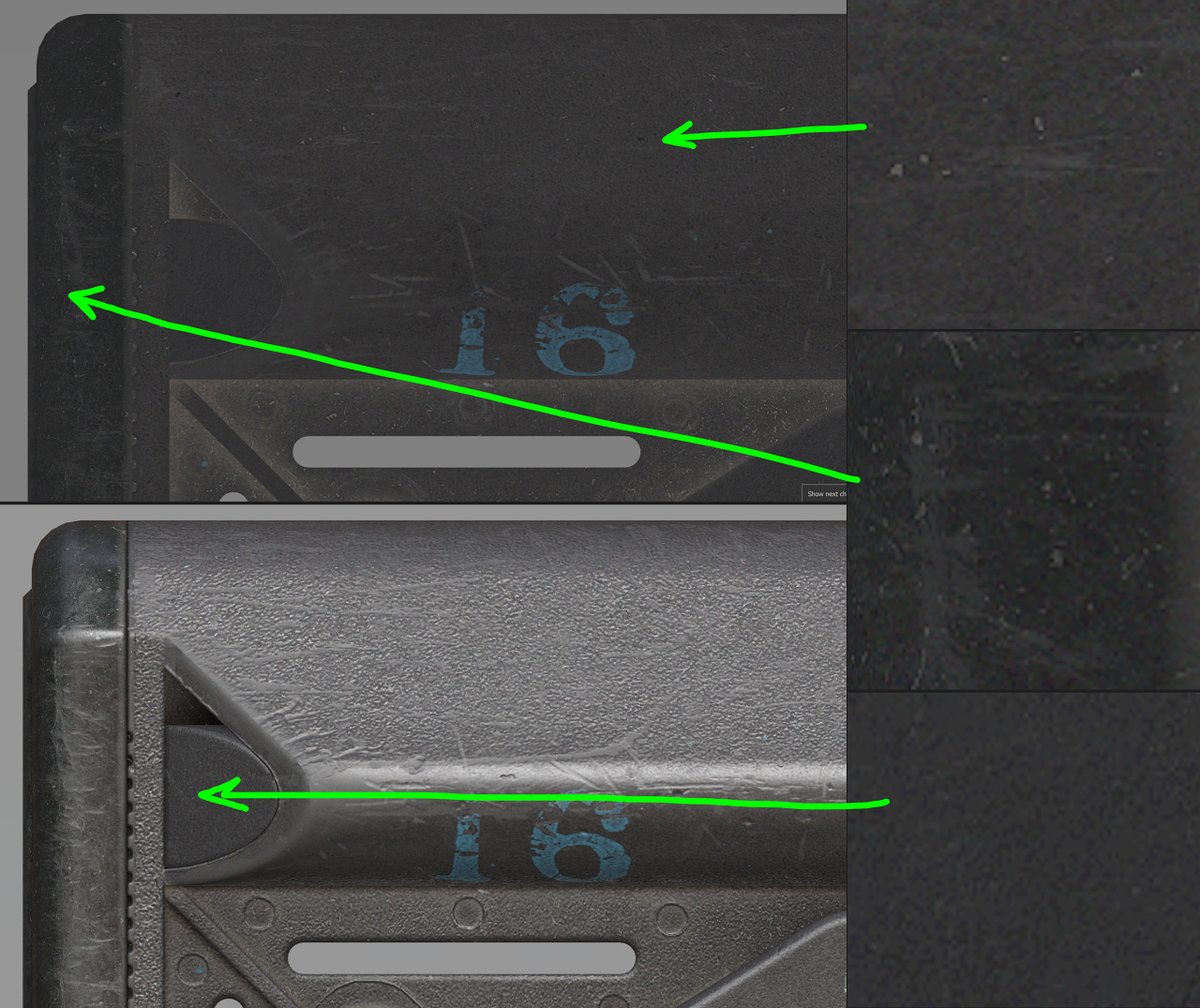
Here's a texturing technique I use in all my projects.
It’s a universal base layer. I stack several noise textures to create subtle variations in the Color and Roughness channels. I create large and medium shapes using Clouds and Galvanic grunges.
This base layer is the foundation for every material in the project. I use Passthrough blending + Levels and HSL to set the starting point for each material.
On top of that, I add a reusable set of micro-noise fills. First, they mitigate color banding caused by HSL adjustments. Second, they add a “fractal” quality to the texture, tricking your brain into feeling that there’s more than meets the eye. Without them, the texture feels too “digital” and sterile.
Don't overdo it though. It should be barely perceptible. 2-10 value steps. We don't want the texture to be noisy.