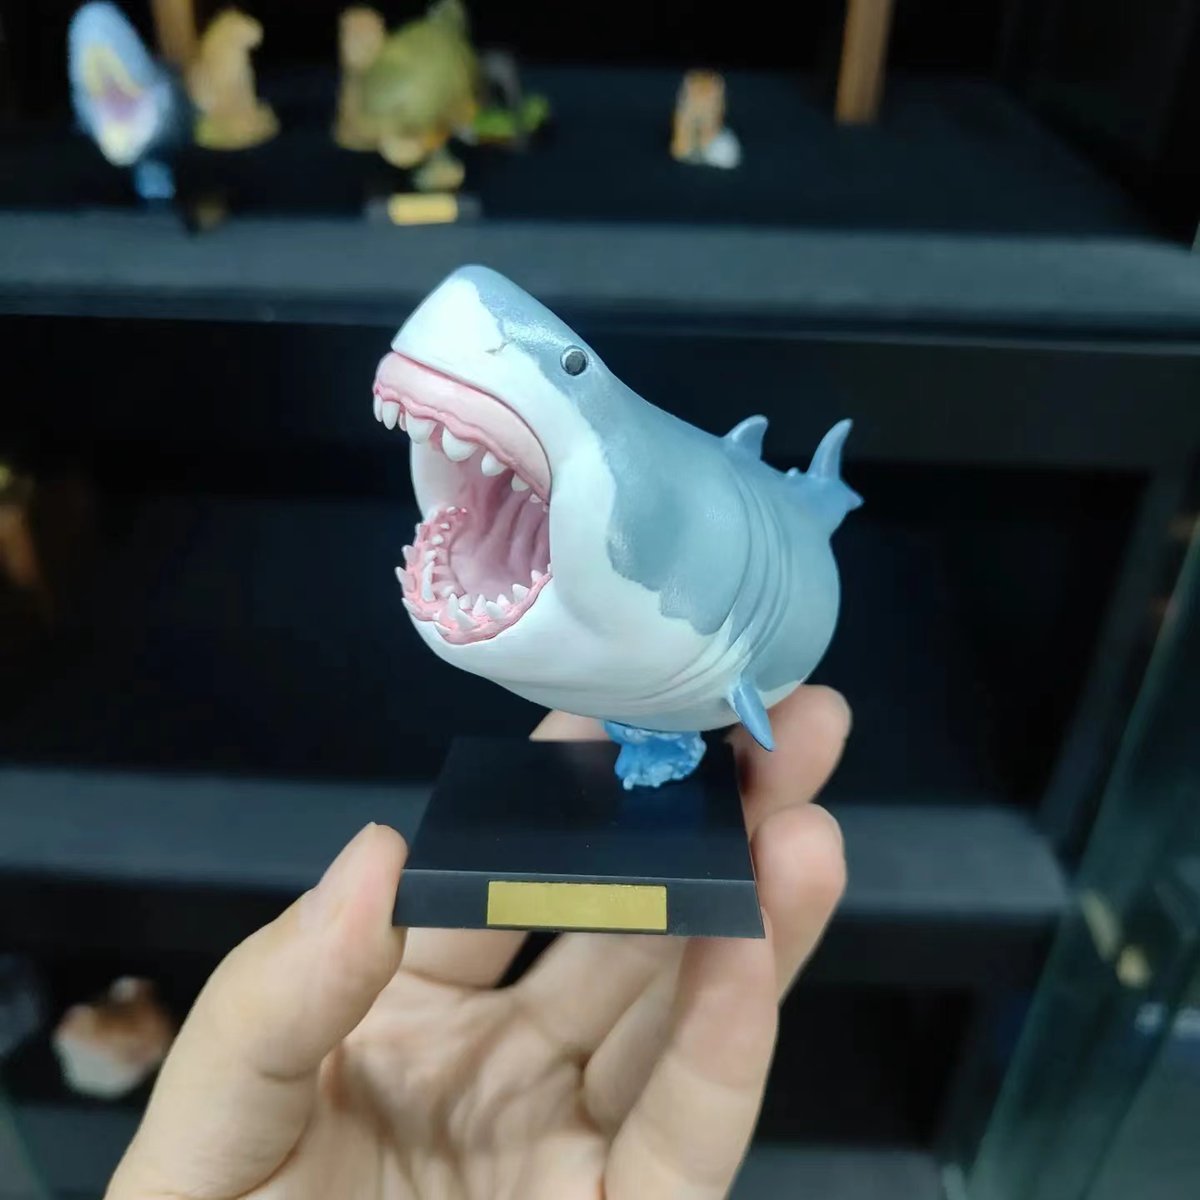
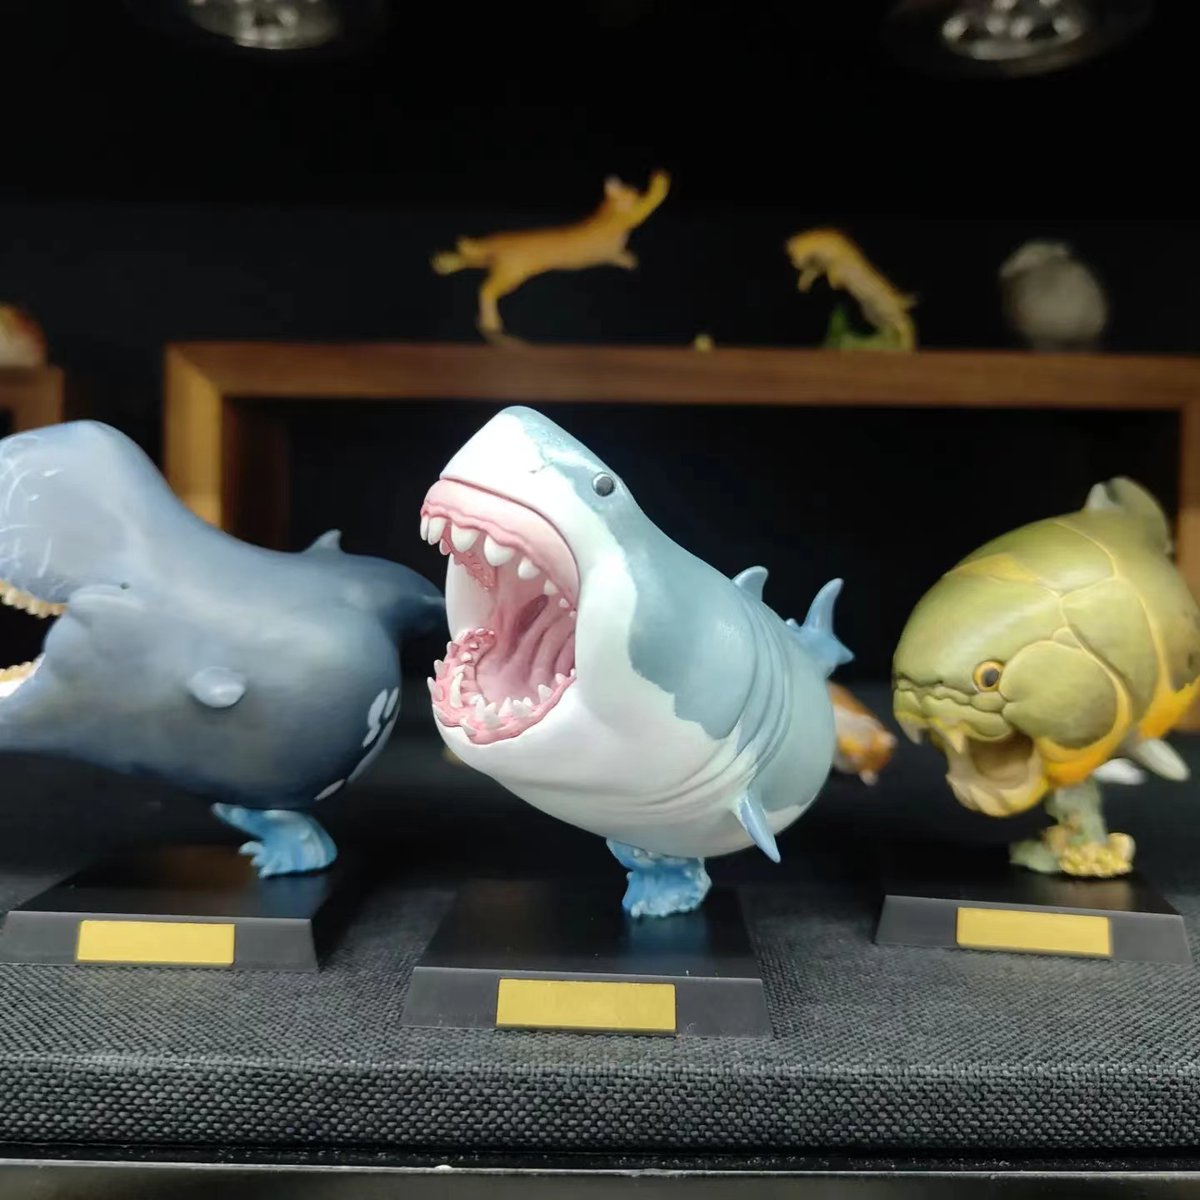
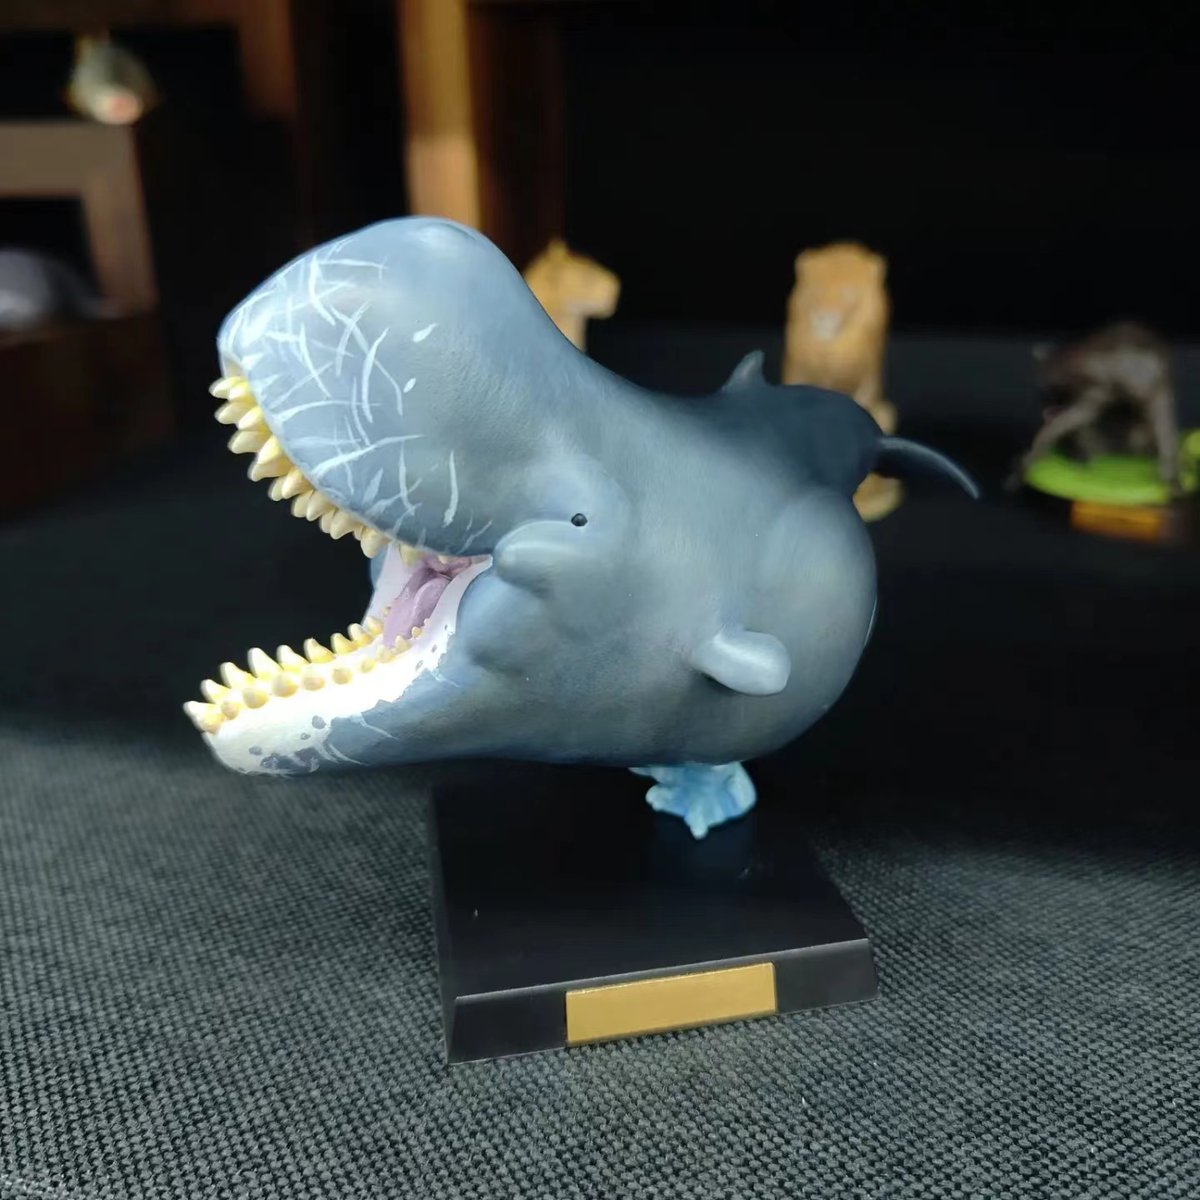
Hey twiiter ! I'm looking for a 3D rigging artist in blender. To rig this guy, is still in wip but he will nead this kind of déformation --------------⬇️⬇️⬇️
If you are please contact me, or answer to this tweet !
Quick overview of my addon,
while working on my thesis project, I've been using the camera a lot for animation, modeling, etc. and it's tedious to manage a lot of cameras, especially when navigating the menus just to make small changes. (1/3)
WIP of a character by @MaxGrecke
Need to add some sloshing to the cup interior, and replace the bat with a better model (I'll see if Max has drawn any bats before)
But we're making progress, and I'm pretty sure this is the anim I'm going to final with. 👍
🎨 Toolbag Artist Highlight - Abby 3D by Fred Arsenault
Find more of Fred’s work on Artstation: https://t.co/xr5aRs2lpv
👉 Tag your art with #madewithMarmoset for a chance to be featured.
Bake, texture, and render your art in Toolbag: https://t.co/jxfmTluP2z
@WAVEN_ES he notado que la habilidad "agresión Sicarius" no se ejecuta siempre, esto es un bug?
entiendo que esta limitado a 2, pero no funciona la primera
🎓Learn how to create a powerful Torn Fabric smart material in a matter of seconds in my latest video series (AAA) Pro Tips!
This smart material can be used on virtually any 3D asset.
____________________________________________________
In this video, the steps are as follows:
1. Create a base fill layer containing no information. We will use this layer to call out the core effects. Add a black mask to this layer and inside that mask add a paint layer and draw a simple pill shape.
2. Next, add a blur directional and be sure the direction is the same direction that your fabric is flowing to.
3. Add a UV border generator set to subtract to mask out any uv seams followed by an anchorpoint. Additionally, add a messy Fibers 3 fill layer set to overlay.
4. Use a levels to adjust the mask along with a sharpen filter. A warp filter should also be added to introduce some randomness. Add an anchor point at the top of the mask as well.
5. Create another fill layer with its opacity channel set to black and apply a black mask to the fill layer. Inside its mask retrieve the anchorpoint information from the previous fill layer.
6. Create an additional fill layer with a bright diffuse color along with a black mask applied to it. Add the anchorpoint information from the previous mask into its mask as well and this should give us some white fibers on the edges.
Now we have a torn fabric effect wherever we paint using the paint layer created inside the callout mask!
____________________________________________________
More AAA Game Dev Tips can be found on my YouTube channel here: https://t.co/JFZqEZgxLB
Stay tuned for more weekly Tips!
Happy Texturing!💚
#gamedev #gameart #tutorial #3dmodeling #hardsurface #texturing