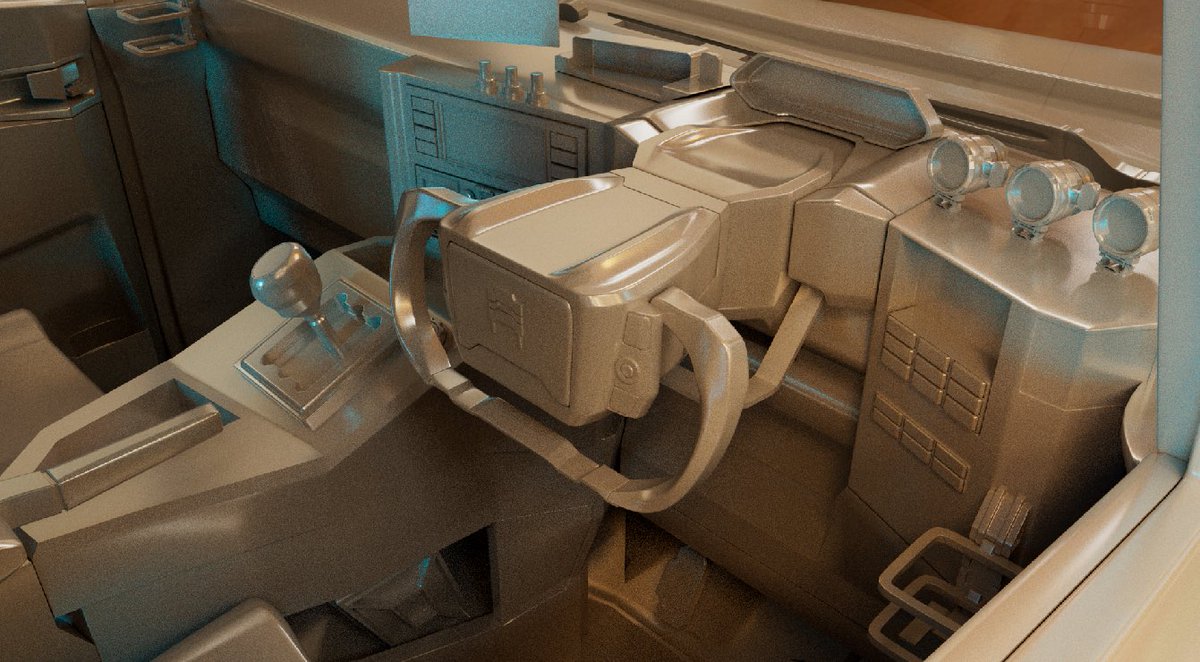
EXCLUSIVE: Vince Zampella sat down with IGN to confirm that Battlefield would be returning to a modern setting while sharing its first concept art.
Check out our full interview: https://t.co/7RQ9ze73Nz
It's weekly tip share time! This time we're looking at The "70-30" Rule😊
To get them all in one handy format visit our website: https://t.co/hWXVRwAKtc
#gamedev#gameart#tips
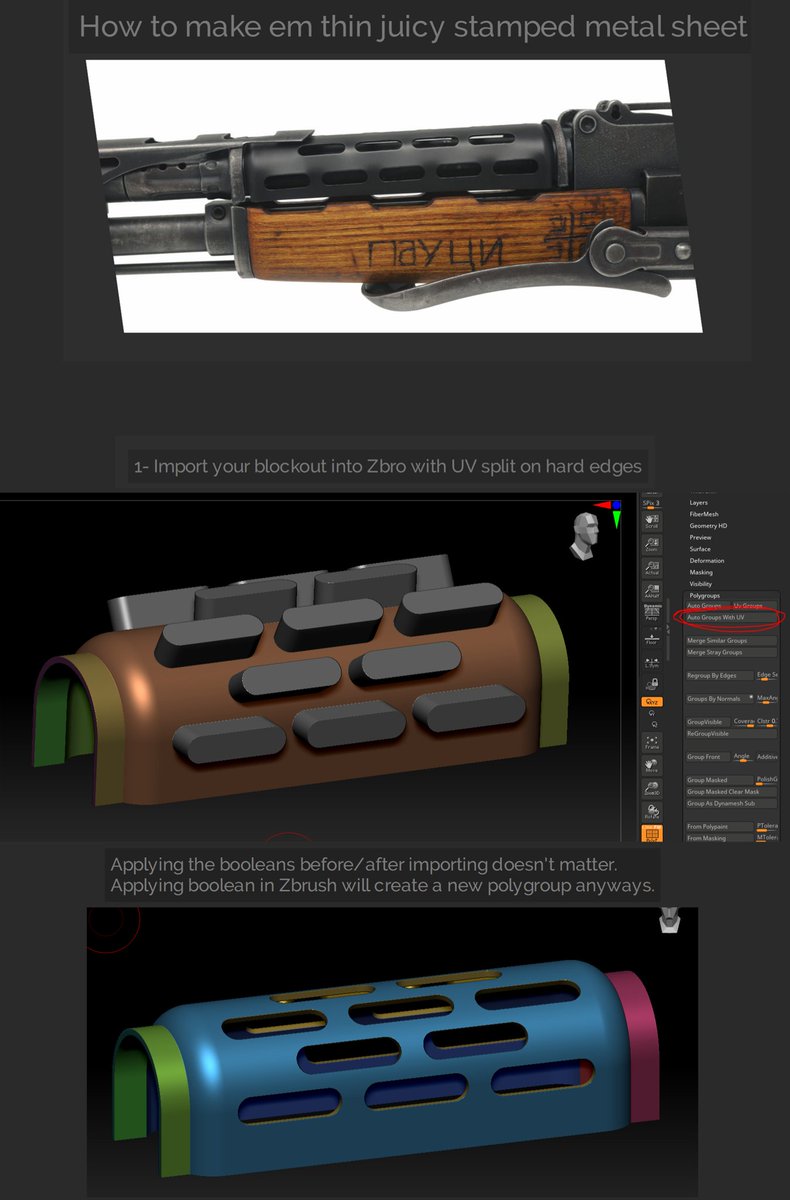
with curved assets like the AK banana mags, you can just model it straight & then add a bend modifier.
You can preview changes in real-time for more accurate modelling in Blender by having the SimpleDeform modifier active & just go into edit mode. You'll see both versions:
A lot of you asked for this. How to Import the New Motion Matching Animation Sample into Your Own Project in Unreal Engine 5!
#ue5#unrealengine5#unrealengine
🎓Learn 3 vital Tips for creating Photorealistic Textures for AAA Game assets in a matter of seconds!
In this week's episode of Triple-A Pro Tips, I will share 3 important tips for creating photorealistic 3D assets.
____________________________________________________
(Tip #1: Handpainting)
Textures should have realistic edgewear without any generated-looking results.
In this video is an example where the asset on the right side has procedural-looking edgewear, while the asset on the left side looks much more photorealistic.
The key to achieving photorealistic edgewear is to rely less on generators and to focus more on hand-painted wear by utilizing stencils and brushes.
____________________________________________________
____________________________________________________
(Tip #2: Subtlety)
A common mistake I see some 3D artists make is adding too many grunge maps onto an asset- All ranging from dirt, rust, edgewear, oils, dents, etc.
While these details can look amazing on some assets if kept subtle, adding too many without proper subtlety and balancing can quickly make the textures too visually overwhelming for the eye to look at.
____________________________________________________
____________________________________________________
(Tip #3: Lighting)
One of the most vital stages for achieving a photorealistic result is the lighting.
It's crucial when lighting an asset that the lighting is not too dark or too bright.
A great way to check for this issue is to apply a level's to your render inside of Photoshop and to use the levels as a guide to see where your lighting stands.
Sometimes you can even hit Auto on the levels and Photoshop will give you a rough idea as to where the lighting needs to be taken too.
____________________________________________________
The final results of this asset can be found on Artstation here:
https://t.co/GD02cCA0Xd
More AAA Game Dev Tips can be found on my YouTube channel
here: https://t.co/JFZqEZfZW3
Stay tuned for more weekly Tips!
Happy Texturing! 💚
#gamedev #gameart #tutorial #3dmodeling #hardsurface #texturing
🎓
Learn how to create a Cherry Wood Material in a matter of seconds in my latest video series (AAA) Pro Tips!
____________________________________________________
In this video, the steps are as follows:
1. Create a slightly red-colored fill layer with high gloss to act as the woods base material.
2. Add a second fill layer with a black mask, and inside that mask add a stripes greyscale set to planar projection. These stripes will act as the wood rings and should be projected onto your mesh in a natural way. The stripes should also be set to max softness, and followed by a Directional Noise 3 with a blend mode set to Difference.
3. Add a levels to tweak the mask and add an anchor point to the mask as well.
4. Create another fill layer with a dark brown diffuse, and store the information from the anchor point into its mask. Apply a levels to increase its intensity, and then add a fill layer up top with the anchorpoint information applied again, but set its blending mode to Subtract.
5. Create an additional fill layer with a very dark diffuse channel. Add a mask to the fill layer and inside its mask add a fill layer containing the anchorpoint information, from the Wood Rings. This fill layer can now be used to add some dark contrast to the center of the wood rings
6. A warp filter should also be used to apply some subtle imperfections to the wood rings and grain.
Now we are left with a very nice result of Cherry wood!
____________________________________________________
More AAA Game Dev Tips can be found on my YouTube channel here:
https://t.co/JFZqEZfZW3
Stay tuned for more weekly Tips.
Let me know below what you would like to learn in future videos! 👇
Happy Texturing! 💚
#gameart #texturing
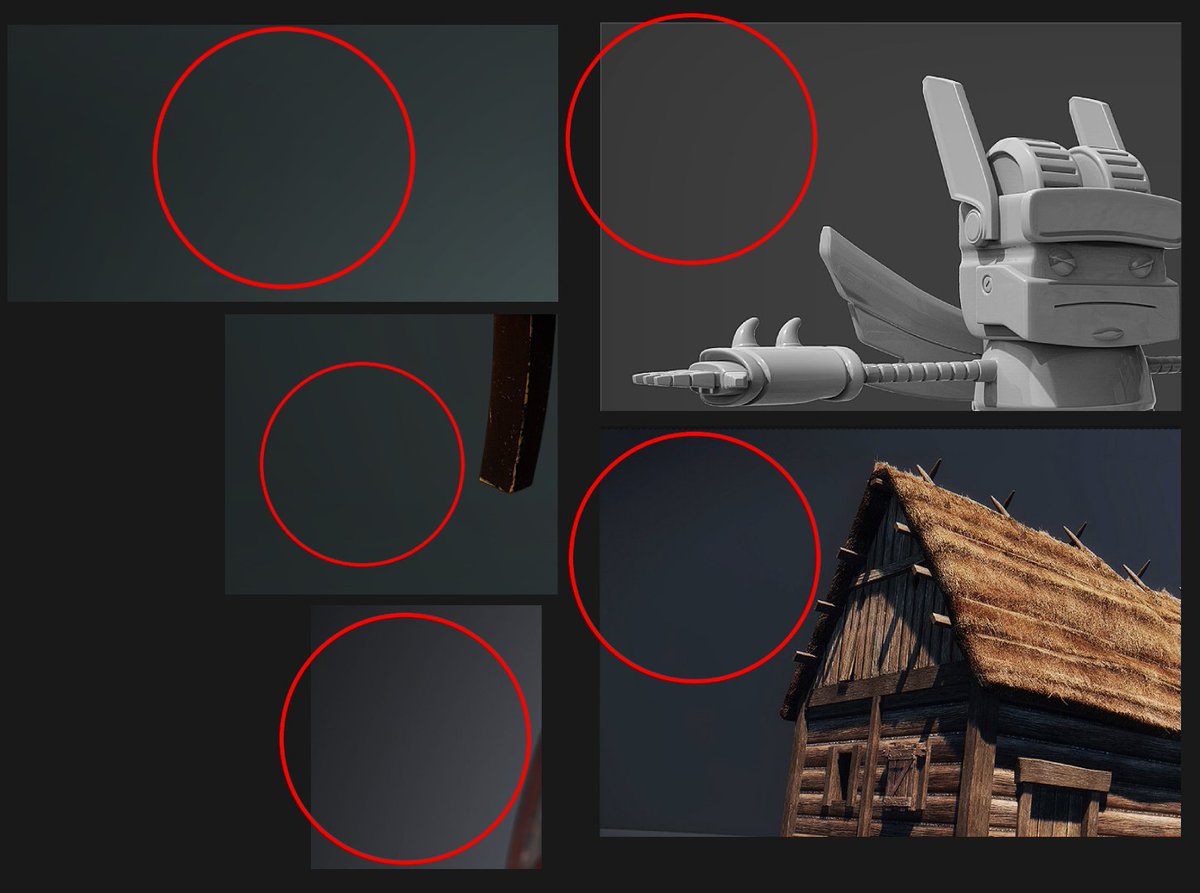
When presenting assets on a gradient background, it may look smooth locally, but once it goes on ArtStation, you're going to get nasty banding and a muddier result.
Here are some ways you can mitigate against this issue for your portfolio renders.
👇🧵
La 𝗲𝗰𝗼𝗻𝗼𝗺𝗶𝗮 es la sangre que fluye por las venas de un videojuego.
Aprender un ataque en God Of War, fabricar un botiquín en The Last Of Us o comprar un traje molón en Spider-Man... todos son ejemplos de una interacción con la economía.
Veamos cómo diseñarla.
🧵👇
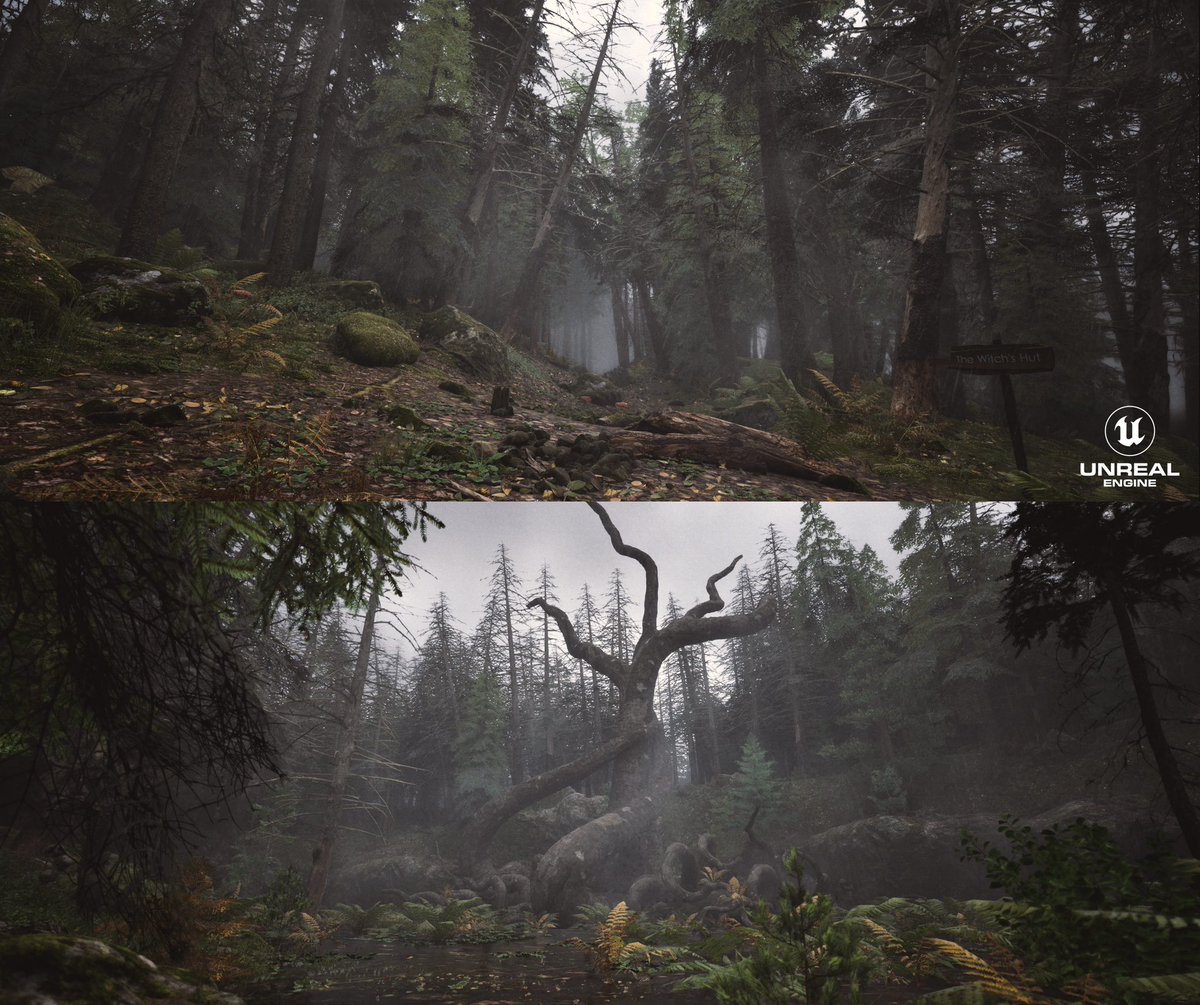
The dark forest.
More progress screenshots are ingame.
For lighting and mood I used Sky creator
The terrain and path was created inside Unreal using sculpt tool and insert Quixel megascans assets and brushed trees from Biome Conifer, creepy trees created with Speedtree.
https://t.co/D2ZNXwJ7ve
#ue4 #ue5 #gameplay #realism #forest #UnrealEngine5 #lumen
#UnrealEngine #quixel #environment #forest #village #realtime #pbl #3d #videogames #videogame #megascans #forestpath #sky #cloudy #rtx4090 #nvidia #lake #overcast @UnrealEngine@quixeltools@SpeedTreeInc@80Level
For the benefit of new students looking to be job-ready and getting their studies detailed by memes, I’ve used Blender to animate at ZERO of the studios I’ve worked at.